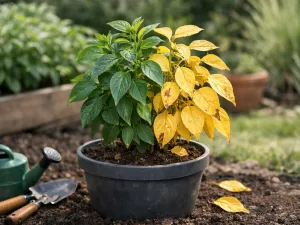
How to Diagnose Yellow Leaves Step by Step

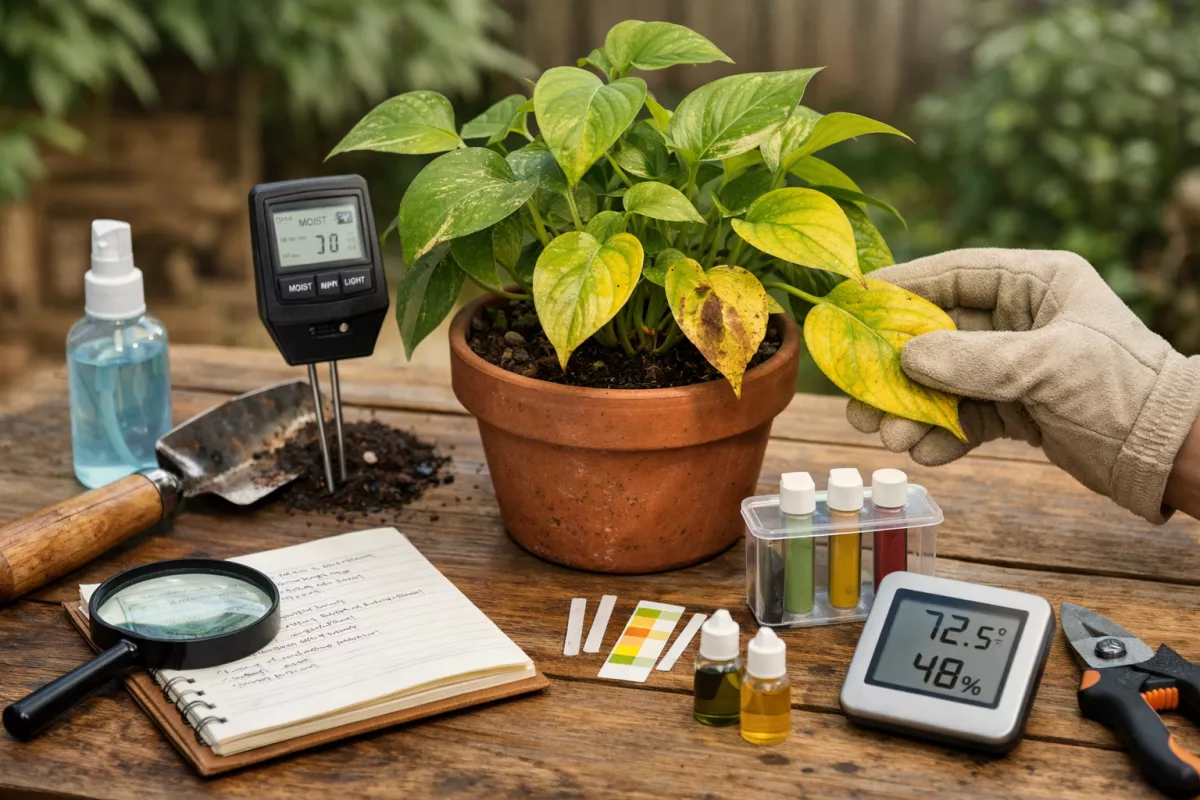 Here we how to diagnose yellow leaves in a clear order, starting with watering, light, and soil. It explains which plant signals and symptoms matter most, how to rule out common causes fast, avoid misdiagnosis, and build a reliable routine for spotting problems accurately.
- Where to start when you first notice yellow leaves
- How to check watering, light, and soil conditions in order
- Step-by-step method to eliminate common causes quickly
- How to read plant signals and narrow down the problem
- What symptoms matter most during diagnosis process
- How to avoid misdiagnosing plant issues
- Building a reliable routine for accurate plant problem detection
Yellow leaves can mean anything from a minor watering error to a more serious plant health problem, so it helps to check the plant step by step before the issue worsens. Notice where the yellowing begins, how quickly it spreads, and what the soil, light, and roots reveal. These clues can help you identify the cause more accurately and choose the right solution without relying on guesswork.
Where to start when you first notice yellow leaves
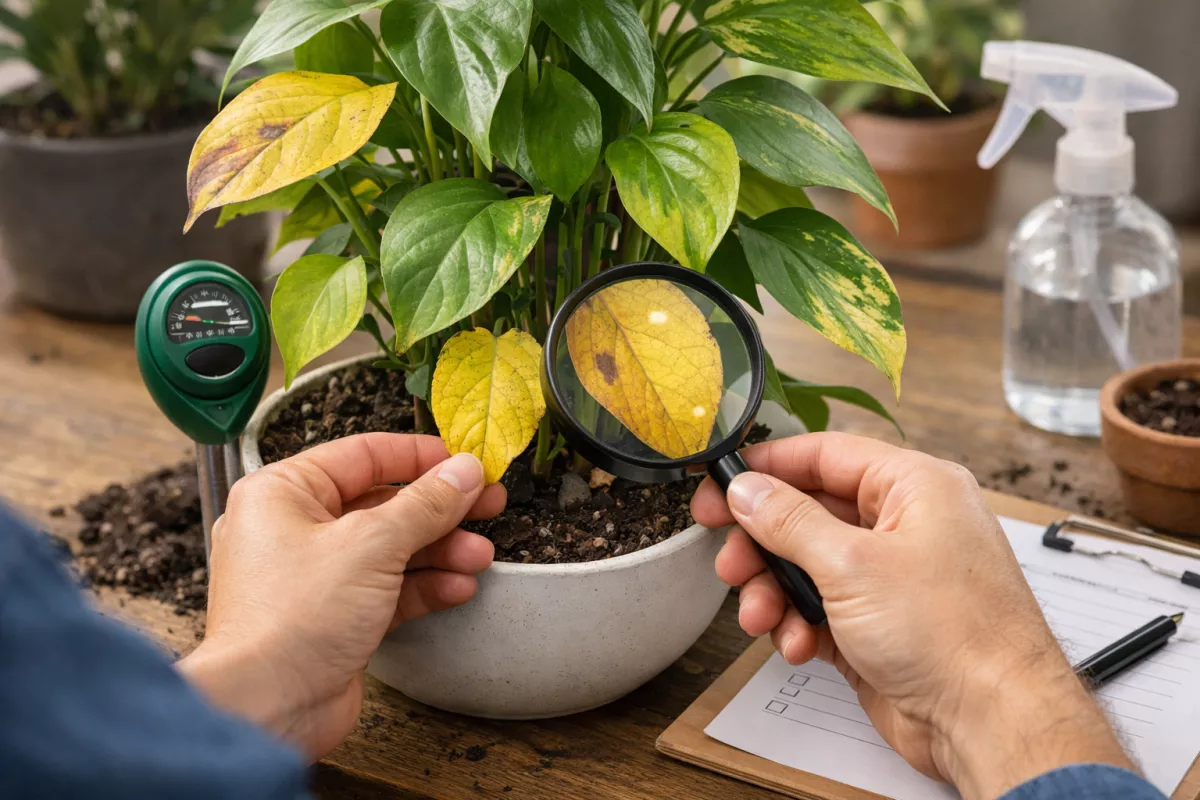
Yellow leaves can mean anything from a harmless aging process to a root problem that needs quick action. The first job is not to fix anything immediately, but to slow down and observe what is actually happening. A rushed response often creates a second problem, especially when people water more, fertilize more, or move the plant before checking the basics.
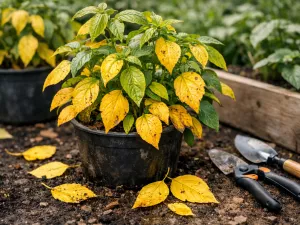
Begin by looking at the pattern. A single old leaf near the base turning yellow is very different from many leaves yellowing at once. Also note whether the yellowing is uniform, patchy, between veins, or concentrated on leaf edges. These details help separate normal leaf turnover from stress caused by water, light, temperature, roots, or nutrients.
Make a quick first assessment
A short visual check gives you a useful starting point before you touch the soil or change the plant’s location. Try to assess the plant as it is, not after you have watered, pruned, or rotated it.
- Count affected leaves: One or two older leaves may be normal; a fast spread across the plant usually points to stress.
- Check leaf age: Older lower leaves yellowing first often suggests natural aging or a mobile nutrient issue; new leaves yellowing first can point to root, iron, or light-related problems.
- Look at texture: Soft yellow leaves often go with overwatering, while dry crisp yellow leaves often suggest underwatering, heat, or salt buildup.
- Notice timing: If yellowing appeared right after repotting, a move, a cold draft, or a feeding, that recent change matters.
Record what changed recently
Plants often react a few days or even a couple of weeks after a change in care. That delay makes diagnosis harder unless you think back carefully. Write down the last watering date, any fertilizer used, whether the plant was repotted, and whether it was moved closer to a window or heater.
If you know the plant species, compare the symptoms to its normal growth habit. Some tropical houseplants drop an occasional lower leaf during seasonal light changes, while others show yellowing quickly when roots stay wet for too long.
Editor’s note: Take one clear photo of the whole plant and one close-up of the affected leaves before you intervene. A photo record makes it much easier to judge whether the problem is spreading or stabilizing over the next 7 to 10 days.
A calm first assessment prevents guesswork. Once you know where the yellowing is, how fast it is spreading, and what changed recently, you can move through the likely causes in a sensible order instead of treating every possibility at once.
How to check watering, light, and soil conditions in order

The most efficient way to diagnose yellow leaves is to check the root environment first, then light, then soil structure and quality. Watering mistakes are the most common trigger, but they are often tied to poor light or compacted soil. Looking at these factors in order helps you avoid blaming one issue when another is actually causing it.
Step 1: Check watering properly
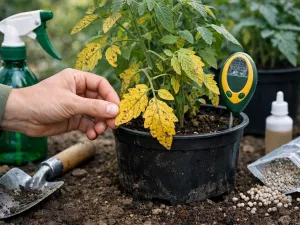
Do not judge moisture from the surface alone. The top 2 cm (1 in) may look dry while the root zone lower down is still wet. Insert a finger, wooden skewer, or moisture probe into the potting mix to at least 5 to 7 cm (2 to 3 in), or deeper in larger pots. Then lift the pot if possible; a pot that feels unusually heavy several days after watering may be staying too wet.
- Too wet: Soil feels cool and damp for many days, leaves yellow and soften, and the pot may smell sour or stale.
- Too dry: Soil pulls away from the pot edge, feels hard or dusty, and leaves may yellow then crisp or curl.
- Inconsistent watering: Alternating drought and saturation often causes mixed symptoms, including yellow leaves, brown tips, and weak new growth.
Step 2: Evaluate light exposure
After checking moisture, assess whether the plant is getting the right amount of light for its type. A plant in low light uses water more slowly, so soil stays wet longer and yellowing follows. On the other hand, harsh direct sun can bleach leaves yellow, especially if the plant was moved suddenly from shade to a bright south- or west-facing window.
Observe how many hours of direct sun the plant gets and at what time of day. Morning sun is gentler than strong afternoon sun. Also check distance from the window. Moving a plant just 1 m (3.3 ft) back from a bright window can reduce usable light dramatically indoors.
Step 3: Inspect soil condition and drainage
If watering and light seem questionable, the potting mix often explains why. Soil that has broken down into fine particles holds too much water and too little air. A plant can show yellow leaves even when you water “correctly” if the roots cannot breathe.
| What to check | Healthy sign | Problem sign |
|---|---|---|
| Drainage holes | Water exits freely after watering | No holes or very slow drainage |
| Soil texture | Loose, airy, crumbly mix | Dense, muddy, compacted mix |
| Root zone smell | Neutral earthy smell | Sour or swampy odor |
| Surface condition | Even drying and no crust | Hard crust, algae, or mineral buildup |
By checking moisture first, then light, then the physical condition of the mix, you can connect symptoms to causes more accurately. Yellow leaves are often not just a watering issue but a sign that water, light, and soil are out of balance together.
Step-by-step method to eliminate common causes quickly
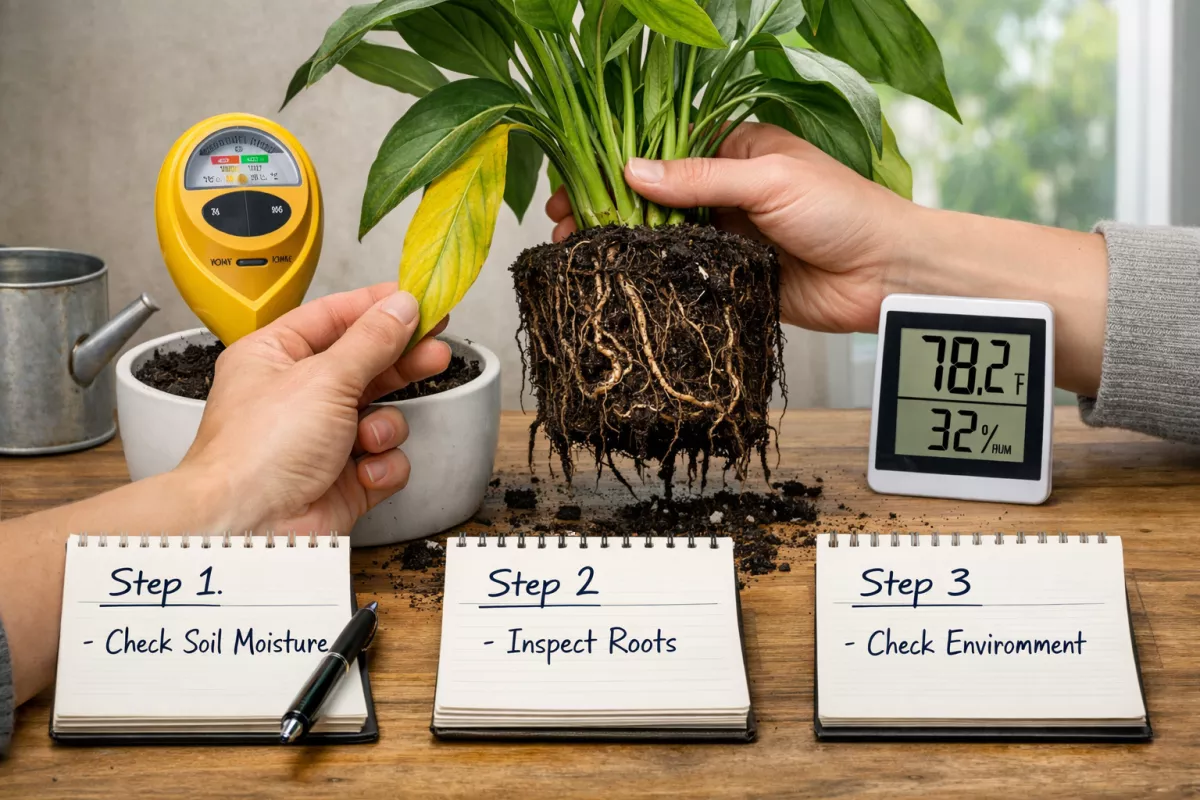
Once the basic observations are done, use a process of elimination. The goal is to rule out the most common causes without making several changes at once. If you change watering, move the plant, repot it, and fertilize on the same day, you will not know which action helped or harmed the plant.
Start with the highest-probability causes
For most indoor and container plants, the fastest wins come from correcting moisture problems, checking roots, and reviewing recent environmental changes. Work from the simplest and least disruptive checks toward the more invasive ones.
- Confirm the moisture level: Check the root zone, not just the surface. If the mix is wet and has stayed wet for more than 5 to 7 days in a small to medium pot, reduce watering and improve airflow and light.
- Inspect drainage: Make sure excess water can leave the pot fully. Empty saucers after watering rather than letting the pot sit in water for more than 10 to 15 minutes.
- Review recent moves: Ask whether the plant was exposed to a cold window, hot radiator, air-conditioning vent, or sudden direct sun.
- Check for pests: Look under leaves and along stems for spider mites, aphids, scale, or thrips. Pest damage can make leaves fade yellow before other signs become obvious.
- Assess feeding history: If the plant has not been fed during active growth for several months, nutrient depletion may be involved. If it was fed heavily, fertilizer burn or salt buildup may be the issue instead.
- Examine roots if needed: Slide the root ball out only if the plant is badly declining or the soil stays wet too long. Healthy roots are usually pale and firm; rotting roots are brown, soft, or mushy.
Know when to intervene and when to wait
Not every yellow leaf demands immediate repotting or pruning. If the cause is obvious and mild, such as one aging lower leaf, monitor the plant instead of reacting aggressively. If the yellowing is spreading and the soil remains wet, action should be quicker because root decline can accelerate fast.
- Wait and watch when only one or two old leaves are affected and new growth looks healthy.
- Adjust care when several leaves are yellowing but the plant is still structurally firm and producing growth.
- Inspect roots promptly when yellowing is widespread, stems soften, or the soil smells sour.
Practical tip: If you suspect overwatering, do not “fix” it by placing the plant in intense sun. Extra heat can stress already damaged roots. Aim for brighter indirect light and better drying conditions instead.
This elimination method works because it narrows the field quickly. Most yellow-leaf cases become much clearer once you test moisture honestly, inspect drainage, and connect symptoms to the plant’s recent environment.
How to read plant signals and narrow down the problem
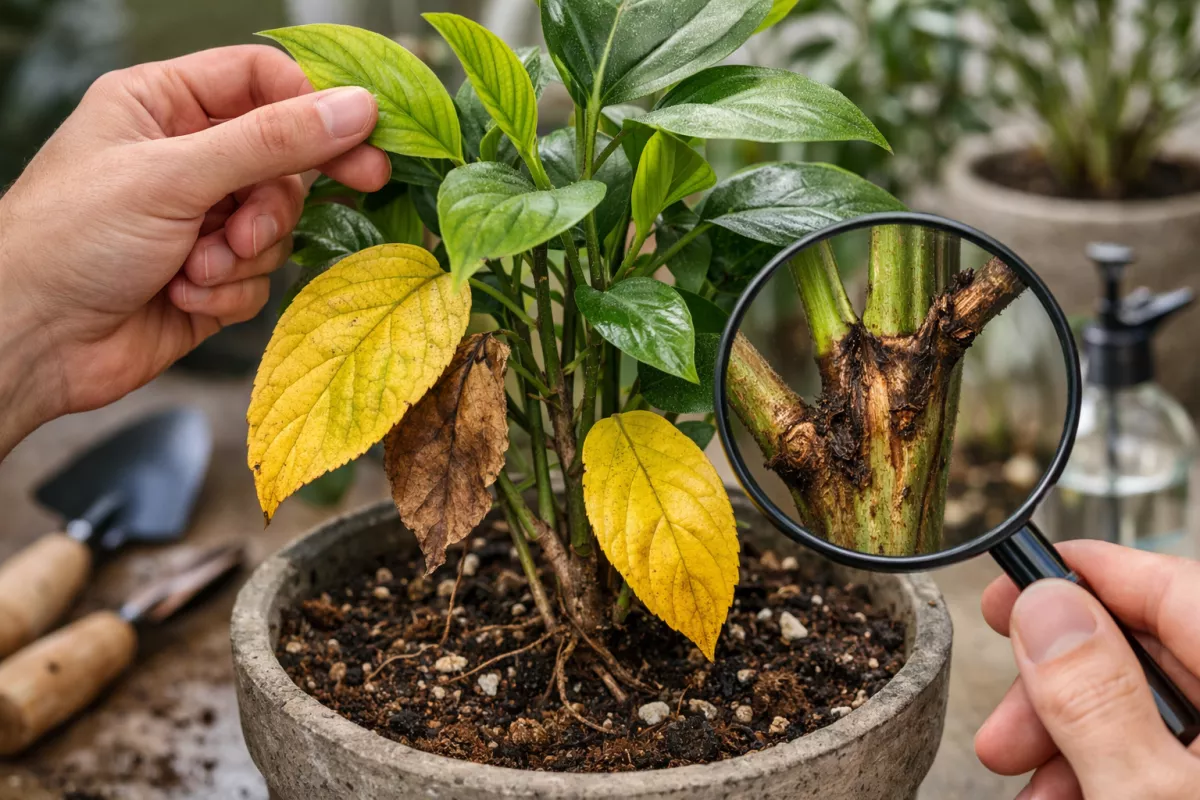
Plants rarely communicate with one symptom alone. Yellow leaves become much more informative when you pair color changes with texture, location, growth rate, and stem condition. Reading these signals together helps you distinguish between root stress, nutrient issues, light imbalance, and natural aging.
Use leaf position as a clue
Where the yellowing starts matters. Lower leaves are older and are often the first to be shed when the plant is under mild stress or reallocating resources. New leaves at the top or center tell a different story and often point to a more active problem affecting fresh growth.
- Lower leaves first: Common with natural aging, inconsistent watering, or nitrogen shortage.
- New leaves first: More suggestive of root damage, iron unavailability, or severe environmental stress.
- One side only: Often linked to uneven light, cold exposure, or localized root issues.
Match color with texture and shape
A bright yellow leaf that stays soft suggests something different from a dull yellow leaf with crisp edges. Texture often reveals whether the plant is dealing with too much water, too little water, excess salts, or scorching light.
| Signal | What it often suggests | What to check next |
|---|---|---|
| Yellow and soft | Overwatering or poor root aeration | Soil moisture, drainage, root smell |
| Yellow with brown crispy edges | Underwatering, dry air, or salt buildup | Watering pattern, humidity, fertilizer residue |
| Yellow between green veins | Chlorosis linked to nutrient lockout or deficiency | Soil pH, feeding history, root health |
| Pale yellow with stretched growth | Insufficient light | Window distance, daily light duration |
Look beyond the leaves
Stems, buds, and roots provide context that leaves alone cannot. If stems are firm and new growth is still appearing, the issue may be mild or temporary. If stems are collapsing, roots smell rotten, or growth has stalled completely, the problem is more serious and likely rooted below the soil line.
Also pay attention to season. In winter, lower light and cooler temperatures slow water use, so a watering routine that worked in summer may suddenly cause yellowing. In spring and summer, rapid growth can expose nutrient shortages more clearly.
Reading signals well means combining several clues instead of relying on one dramatic symptom. The more pieces you connect, the faster you can narrow the cause without overcorrecting.
What symptoms matter most during diagnosis process
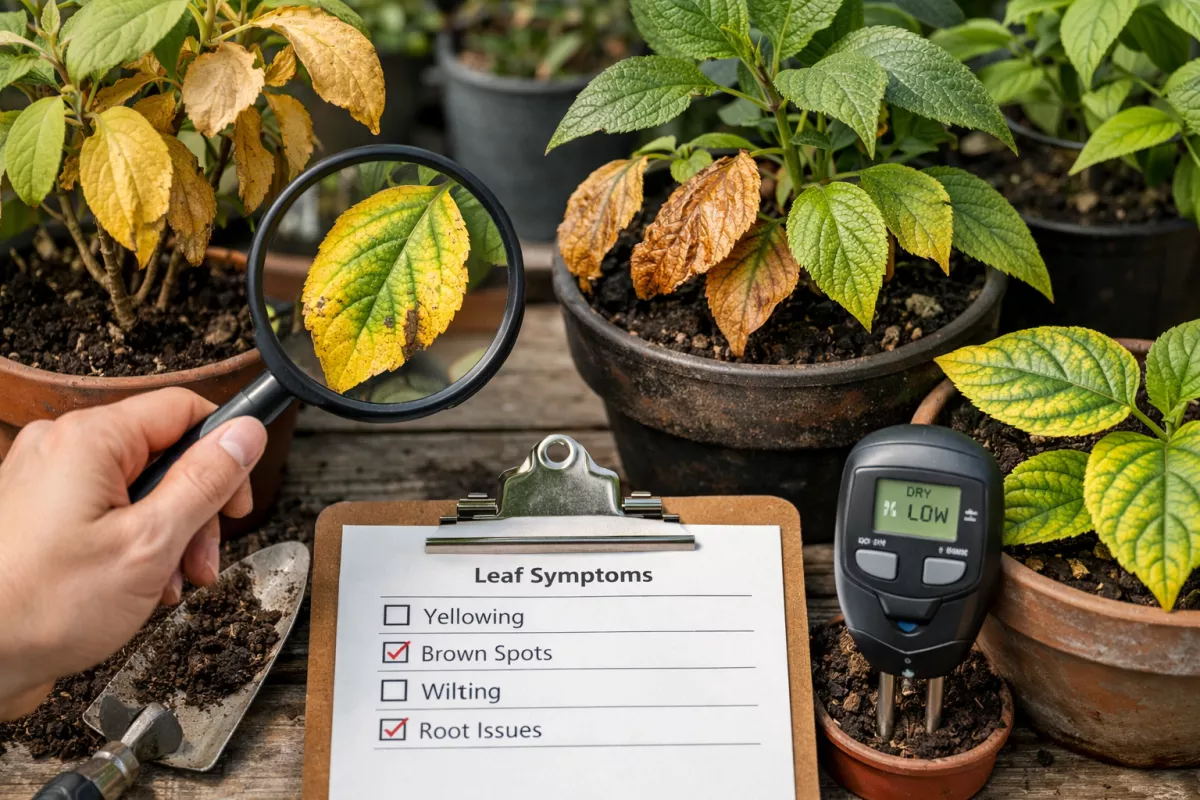
Some symptoms are far more useful than others when you are trying to identify why leaves are turning yellow. Color alone is not enough. The most valuable clues are the ones that reveal speed, pattern, and severity. These tell you whether the issue is cosmetic, environmental, nutritional, or a sign of root failure.
Priority symptoms to pay attention to
When diagnosing, focus first on symptoms that change your decision-making. A plant with one yellow leaf and healthy growth needs a different response from a plant with yellow leaves, black stems, and a wet root ball.
- Rate of spread: Yellowing that spreads over 2 to 3 days is more urgent than yellowing that develops slowly over several weeks.
- Leaf firmness: Limp or mushy tissue often points toward excess moisture or rot, while dry brittle tissue usually suggests drought stress or salt accumulation.
- New growth quality: Small, pale, distorted, or stalled new leaves often indicate an ongoing issue rather than normal leaf turnover.
- Stem condition: Firm stems suggest the plant still has structural health; soft, blackened, or shriveled stems raise concern.
- Root-zone smell: A sour smell is one of the strongest practical signs of waterlogged soil and root decline.
Symptoms that are easy to overvalue
Some signs look dramatic but are less useful on their own. A single yellow leaf can be normal. Slight tip browning may come from old mineral residue rather than a major care problem. Even leaf drop is not always alarming if the plant has recently been moved and is otherwise stable.
What matters most is the combination of symptoms. For example, yellow leaves plus drooping in wet soil suggests one path, while yellow leaves plus drooping in bone-dry soil suggests another. Context turns a symptom into evidence.
Editor’s note: If you are unsure whether a symptom is active or old, mark the date and watch the newest leaves. Fresh growth is usually the best indicator of whether your correction is working.
A good diagnosis depends on weighting the right clues. Prioritize spread, texture, growth quality, and root-zone condition, and you will make better decisions than if you focus only on leaf color.
How to avoid misdiagnosing plant issues
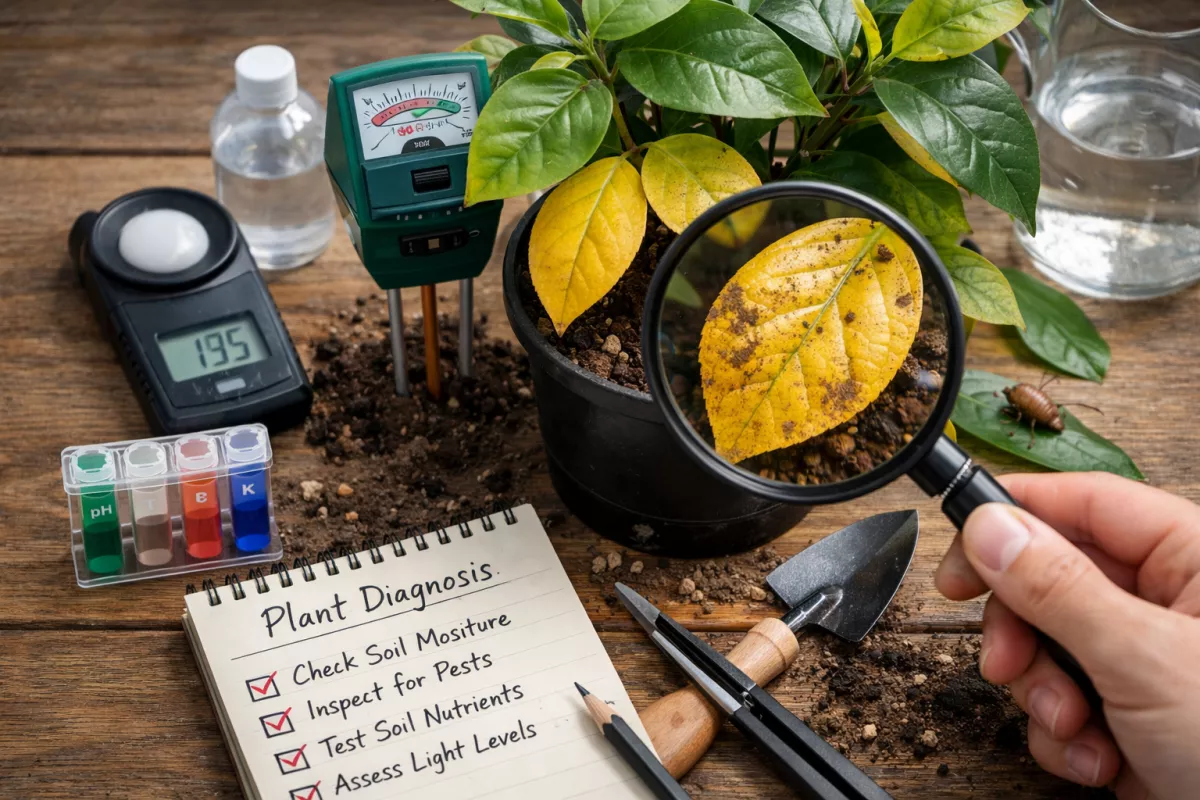
Misdiagnosis happens when one symptom is treated as the whole story. Yellow leaves are a classic example because both too much and too little water can cause them, and so can poor light, root damage, pests, nutrient imbalance, and natural aging. Avoiding mistakes means testing assumptions before acting on them.
Common diagnosis traps
Many plant problems are made worse by well-meant but inaccurate responses. The most common trap is assuming every yellow leaf means the plant is thirsty. Another is feeding a stressed plant before checking whether the roots are healthy enough to use that fertilizer.
- Surface-only moisture checks: Dry topsoil does not always mean dry roots.
- Treating all yellowing as deficiency: Nutrients cannot solve waterlogged roots or poor light.
- Ignoring environmental changes: A draft, heater, or sudden sun exposure can trigger symptoms quickly.
- Changing too many variables at once: Multiple fixes make it impossible to know what actually worked.
- Using a fixed schedule blindly: Watering every 7 days may be too often in winter and too little in summer.
Build evidence before making a correction
A better approach is to gather two or three confirming signs before deciding on the cause. For example, overwatering becomes much more likely when yellow soft leaves appear alongside wet heavy soil and a stale smell. Underwatering becomes more likely when the mix is dry deep in the pot, leaves feel thin or crisp, and the pot is unusually light.
If nutrient deficiency is suspected, look for a pattern rather than a single pale leaf. Ask whether the plant is in active growth, how long it has been in the same potting mix, and whether the pH or water quality might be limiting nutrient uptake. A plant in exhausted soil for 12 months may need feeding or repotting, but a plant with damaged roots may not be able to use added nutrients safely.
Careful diagnosis is less about guessing the most dramatic cause and more about ruling out the obvious ones methodically. Evidence-based plant care leads to fewer setbacks and less stress for both the grower and the plant.
Building a reliable routine for accurate plant problem detection
The best way to diagnose yellow leaves accurately is to make plant observation a routine rather than an emergency response. When you know what a plant normally looks like, small changes stand out early. That allows you to correct conditions before yellowing spreads or root problems become severe.
Create a simple weekly check
A short check once a week is usually enough for most houseplants and container specimens. The aim is consistency, not complexity. Spend a few minutes looking at leaves, feeling the soil, and noting whether the plant is growing as expected for the season.
- Look at the whole plant: Check overall color, posture, and whether yellowing is isolated or spreading.
- Test soil moisture at depth: Check at least 5 cm (2 in) down in smaller pots and deeper in larger containers.
- Inspect the pot and saucer: Make sure drainage remains clear and no standing water is left behind.
- Check leaf undersides: Catch pests early before they cause widespread fading or yellow stippling.
- Review location: Seasonal sun angles change, so a safe spot in one month may become too dark or too harsh later.
Keep notes that help, not clutter
You do not need a detailed spreadsheet for every plant, but a few records are useful: watering date, fertilizer date, repotting date, and any major move. If symptoms appear, these notes make patterns easier to see. For example, if yellowing starts 4 to 6 days after every watering, the root zone may be staying wet too long.
It also helps to rotate plants only when needed and avoid frequent random repositioning. Stable conditions make plant responses easier to interpret. If you do make a change, such as moving a plant closer to a window by 50 cm (20 in), note the date and observe the next two weeks carefully.
Practical recommendation: Use the same checking method each time. If you always test moisture at the same depth and inspect the same leaves, your observations become more reliable and less influenced by guesswork.
A dependable routine turns diagnosis into a skill rather than a scramble. By observing regularly, recording key changes, and adjusting one factor at a time, you can identify the real cause of yellow leaves earlier and respond with much more confidence.