Compact Full Sun Plants for Borders

 Learn why compact plants work best along borders, what traits make strong edging picks, and which low-growing varieties thrive in full sun. Get practical tips on spacing, soil prep, watering routines, and easy maintenance to keep border lines neat.
For tidy edging in a bright, exposed spot, choose low, sun-loving plants that stay compact so border care is simpler. The best options keep a neat shape, bloom reliably, and resist sprawling into paths or crowding nearby plants. Look for varieties that handle heat and dry spells, recover quickly after trimming, and form clean, consistent lines all season.
Why compact plants suit borders
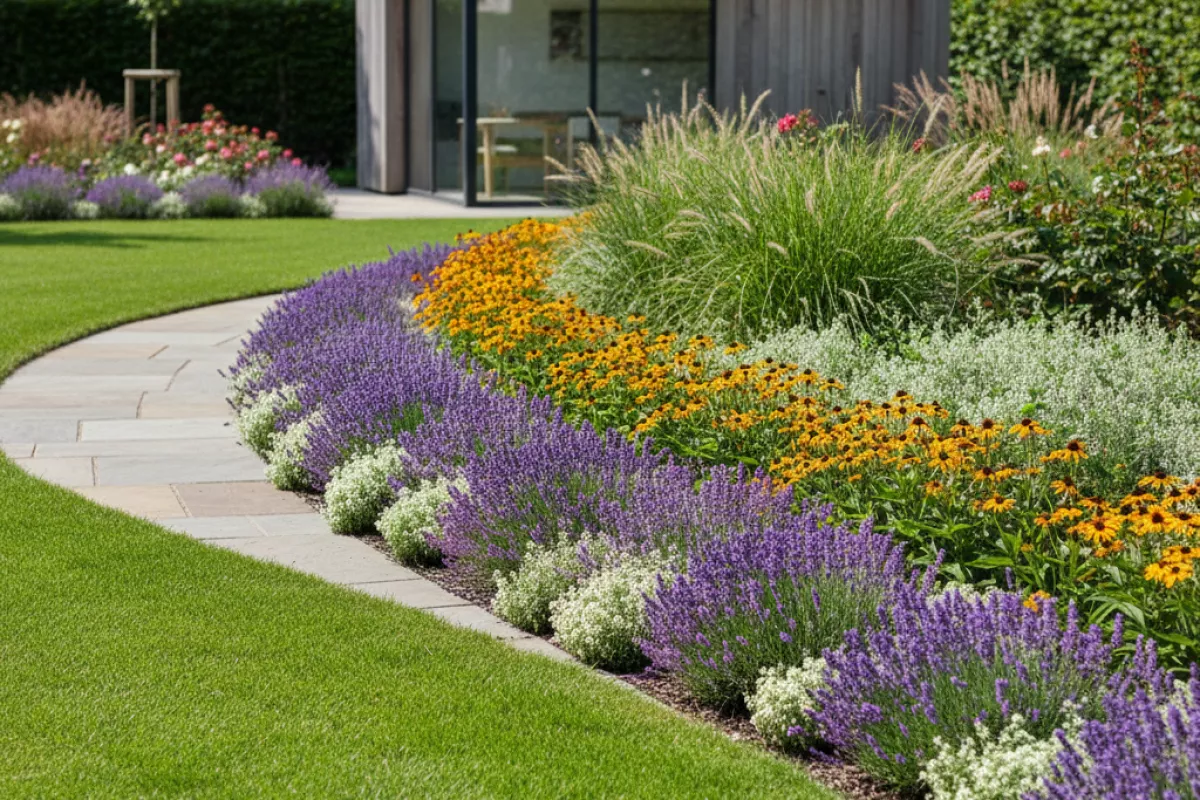
Low-growing, tidy plants make edging look intentional because they hold a clear line along paths, lawns, and beds. Instead of flopping into walkways or smothering neighbors, smaller growers stay where you place them, so the border reads as a clean frame for the rest of the garden.
They’re also easier to manage in full sun, where heat and wind can push taller stems to lean or snap. A shorter profile tends to dry out more evenly and is less likely to need staking, which keeps maintenance simple and the planting looking consistent.
- Crisper edges with less trimming: Compact habits reduce the need to shear plants back after a flush of growth, so you spend less time correcting spillover.
- Better plant-to-plant spacing: When mature sizes are predictable, you can place plants at sensible intervals (for example, 25–35 cm (10–14 in) apart) without constant reshuffling.
- Fewer visibility problems: Shorter plants won’t block sightlines at corners, steps, or driveways, and they keep taller perennials behind them visible.
- More reliable color blocks: Dwarf and mounding varieties tend to flower as a uniform “band,” which is exactly what many borders need for rhythm and repeat.
- Less competition and crowding: Smaller root and canopy footprints can make mixed plantings easier, especially when you’re combining sun-lovers with different bloom times.
- Cleaner transitions between materials: Compact plants sit neatly against gravel, pavers, or mulch, helping prevent debris from washing onto hard surfaces after heavy rain.
| Border challenge | How a compact habit helps | What it means in day-to-day care |
|---|---|---|
| Plants spill onto paths | Short, mounding growth stays inside the bed line | Less edging and fewer midseason cutbacks |
| Taller stems flop in sun and wind | Lower center of gravity reduces leaning | Minimal staking; tidier look after storms |
| Mixed plantings get crowded fast | Predictable mature width keeps gaps intentional | Easier spacing plans (for example, 30 cm (12 in) centers) |
| Border looks messy between bloom cycles | Dense foliage forms a consistent “edge” even when not flowering | Structure stays attractive without constant deadheading |
| Hardscape gets littered with mulch and soil | Defined plant line helps hold mulch in place | Less sweeping and fewer touch-ups after rain |
If you’re aiming for a border that looks good from spring to fall, compact full sun plants give you a dependable outline first, then seasonal flowers on top of that. The result is a planting that reads as “finished” more often, without demanding weekly corrections.
Traits of good edging plants
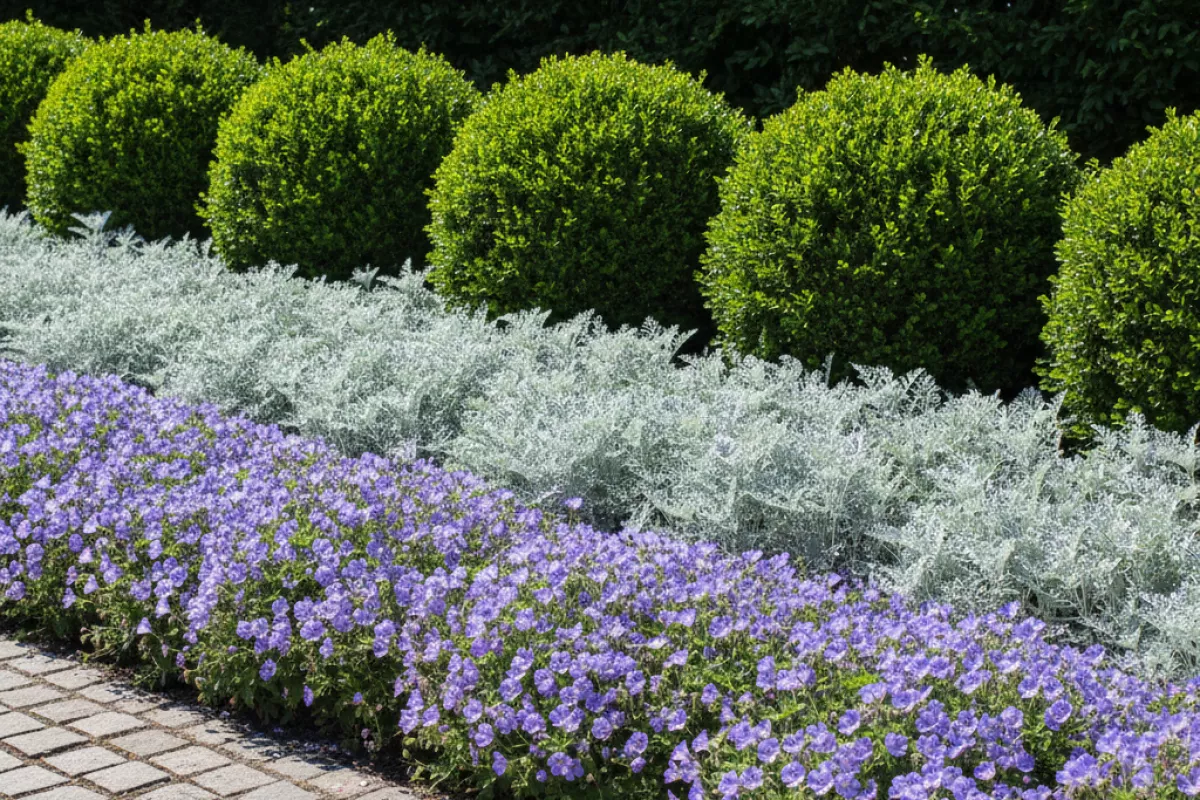
For a border to look intentional (not messy by midsummer), the plants along the edge need to behave predictably in full sun. The best choices keep a tidy outline, handle reflected heat, and don’t constantly flop into paths or smother neighboring perennials.
- Compact, self-supporting habit: Look for naturally mounded or clumping growth that stays upright without staking, so the line remains crisp along walks and beds.
- Consistent mature size: Reliable height and spread matter more than fast growth. As a rough guide, edging plants that top out around 15–40 cm (6–16 in) are easier to keep in scale with most borders.
- Sun and heat tolerance: Full-sun edges often get extra warmth from pavement, stone, or mulch. Plants that shrug off hot, bright conditions will look better with less intervention.
- Drought resilience once established: Border strips can dry quickly. Species that can handle occasional missed watering reduce stress and keep foliage from browning at the tips.
- Neat foliage that stays attractive: Fine texture, clean leaves, and minimal dieback help the edge look good even when flowers aren’t in peak.
- Long season of interest: A long bloom window, evergreen/semievergreen leaves, or attractive seedheads keeps the border from going flat after a short flowering burst.
- Low maintenance pruning needs: The easiest edging plants either don’t need trimming or respond well to a quick shear once or twice a season, rather than constant pinching.
- Non-invasive spread: Avoid aggressive runners unless you’re happy to cut them back regularly. Clump-formers and well-behaved spreaders are simpler for tight lines.
- Good “neighbor” behavior: Shallow, non-bullying roots and a modest footprint help prevent competition with nearby border plants, especially in narrow beds.
- Pest and disease steadiness: Edges are highly visible; plants that resist common issues (like mildew in humid spells) keep the border looking clean with fewer inputs.
Best low-growing sun varieties
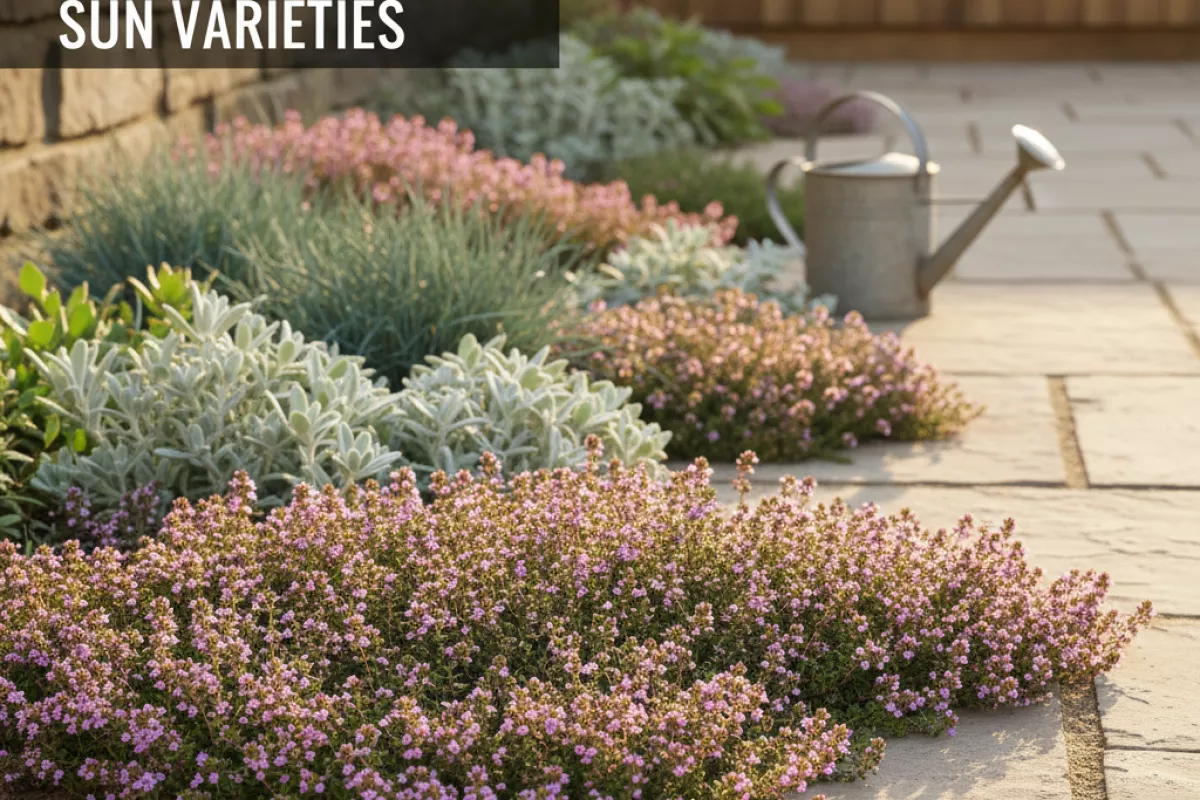
Pick compact border plants by starting with your site’s “stress points”: heat reflected off paving, fast-draining soil, and how often you can water. If you’re building a cohesive look beyond the edge itself, see more ideas for full sun front yard plants that pair well with low borders. The options below stay low, handle bright exposure well, and give you different textures (mats, mounds, and spiky clumps) so the edge doesn’t look flat.
| Plant | Typical height | Bloom/interest | Best use in a border | Notes for full sun |
|---|---|---|---|---|
| Creeping thyme (Thymus serpyllum) | 5–10 cm (2–4 in) | Pink/purple flowers; aromatic foliage | Front edge, between stepping stones | Thrives in lean, well-drained soil; avoid soggy spots |
| Sedum/stonecrop (Hylotelephium/Sedum spp.) | 10–20 cm (4–8 in) | Succulent leaves; late-season blooms | Hot, dry edges; gravel borders | Let soil dry between waterings; too much fertility makes it floppy |
| Ice plant (Delosperma cooperi) | 5–15 cm (2–6 in) | Daisy-like flowers; long bloom window | Bright color along sunny paths | Excellent for drought; needs sharp drainage in winter |
| Creeping phlox (Phlox subulata) | 10–15 cm (4–6 in) | Spring flower carpet | Softens hard edging; cascades over stones | Full sun boosts flowering; shear lightly after bloom |
| Sea thrift (Armeria maritima) | 15–25 cm (6–10 in) | Pom-pom blooms on wiry stems | Neat clumps for crisp lines | Handles wind and salt; dislikes heavy clay |
| Blue fescue (Festuca glauca) | 20–30 cm (8–12 in) | Blue foliage; fine texture | Rhythm plant along the front | Best color in full sun; divide every 2–3 years |
| Lavender, dwarf (Lavandula angustifolia cultivars) | 25–40 cm (10–16 in) | Fragrant summer spikes | Low hedge or pollinator strip | Needs drainage; avoid cutting into old wood |
| Creeping rosemary (Salvia rosmarinus ‘Prostratus’) | 15–30 cm (6–12 in) | Trailing evergreen; pale blue flowers | Spills over raised edges | Heat tolerant; dislikes winter wet |
| Coreopsis verticillata | 25–40 cm (10–16 in) | Bright yellow summer flowers | Long-blooming sunny filler | Tolerates poor soil; shear to extend bloom |
| Gaillardia (Blanket flower) | 25–45 cm (10–18 in) | Red-orange daisy blooms | Hot-color accent plant | Needs sharp drainage; avoid overwatering |
| Erigeron karvinskianus | 20–30 cm (8–12 in) | White-to-pink daisy flowers | Soft edging along paths | Blooms heavily in sun; may self-seed |
| Dianthus gratianopolitanus | 15–25 cm (6–10 in) | Fragrant pink blooms | Evergreen edging clumps | Needs drainage; deadhead for rebloom |
| Helianthemum (Rock rose) | 15–30 cm (6–12 in) | Low shrub; bright blooms | Sunny rock border plant | Prefers lean soil; trim lightly after bloom |
| Achillea millefolium (dwarf cultivars) | 30–45 cm (12–18 in) | Flat-topped blooms | Texture contrast in sunny beds | Drought tolerant; divide periodically |
| Portulaca grandiflora | 10–20 cm (4–8 in) | Bright jewel-toned flowers | Annual color for hottest spots | Handles extreme heat; sandy soil preferred |
- For the driest strip by pavement: lean on sedum, ice plant, and creeping thyme; they cope with reflected heat and infrequent watering once rooted in.
- For a cleaner “border line” look: repeat clump-formers like sea thrift and blue fescue every 30–45 cm (12–18 in) to create a steady rhythm.
- For a seasonal punch without constant fuss: pair spring-heavy creeping phlox with late-season sedum so the edge has interest beyond one bloom period.
- For fragrance near seating: choose dwarf lavender or creeping rosemary, but only where soil drains fast; in dense clay, amend and mound the planting area 10–15 cm (4–6 in) above grade.
If you’re mixing several low growers, keep the tallest choices toward the inside of the bed and let the mats (thyme, phlox) run along the very front. That simple height step prevents shading and keeps the border looking intentional rather than overgrown.
Spacing and arrangement tips
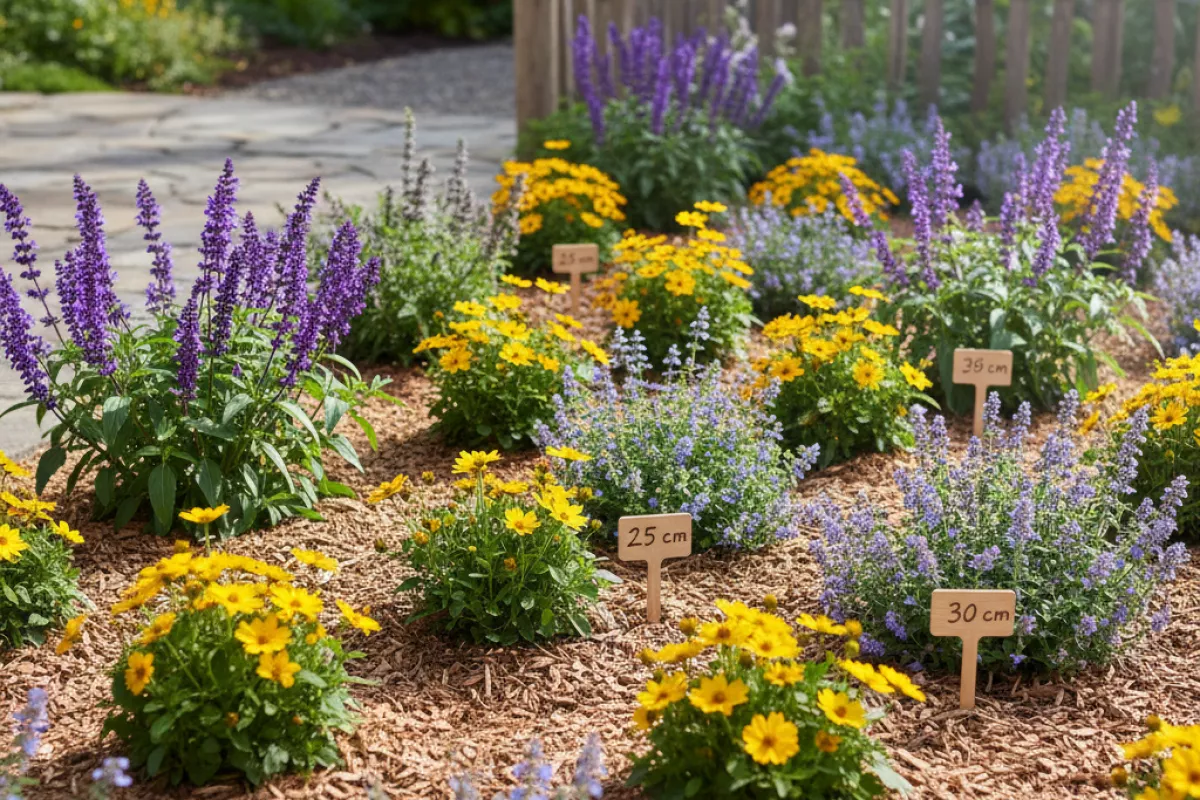
Plan plant placement from the mature size, not the nursery pot. Compact border plants still widen over a season, so give each one enough room to keep airflow moving and reduce mildew, while still letting the bed look full. If you’re unsure, start with slightly wider gaps and use a light mulch layer to hide bare soil until everything knits together.
- Use “center-to-center” spacing: measure from the middle of one plant to the middle of the next. For many compact sun-loving perennials, 25–35 cm (10–14 in) works well; for very small edging plants, 15–20 cm (6–8 in) is often enough.
- Stagger in a zigzag: instead of a single straight line, offset plants in two shallow rows. This closes gaps faster and looks more natural, especially along curved borders.
- Repeat in small groups: place the same plant in clusters of 3 or 5, then repeat that cluster down the border. The repetition reads as intentional, while still leaving room to mix in accents.
- Layer by height from front to back: keep the shortest plants at the edge, mid-height plants behind them, and the tallest compact choices at the back. As a quick guide, step up heights in increments of about 10–20 cm (4–8 in) so the transition doesn’t feel abrupt.
- Leave a maintenance strip: keep 10–15 cm (4–6 in) between the plant line and hard edging (pavers, metal, or stone). This buffer makes trimming and weeding easier and prevents plants from constantly flopping onto paths.
- Account for spreaders: if a plant expands by runners or self-seeds, give it extra elbow room or confine it with a gap of 30–45 cm (12–18 in) from slower neighbors. You can also “aim” spreaders toward open areas where filling in is welcome.
- Mix textures, not just colors: pair fine foliage next to broader leaves, and combine upright forms with mounding ones. This keeps a compact border interesting even when not everything is in bloom.
- Plant in odd numbers on curves: on a bend, groups of 3–7 plants usually look smoother than pairs, because the rhythm follows the arc rather than creating visual stops.
| Border situation | Arrangement choice | Why it works |
|---|---|---|
| Narrow strip along a path (under 45 cm / 18 in wide) | Single row, evenly spaced; keep mounding plants slightly back from the edge | Prevents spillover onto the walkway and keeps the line tidy |
| Medium border (about 60–90 cm / 24–36 in wide) | Two staggered rows with repeated clusters | Fills quickly without crowding and creates a clear pattern |
| Hot, reflective edge near pavement | Give extra spacing and group drought-tolerant plants together | Reduces stress competition and makes watering more targeted |
| Corner or end-cap of a bed | Anchor with one slightly taller compact plant, surround with lower mounds | Creates a visual “stop” so the border feels finished |
After planting, water deeply and watch how fast the soil dries in full sun. If plants start leaning into each other by midseason, a light trim and a bit more space next time usually solves it better than staking everything. For gaps that persist, tuck in a small annual at 20–25 cm (8–10 in) intervals as a temporary filler rather than forcing perennials too close.
Soil preparation for border plants
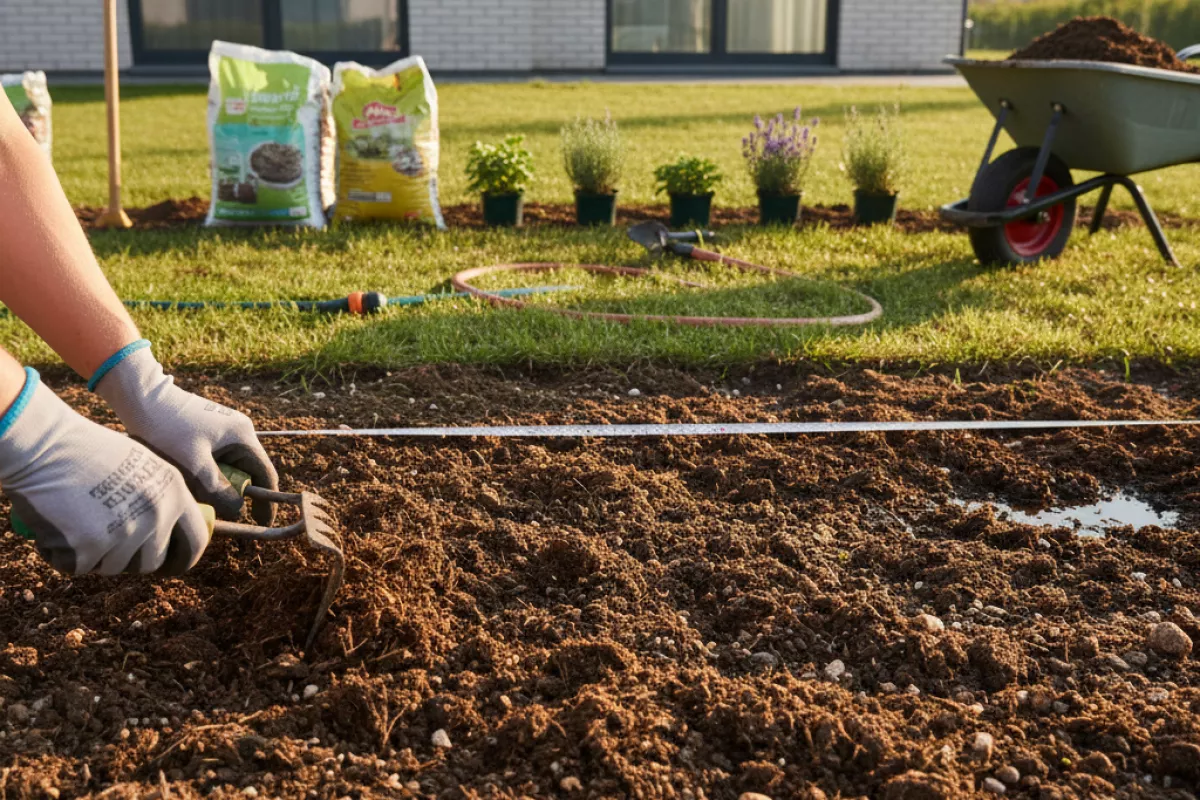
Good edging plants stay compact longer when their roots have loose, even soil to grow into. Before planting, focus on drainage, steady moisture, and a moderate level of fertility; that combination helps sun-loving border perennials and small shrubs handle heat without turning leggy or stressed.
- Check drainage first. After watering, the area shouldn’t stay soggy for more than a few hours. If puddles linger, raise the planting strip by 5–10 cm (2–4 in) with added soil and compost, or work in coarse mineral material to open the texture.
- Clear and loosen the planting band. Remove weeds and their roots, then loosen soil to about 20–30 cm (8–12 in) deep so new roots can spread sideways along the border instead of circling in a tight pocket.
- Amend based on what you have. Clay benefits from compost plus grit to prevent crusting; sandy soil benefits from compost to hold water. As a practical starting point, mix in 5–8 cm (2–3 in) of finished compost across the strip and blend it into the top layer.
- Avoid overfeeding. Too much nitrogen pushes soft, floppy growth — exactly what you don’t want in a neat edging. If you fertilize, keep rates light and consistent; for quick math in liters/gallons and different products, see fertilizer dilution explained.
- Mind the pH, but don’t obsess. Most compact border plants cope well around pH 6.0–7.0. If you’re growing acid-lovers (like some heathers) or lime-lovers (like many lavenders), adjust gradually rather than all at once.
- Set up watering efficiency. A soaker hose or drip line under mulch keeps moisture consistent and reduces splashing soil onto foliage. Aim to wet the root zone deeply, then let the surface dry slightly between waterings.
- Mulch to stabilize conditions. After planting, apply 5–7.5 cm (2–3 in) of mulch to buffer temperature swings and slow evaporation, keeping it a few cm (about 1 in) back from stems to prevent rot.
If you’re also filling raised edging pockets, planters, or narrow planting strips with a custom blend, you can use soil mix recipes and ratios to estimate volumes and keep drainage consistent across the whole border.
Watering routines for edges
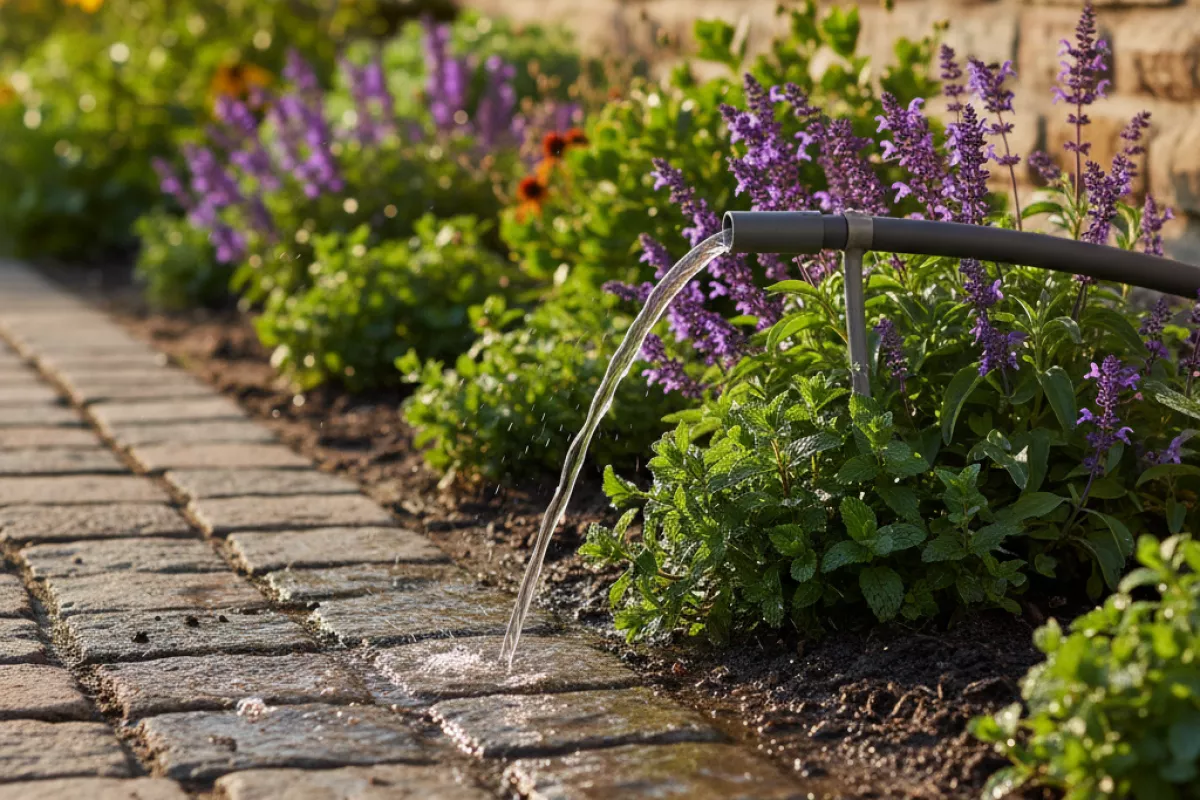
Border plantings dry out faster than the middle of a bed because they catch more sun, wind, and heat from paving. The goal is to water deeply but not constantly — in other words, practice deep watering for strong root development so compact full-sun plants build roots downward instead of staying shallow and thirsty.
- Water at the base, not over the foliage. Aim the stream or drip line at the soil surface to reduce evaporation and mildew risk.
- Soak, then let the top layer dry slightly. A good rule is to water again when the top 2–5 cm (1–2 in) feels dry; in very sandy soil it may dry sooner, while clay holds moisture longer.
- Use a slow application. Give water time to infiltrate so it reaches 15–20 cm (6–8 in) deep, where most feeder roots will settle.
- Mulch the edge. A 5–7.5 cm (2–3 in) layer of mulch reduces splash, slows drying, and keeps the root zone cooler. Keep mulch a few cm (about 1 in) back from stems to prevent rot.
- Adjust for heat reflected from hardscape. Along sidewalks, stone, or metal edging, expect higher demand; check moisture more often during hot spells.
| Situation | What to do | Why it helps |
|---|---|---|
| Newly planted borders (first 2–3 weeks) | Water lightly but frequently, keeping the root ball evenly moist; check daily in heat. | New roots haven’t spread yet, so the plant depends on moisture close to the original plug. |
| Established compact plants in average weather | Deep water about 1–2 times per week, targeting 15–20 cm (6–8 in) depth. | Encourages drought tolerance and steadier growth without constant surface moisture. |
| Heatwave or drying wind | Increase checks; add an extra deep soak if the top 5 cm (2 in) dries quickly. | Edges lose water faster from wind and radiant heat, even when the bed center looks fine. |
| Containers or raised edging pockets | Water when the top 2–3 cm (1 in) is dry; consider morning and evening checks in peak summer. | Small soil volumes can swing from wet to dry within a day. |
| Heavy clay or poorly draining spots | Water less often; wait until the surface dries and the soil feels only slightly damp below. | Prevents root stress from staying saturated, which compact plants can’t outgrow quickly. |
To avoid guesswork, do a quick “finger test” or use a moisture probe near the edge and again 20–30 cm (8–12 in) inward; it’s common for the border strip to be much drier. If you’re using drip irrigation, run it long enough to wet the full root depth rather than short daily cycles that only dampen the surface.
Maintaining neat border lines
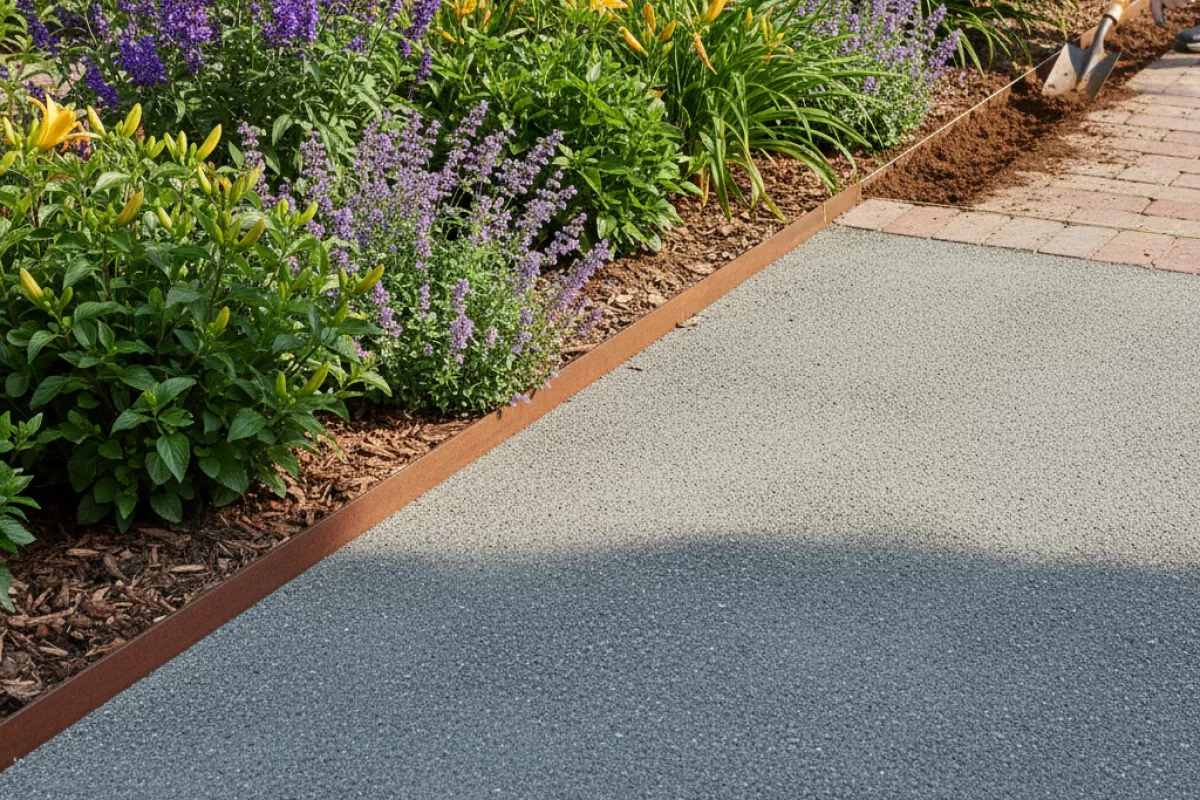
Clean edges come from choosing plants that behave predictably and then giving them a simple routine. Compact, full-sun growers can still blur a border if they sprawl after rain, seed into gaps, or get “leggy” from uneven trimming.
- Start with a physical edge. A crisp boundary (metal, brick, or a cut spade edge) keeps soil and mulch from creeping into paths. Re-cut a spade edge to about 5–8 cm (2–3 in) deep whenever you notice the line softening.
- Plant in a straight or gently arcing line. Use a taut string for straight runs, or a hose for curves, then plant along it. Small wobbles become obvious once plants fill in.
- Space for the mature width, not the nursery pot. If a plant finishes at 30 cm (12 in) wide, set centers about 30 cm (12 in) apart so it knits without piling over the edge. For very tight borders, leave a consistent buffer strip of 5–10 cm (2–4 in) between plant crowns and the hard edge.
- Mulch like a “frame,” not a blanket. Keep mulch 2–3 cm (1 in) back from stems to prevent rot and to make the outline visible. Maintain a mulch depth of roughly 5–7.5 cm (2–3 in) so weeds don’t distort the border line.
- Trim little and often. Light shaping every 2–3 weeks in peak growth keeps compact plants dense. Remove no more than about one-third of the plant at a time to avoid bare patches.
- Deadhead to prevent self-seeding spillover. Snip spent blooms before seed sets, especially on prolific annuals and short-lived perennials. This reduces “bonus” seedlings that pop up outside the intended strip.
- Pinch early to prevent flopping later. When stems reach about 10–15 cm (4–6 in), pinch tips to encourage branching. Shorter, bushier growth holds its shape better along a path.
- Water to support roots, not runway growth. Deep watering less often encourages sturdy plants that don’t topple. As a rule of thumb, aim for about 2.5 cm (1 in) of water per week from rain plus irrigation, adjusted for heat and soil type.
- Refresh the line seasonally. In early spring (or after the hottest period in warm climates), lift and re-center any plants that have migrated. If clumps have widened beyond their space, divide them and replant so the border stays uniform.
If the edge still looks fuzzy, it’s usually one of two issues: the plants are slightly oversized for the strip, or the trim schedule is too infrequent. Tightening spacing to the true mature width and doing quick, regular touch-ups typically restores a sharp outline within a few weeks.