Indoor Plant Watering Based on Soil Moisture Levels

 This article explains why soil moisture beats fixed watering schedules, how to test it properly, how to read soil texture and dryness cues, and how to match watering to plant type. It also covers how light and temperature change drying, tools to monitor moisture, and common mistakes.
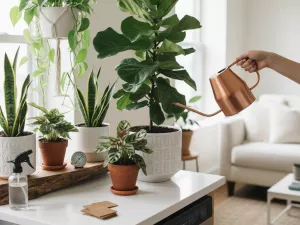
Water indoor plants by checking soil moisture instead of following a calendar to prevent root rot and chronic dryness. Use a quick finger test or a simple moisture meter, then water only when the top layer feels dry. Adjust for each plant’s needs, pot size, light, and indoor humidity. This method supports steady growth and removes much of the guesswork from daily care.
Why soil moisture matters more than schedules
Calendars don’t know what your pot is doing. The same plant can dry out fast one week and stay damp the next, even if it sits in the same spot. Checking soil moisture tells you what the roots are actually experiencing right now, which is what determines whether watering helps or harms — and it’s the core habit behind watering houseplants well.
Indoor conditions change constantly: a sunny spell, a heater turning on, a new cachepot, or simply a plant growing more leaves. Those shifts affect how quickly water leaves the pot and how much oxygen remains around the roots. If you want a simple framework for timing, see how to water indoor plants. A fixed routine can otherwise push you into two common problems: watering while the mix is still wet (risking rot) or waiting too long after it’s already dry (leading to stress and leaf drop).
- Light drives demand. Brighter windows and longer days increase transpiration, so the potting mix dries faster. In lower light, the same amount of water can linger and suffocate roots.
- Temperature and heating change evaporation. Warm air and HVAC can pull moisture out quickly, especially near vents. Cooler rooms slow drying, so “every 7 days” becomes too frequent.
- Humidity affects how fast leaves lose water. Dry air makes plants drink more; humid air slows water loss, leaving soil wet longer.
- Pot size and material aren’t neutral. A 10 cm (4 in) nursery pot dries much faster than a 20 cm (8 in) pot. Terracotta breathes and dries quicker than plastic, so the same schedule won’t fit both.
- Potting mix and drainage control oxygen. Dense mixes hold water longer; airy mixes dry faster. A pot with one small hole behaves differently than one with multiple drainage holes.
- Root health changes uptake. A thriving root system drinks efficiently; damaged or compacted roots don’t, so the soil stays wet even though the plant looks thirsty.
A practical way to think about it: you’re not watering the plant on a schedule, you’re rebalancing the root zone. When the mix is at the right moisture level, roots get both water and air. When it’s too wet, oxygen drops and roots struggle; when it’s too dry, fine roots die back and the plant can’t recover quickly even after you water.
How to test moisture correctly
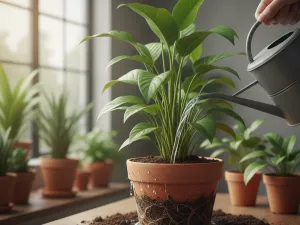
Get the most accurate read by checking the root zone, not just the surface. Topsoil can look dry while the lower mix is still wet, especially in deeper pots or low-light rooms. Use the same method each time so your results stay comparable from week to week.
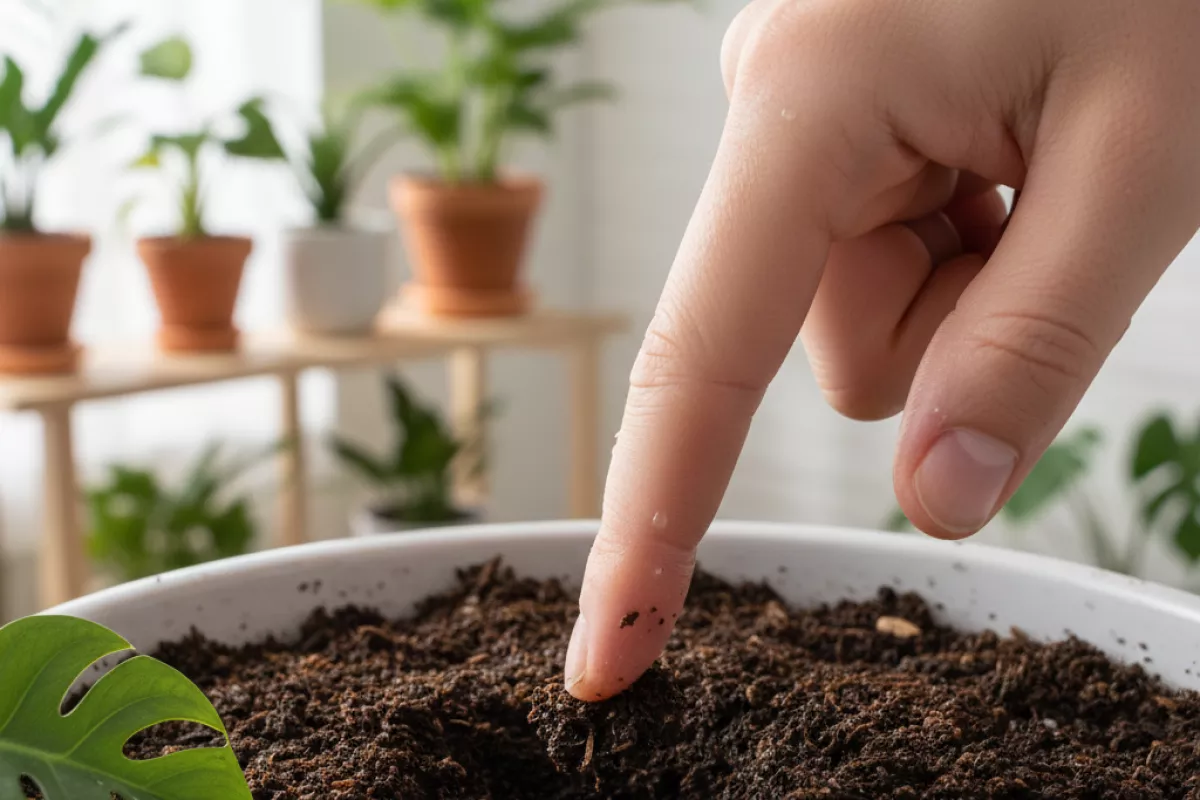
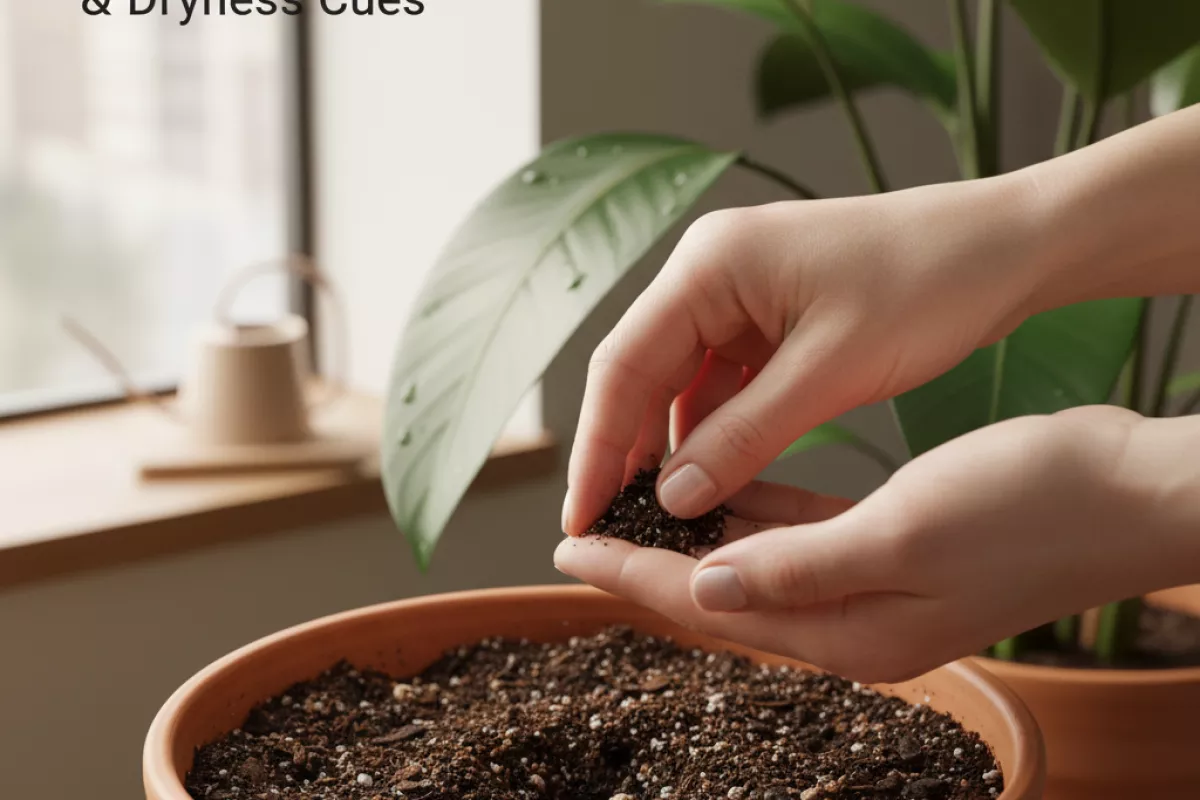
- Finger test (fast and surprisingly reliable): Push a clean finger down 2–5 cm (1–2 in). If it feels cool and damp, wait. If it feels dry and the mix doesn’t cling to your skin, it’s usually time to water. For small pots, aim closer to 2 cm (1 in); for larger pots, closer to 5 cm (2 in).
- Wooden skewer or chopstick (better for deeper pots): Insert it near the pot’s edge down to about half the pot depth, then pull it out after 10–20 seconds. Dark, damp soil stuck to the wood means moisture is still present; a mostly clean skewer suggests the center is drying. Repeat in two spots to avoid being fooled by one wet pocket.
- Lift test (learn the “dry weight”): Right after a thorough watering, lift the pot and notice how heavy it feels. Check again when you think it might need water. A big drop in weight is a strong clue the mix has dried. This works well for pots up to roughly 25 cm (10 in) wide that you can lift safely.
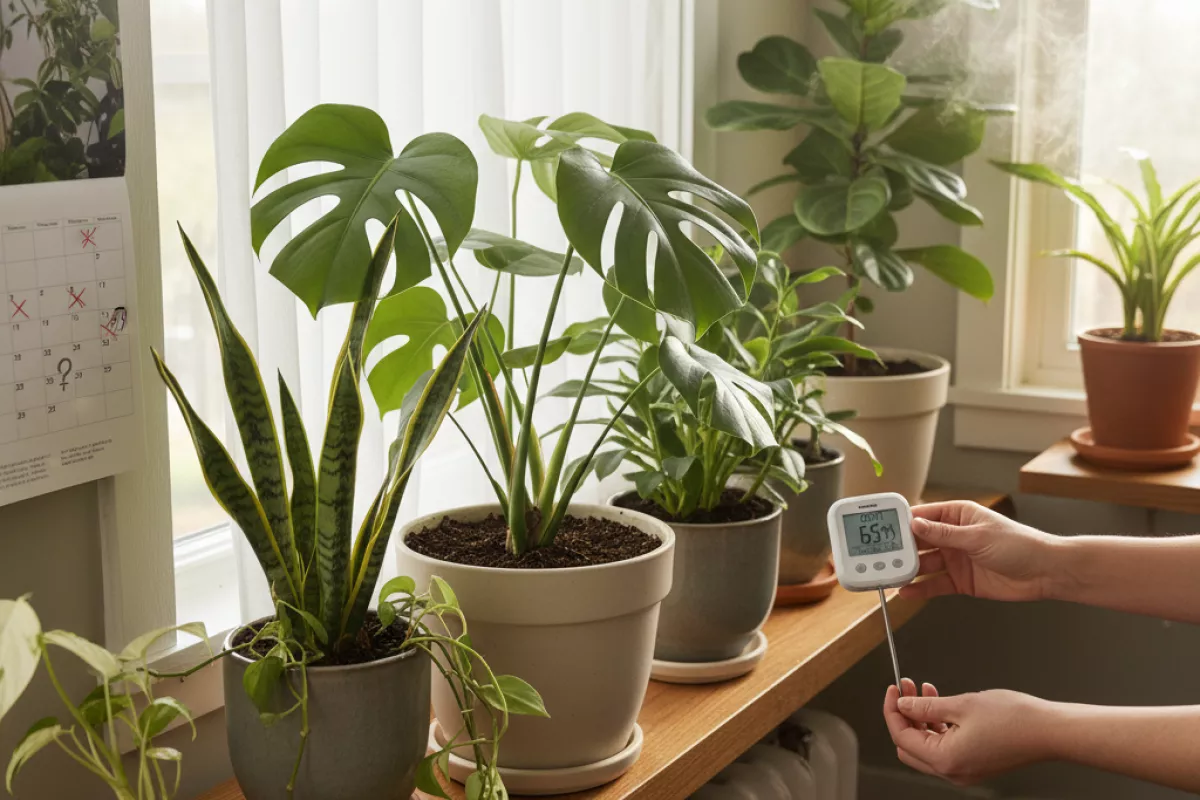
- Moisture meter (useful, but verify): Insert the probe into the root zone, avoiding the very center if the pot is packed with roots. Take 2–3 readings around the pot and average them. Wipe the probe after each use, and occasionally confirm accuracy with the skewer method so you don’t rely on a drifting sensor.
Where you measure matters. Check a spot a few centimeters from the pot wall (about 2–3 cm / 1 in) because the center can stay wetter longer, and the edges can dry faster. For very large containers, take readings at two depths (shallow and deeper) to see whether only the top layer is drying or the whole root zone is.
- Don’t judge by the surface alone: A crusty top can form while the lower mix remains wet, especially with peat-heavy blends.
- Avoid testing right after misting: A damp top layer can make the pot seem wetter than it is.
- Watch for hydrophobic soil: If water runs down the sides and the center stays dry, your test may show “dry” even after watering. In that case, water slowly in two passes, or bottom-water for 15–30 minutes (about 0.25–0.5 hr) so the mix rewets evenly.
- Account for plant type: Succulents and cacti prefer drying much further down than ferns; use the same tool, but interpret the result based on the plant’s tolerance for dryness.
If you’re unsure, combine two methods (for example, lift test plus skewer). Consistent checking beats guessing, and it helps you spot patterns like slower drying in winter or faster drying near a heater or sunny window.
Reading soil texture and dryness cues
Soil can tell you a lot before a moisture meter does, especially if you pay attention to how it feels, looks, and behaves when disturbed. The goal is to connect what you’re sensing at the surface and just below it with a practical watering choice: water now, wait, or water lightly.
- Touch test (top layer): Rub a pinch of mix between your fingers. If it feels cool and slightly tacky, there’s still usable moisture. If it feels dusty, papery, or slides around like dry sand, the top is dry and you’ll want to check deeper before watering.
- Finger depth check: Push a finger down about 5 cm (2 in). If that zone feels dry and the mix doesn’t cling to your skin, most houseplants are ready for a thorough drink. If it’s damp at that depth, hold off even if the surface looks pale.
- Skewer or chopstick method: Insert a wooden skewer 10–15 cm (4–6 in), wait 10 seconds, then pull it out. Dark wood or soil sticking to it means moisture is present lower down; a clean, light skewer suggests the root zone is drying out.
- Color shift: Many potting mixes turn lighter as they dry. Don’t rely on color alone, but use it as a cue to do a deeper check. Dark on top can also be misleading if the pot is staying wet from poor drainage.
- Surface behavior: If water beads and runs down the sides instead of soaking in, the mix may be hydrophobic from drying too far. That’s a “water differently” signal, not necessarily a “water more” signal.
- Cracking and pulling away from the pot: When the soil shrinks and leaves a gap around the edge, it’s often very dry throughout. This is common in peat-heavy blends and small pots.
Texture differences matter because they change how fast moisture moves and how long it lingers near roots. A gritty, chunky mix (bark, perlite, pumice) can feel dry on top while still holding pockets of moisture deeper down. A fine, peat- or coco-based mix can feel evenly damp but still be low on oxygen if it stays wet too long.
| What you notice | What it usually means | What to do next |
|---|---|---|
| Top 2–3 cm (0.8–1.2 in) is dry, but 5 cm (2 in) is cool/damp | Surface evaporation; root zone still has moisture | Wait 1–3 days, or water lightly only if the plant is a fast drinker |
| Dry at 5 cm (2 in); mix doesn’t cling and feels warm | Root zone is drying; plant likely ready | Water thoroughly until a little drains out, then empty the saucer |
| Soil feels damp but dense; pot stays heavy for days | Water is present but air is limited; risk of overwatering symptoms | Delay watering; improve airflow/light, and consider a chunkier mix later |
| Water runs down the sides; soil resists wetting | Mix has become hydrophobic from drying too far | Bottom-water 15–30 min (or 15–30 minutes) and then drain well; repeat once if needed |
| Soil has pulled away from pot; visible gap at the edge | Severe drying and shrinkage; uneven re-wetting likely | Soak from below and top-water slowly in stages to rehydrate evenly |
If cues conflict, trust the deeper read over the surface. A dry crust can happen in bright windows or near vents even when the lower half is still moist. On the flip side, a damp top doesn’t guarantee the bottom isn’t soggy, especially in tall pots or mixes that compact over time.
When you do water based on these signs, match the method to the condition: slow, staged watering for very dry or water-repellent soil; a normal thorough watering for evenly dry mix; and patience (plus better drying conditions) for soil that stays wet and heavy.
Matching watering frequency to plant type
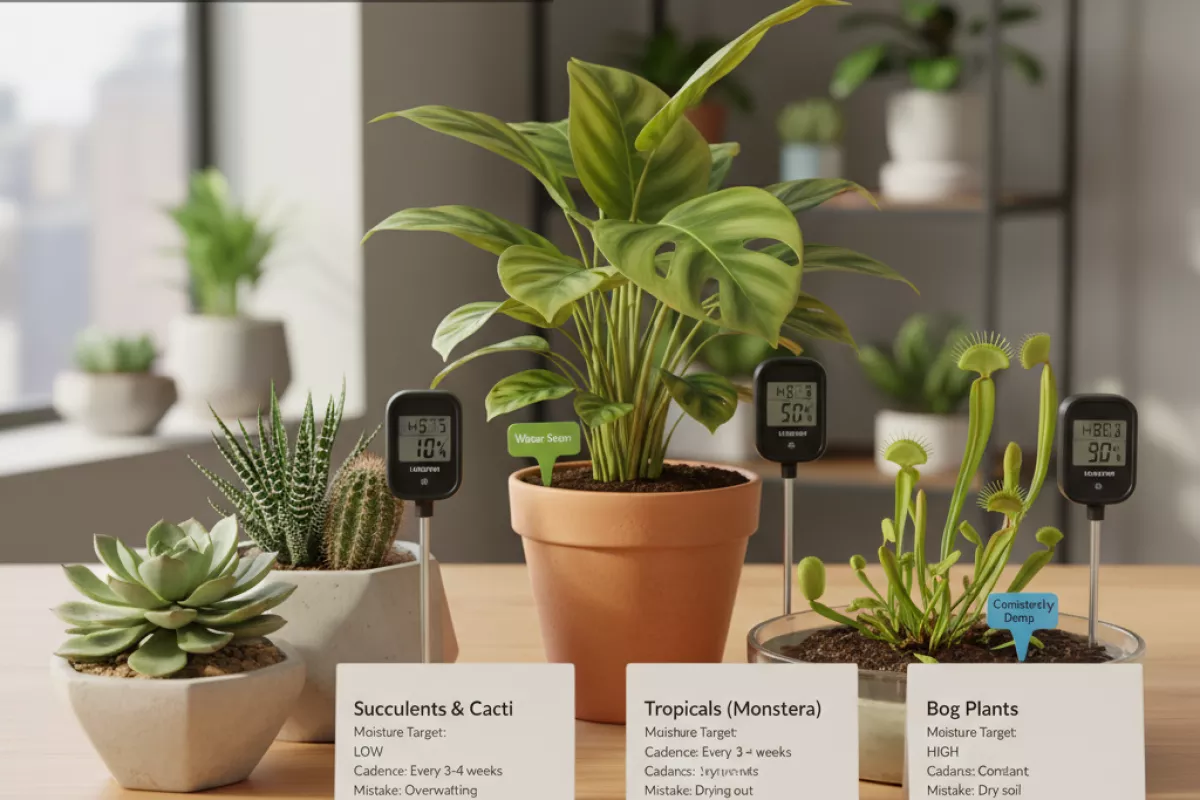
Different plants use water at different speeds, so the same soil moisture reading can mean “wait” for one species and “water soon” for another. Start with what the plant is built to do: store water (succulents), move a lot of water through leaves (many tropicals), or sit in consistently damp conditions (bog plants). Then adjust for pot size, light, and season.
| Plant group (examples) | Moisture target & watering cue | Typical cadence (adjust for light/season) | Common mistake to avoid |
|---|---|---|---|
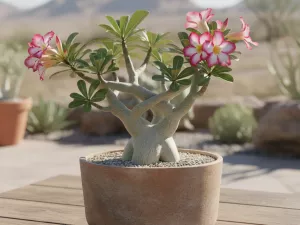
| Succulents & cacti (aloe, echeveria, cactus) | Let mix dry almost fully; water when the pot feels light and the lower zone is dry. | About every 14–28 days in bright light; 21–42 days in winter indoors. | “Small sips” too often; it keeps roots damp and invites rot. |
| Drought-tolerant foliage (snake plant, ZZ plant) | Allow most of the pot to dry; water once dryness reaches deeper than the top layer. | Roughly every 14–30 days; longer in low light. | Watering on a fixed weekly schedule regardless of moisture. |
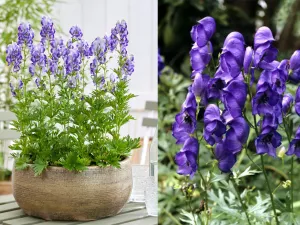
| Most tropical houseplants (pothos, philodendron, monstera) | Keep evenly moist, not soggy; water when the top 2–5 cm (1–2 in) is dry. | Often every 5–10 days in active growth; 10–14 days in winter. | Letting the root ball swing from bone-dry to soaked. |
| Moisture-loving tropicals (calathea, fittonia, peace lily) | Don’t let it dry far; water when the surface just starts to dry and the pot still has weight. | Commonly every 3–7 days; may be more frequent in warm, bright rooms. | Waiting until leaves collapse; repeated stress causes crisp edges and slow recovery. |
| Orchids & epiphytes (phalaenopsis, mounted plants) | Water when medium is nearly dry but before roots shrivel; roots look silvery when thirsty. | Typically every 7–12 days in bark; faster in warm, dry air. | Leaving water in the crown or using dense, water-holding media. |
| Ferns (Boston fern, maidenhair) | Prefer consistent moisture; water when the top 1–2 cm (0.5–1 in) begins to dry. | Often every 3–6 days; less in cooler seasons. | Letting the pot dry out completely even once. |
| Bog/semiaquatic plants (some carnivorous plants) | Keep consistently damp; many tolerate standing water in a tray depending on species. | Check every 1–3 days; top up as needed. | Using mineral-heavy tap water; many need low-mineral water. |
Use these ranges as a starting point, then let the soil moisture level make the final call. If you want a clearer decision framework (how deep to check, how much to dry, and how to water through the whole root ball), use these watering methods. A plant in a 10 cm (4 in) pot will usually dry faster than the same plant in a 20 cm (8 in) pot, and a sunny window can cut the interval in half compared with low light.
- If you’re between two categories: lean toward the drier option for thick-leaved plants and the moister option for thin-leaved plants.
- If the top is dry but the pot is still heavy: wait; the lower root zone likely still has enough water.
- If the top stays wet for more than 7–10 days: reduce watering and check drainage, mix density, and light level.
How light and temperature affect soil drying
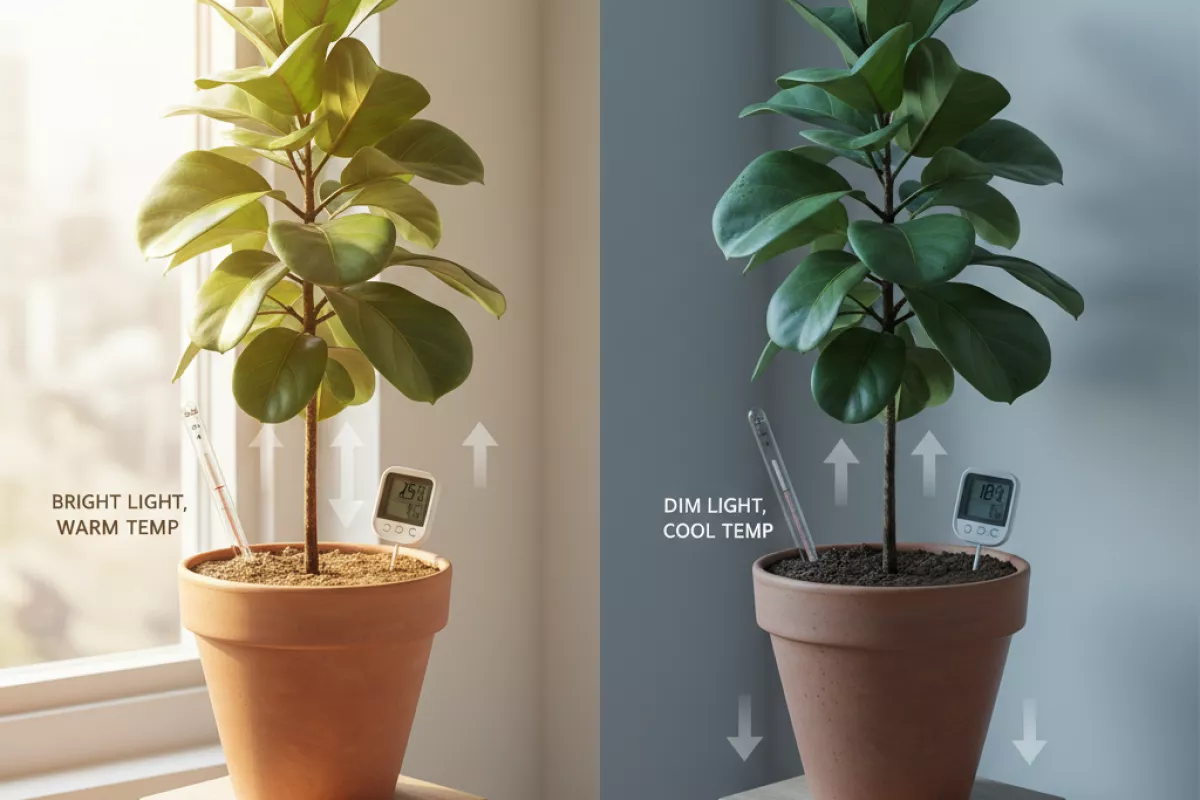
Soil moisture doesn’t drop at a steady pace indoors. Bright exposure and warmer air usually speed up evaporation from the potting mix and transpiration through leaves, while dim corners and cooler rooms slow everything down. That’s why the same “water every X days” schedule can work in one spot and fail in another.
Light changes drying mostly by changing how hard the plant is “working.” In stronger light, photosynthesis ramps up, stomata open more, and the plant pulls more water from the soil. In low light, growth and water use often stall, so the mix stays wet longer even if the surface looks dry.
- Direct sun through a window: Faster moisture loss, especially in small pots. Sun also warms the container, which can dry the root zone unevenly.
- Bright indirect light: Moderate, predictable drying; this is where moisture-meter readings tend to match what the plant is actually using.
- Low light: Slower drying and a higher risk of overwatering; wait for deeper dryness rather than watering when only the top layer feels dry.
Temperature affects both evaporation and plant water demand. A room at 24°C (75°F) will typically dry pots faster than one at 18°C (64°F), even if the light is the same. Warm air can also hold more water vapor, so if humidity is low, the air “pulls” moisture from soil and leaves more aggressively.
| Situation | What happens to drying | How to adjust watering based on moisture |
|---|---|---|
| Sunny window; pot warms up during the day | Top and edges dry quickly; center may stay moist longer | Check moisture at root depth (about 5–8 cm (2–3 in) down) before watering; avoid watering just because the surface is dry |
| Bright light + warm room (around 22–26°C (72–79°F)) | Faster, more uniform drying | Expect shorter intervals; water when the target zone reaches your plant’s preferred dryness, not on a fixed calendar |
| Low light corner + cool room (around 16–19°C (61–66°F)) | Slow drying; moisture lingers near roots | Let the potting mix dry deeper than usual; confirm with a finger test or meter before adding more |
| Near a heater/vent or under a grow light that adds heat | Rapid moisture loss and “hot spots” in the pot | Measure in two places (center and edge); water thoroughly when ready, then recheck sooner than normal |
A practical habit: reassess after any seasonal shift or a move to a new shelf. Even a 2–3°C (4–5°F) change or a few extra hours of light can noticeably change how quickly the potting mix dries, so let your soil moisture readings lead the timing rather than routine.
Tools that help monitor moisture accurately
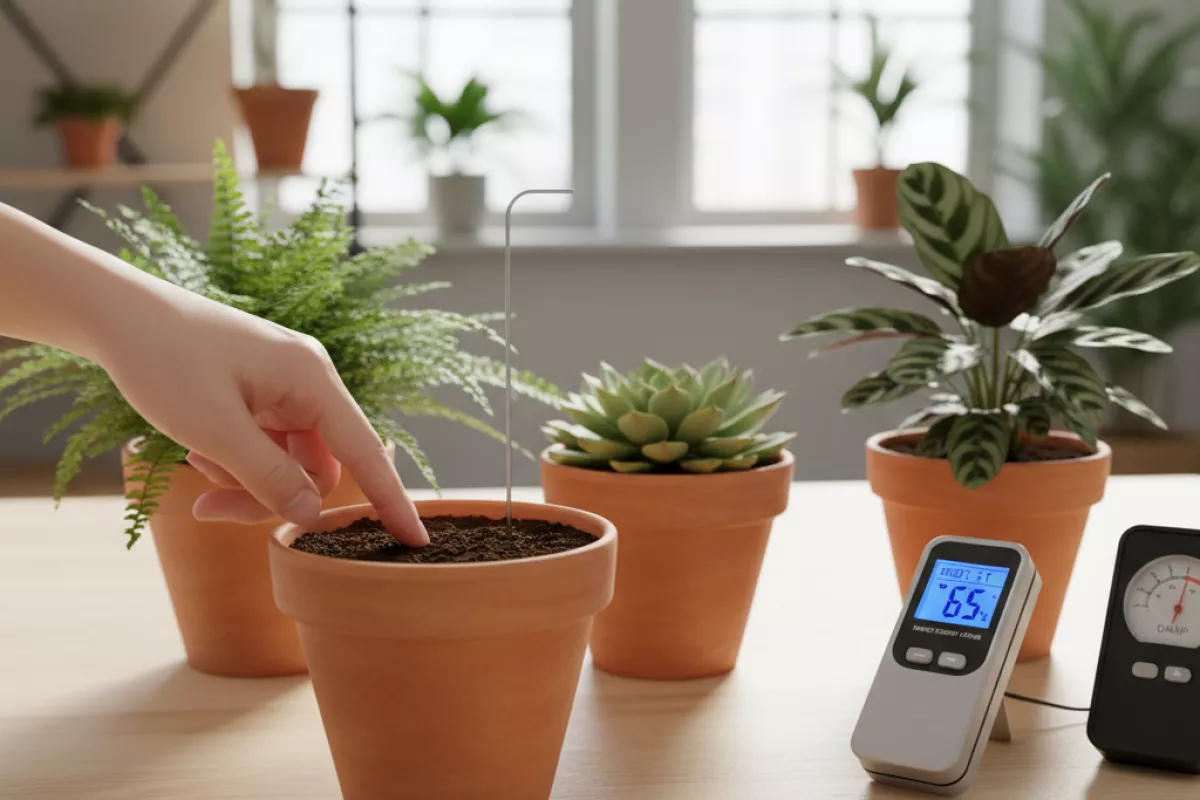
Consistent watering gets much easier when you can check what’s happening below the surface instead of guessing from the top layer. The right device depends on your pot size, soil mix, and how precise you want to be (a quick “dry vs. damp” check versus a true moisture reading).
- Finger test (still useful when done well): Push a clean finger 2–5 cm (0.8–2 in) into the mix. If it feels cool and clings to your skin, it’s usually still moist; if it feels dry and crumbly, it’s closer to watering time. This is less reliable in chunky mixes (orchid bark, aroid blends) where air gaps can fool you.
- Wooden skewer or chopstick: Insert a dry skewer to near the root zone, wait 10–30 seconds, then pull it out. Darkened wood and soil sticking to it indicates moisture deeper down. It’s a simple way to check tall pots where the top dries fast but the bottom stays wet.
- Gravimetric “lift the pot” method: Water thoroughly, then lift the pot to learn its “just-watered” weight. Over the next days, lift again to feel the difference as water is used. This works especially well for small to medium containers and helps you spot pots that stay heavy (a sign of slow drying or poor drainage).
- Analog moisture meter (probe style): Good for a quick read, but treat it as a trend tool rather than an absolute truth. For best results, insert the probe into the root zone (not against the pot wall), take 2–3 readings in different spots, and wipe the probe clean after use. Avoid leaving it in the soil long-term; corrosion and salts can skew readings.
- Digital moisture sensors (with a display): These typically give more consistent readings than basic analog meters, especially in uniform potting mixes. They’re helpful if you’re trying to water based on a target range (for example, letting the mix drop to a “moderately dry” level before watering again).
- Smart sensors (app-based): Useful when you manage many plants or can’t check daily. They can log moisture over time, which helps you learn how fast different pots dry in your home. Just remember that salts from fertilizer and very airy substrates can affect sensor accuracy, so periodic cross-checks with a skewer test are smart.
| Option | Best for | Strengths | Watch-outs |
|---|---|---|---|
| Finger test | Quick checks on most houseplants | No tools; immediate feedback on surface-to-mid depth | Less accurate in chunky mixes; hard in deep pots beyond 5 cm (2 in) |
| Wooden skewer/chopstick | Deep containers and plants sensitive to overwatering | Shows moisture deeper in the root zone; cheap and repeatable | Needs a few seconds to wick moisture; can miss “wet pockets” if you only test one spot |
| Lift-the-pot weight check | Small to medium pots; growers learning drying cycles | Excellent for spotting waterlogged soil; fast once you learn the baseline | Hard with large/heavy pots; changing plant size and soil compaction shift the baseline |
| Analog probe meter | Fast screening across many plants | Convenient; helps compare pots and track trends | Can be inaccurate in salty soil or very airy mixes; needs cleaning and careful placement |
| Digital/smart sensor | More precise monitoring and habit building | More consistent readings; some models log data over days/weeks | Costs more; readings can drift with fertilizer salts—verify occasionally with a skewer test |
Whichever method you choose, measure where the roots actually are. In a 15 cm (6 in) pot, that usually means checking around the mid-depth; in a 30 cm (12 in) pot, check at least two depths. Taking readings in a couple of spots (not just one) reduces the chance you water based on an unusually dry or wet pocket.
Common errors when judging soil dryness
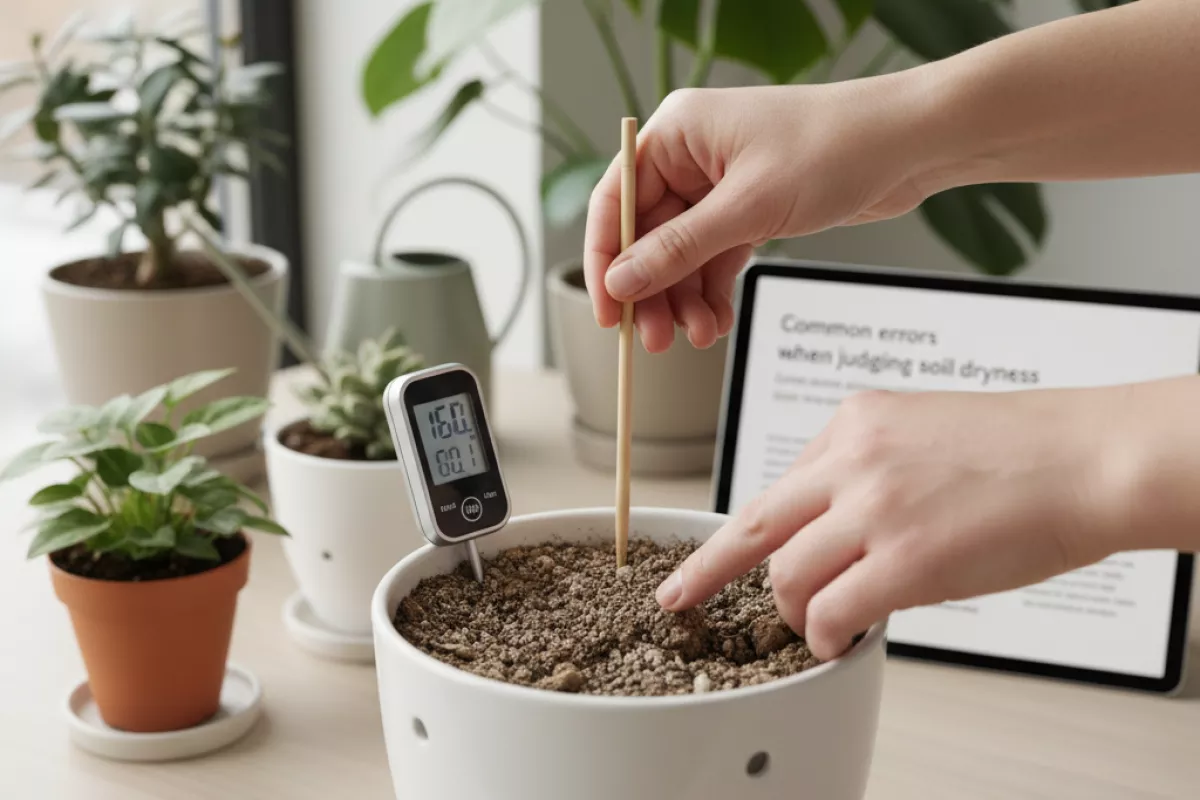
Most watering mistakes come from relying on surface clues or a single “test” that doesn’t match your pot, mix, or plant. Indoor containers dry unevenly, and what feels dry in one spot can be damp a few centimeters down.
- Judging by the top layer only. The first 1–2 cm (0.4–0.8 in) can be bone-dry while the root zone is still moist, especially in deeper pots. Check a little deeper with a finger, chopstick, or moisture meter placed near (not against) the root ball.
- Assuming “light pot” always means “needs water.” Pot weight is useful only after you learn the difference between freshly watered and nearly dry for that exact setup. Plastic vs. terracotta, thick vs. thin pots, and different soil blends can make “light” misleading.
- Using a moisture meter incorrectly. Meters often read falsely dry in chunky mixes (bark, perlite) because the probe isn’t contacting moist particles. Insert in a couple of spots, avoid hitting the pot wall, and wipe the probe clean between plants to reduce bad readings.
- Confusing “wilting” with dryness. Leaves can droop from underwatering, but also from overwatering (roots starved of oxygen), heat stress, or a sudden change in light. If the mix feels cool and damp 5 cm (2 in) down, don’t reflexively add water.
- Ignoring the bottom of the pot. Water can sit in the lower third while the top dries, especially in tall pots or mixes that compact. If you always test near the surface, you may keep topping up and slowly waterlog the roots.
- Not accounting for pot material and airflow. Terracotta and fabric pots lose moisture faster than plastic or glazed ceramic. A plant near a vent, fan, or sunny window can dry out days sooner than the same plant across the room.
- Following a calendar instead of the plant and mix. “Water every 7 days” breaks down when seasons change. Short winter days and cooler rooms slow evaporation; bright summer light can speed it up. Let soil moisture level be the trigger, not the date.
- Over-trusting “dry-looking” soil. Some mixes turn pale and crusty on top while still holding plenty of water below. Conversely, peat-heavy mixes can look dark even when they’re dry inside because they shrink away from the pot and re-wet unevenly.
- Testing in only one spot. One side may dry faster due to sun exposure or proximity to a heat source. Check 2–3 locations, including nearer the center where most roots are.
- Forgetting that roots change the reading. A root-bound plant dries faster because there’s less soil holding water, while a newly potted plant can stay wet longer because the root system hasn’t filled the container yet. The same “finger depth” can mean different things depending on how full the pot is of roots.
If you’re unsure, combine two signals (for example: deeper feel plus pot weight) before watering. If you still keep second-guessing yourself, use plant overwatering as a quick sanity check based on pot, drainage, soil structure, and indoor conditions. That small pause prevents the common pattern of watering again while the lower root zone is still wet.