How to Get Rid of Spider Mites Naturally

 Covers why natural control methods work against spider mites, the best homemade solutions, plant-safe washing techniques, and natural predators that reduce mites. Also explains ideal application timing, how often to repeat treatments, and how to prevent mites without chemicals.
To clear spider mites from plants with gentle, non-chemical methods, act quickly and consistently. These tiny pests thrive in warm, dry air and often appear as pale stippling, fine webbing, and tired, dull leaves. Inspect both sides of leaves often, isolate affected plants, rinse foliage with a strong spray of water, raise humidity, and repeat every few days until new growth looks healthy.
Why natural control methods work
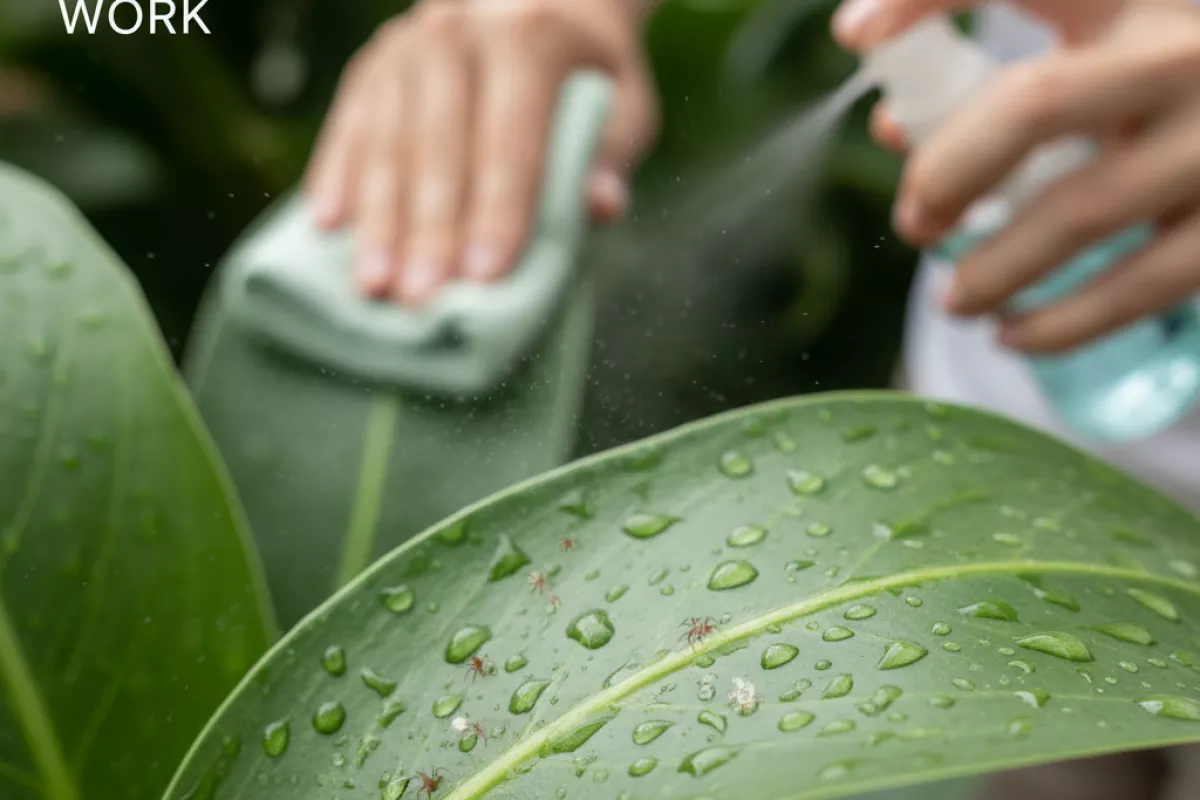
These approaches succeed because they target spider mites where they’re weakest: their soft bodies, their dependence on dry, dusty conditions, and their fast-but-fragile life cycle. Instead of trying to “nuke” the plant, natural tactics focus on breaking reproduction, removing the pests physically, and making the environment less comfortable for them.
- They disrupt the life cycle, not just the adults. Mites lay eggs on leaf undersides, and new generations appear quickly. Repeating gentle measures on a schedule (for example, every 3–4 days) catches hatchlings before they mature and lay more eggs.
- They work by contact and coverage. Options like insecticidal soap or horticultural oil don’t rely on systemic poison; they need to touch the mites. That’s why thorough spraying, especially under leaves and along stems, matters more than using a stronger mix.
- They reduce plant stress, which lowers flare-ups. Overly dry air, underwatering, and dusty leaves favor outbreaks. Rinsing foliage and keeping plants evenly watered makes the plant less of an easy target and helps it recover faster.
- They preserve beneficial insects and mites. Broad-spectrum pesticides often kill predators that naturally keep populations in check. Gentler methods are less likely to wipe out allies like predatory mites and lacewings, so rebound infestations are less common.
- They help prevent resistance. Spider mites can adapt quickly to repeated chemical use. Physical removal, environmental tweaks, and varied low-toxicity sprays put less single-pressure selection on the population.
- They’re scalable and precise. You can isolate one plant, rinse it in a sink, prune heavily infested leaves, or spot-treat a few branches—without treating your whole garden or home.
The practical takeaway: natural control works best as a process. Combine removal (rinsing/wiping), a contact treatment (soap or oil), and improved conditions (less dust, steadier moisture, better airflow). Done consistently, that combination usually brings spider mites down to a level the plant—and its natural predators—can handle.
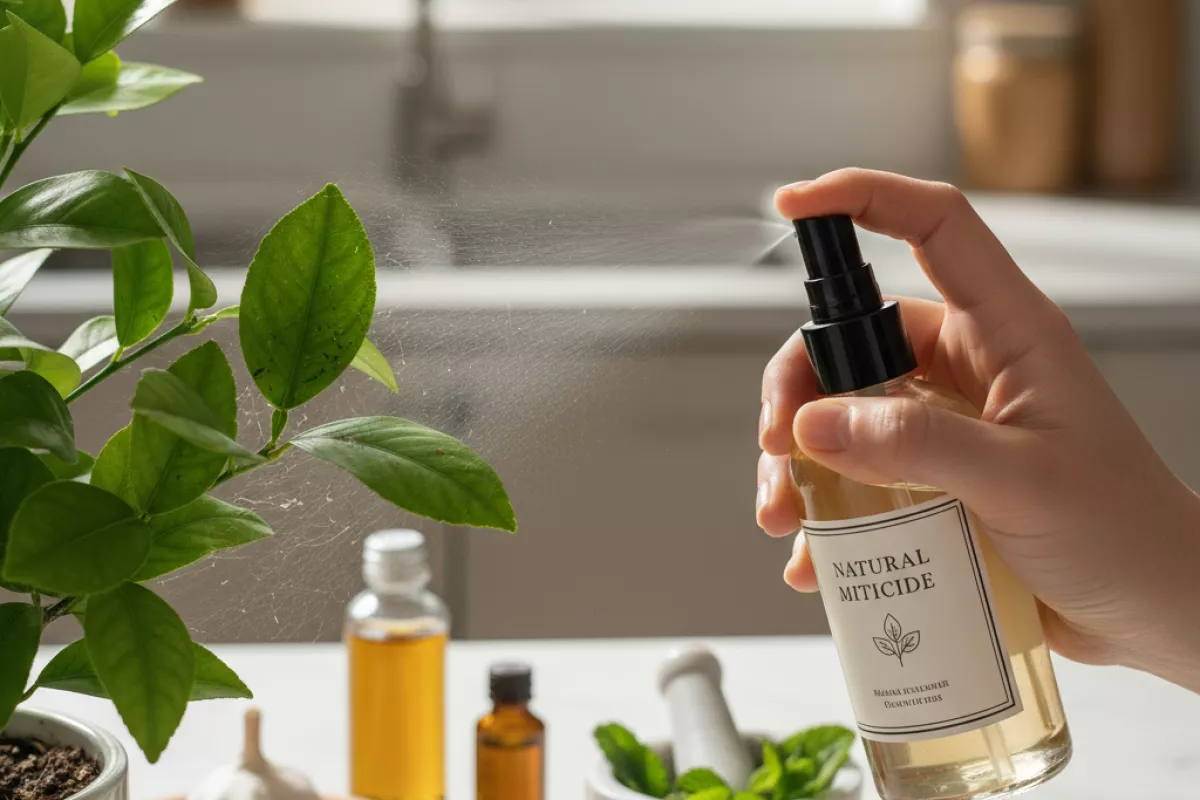
Best homemade solutions for mites
Start with remedies that physically remove or smother the pests, then repeat on a schedule. Spider mites reproduce quickly, so one spray-and-done usually isn’t enough; plan on several rounds and keep an eye on the undersides of leaves where they cluster.
| Homemade option | How to mix and use | Best for | Notes & cautions |
|---|---|---|---|
| Water rinse + wipe | Rinse leaves with a firm spray of lukewarm water, then wipe undersides with a damp cloth. Repeat every 2–3 days. | Light infestations; delicate plants that dislike oils | Focus on leaf undersides and stems. Let foliage dry with good airflow to reduce mildew risk. |
| Soap spray (mild liquid soap) | Mix 5 ml (1 tsp) mild liquid soap in 1 L (34 fl oz) water. Spray to wet both sides of leaves; wait 10–15 minutes, then rinse. | Active mites and webbing on many houseplants | Use true mild soap, not degreasing dish detergents. Test on 1–2 leaves first and wait 24 hours. |
| Neem oil emulsion | Mix 2.5–5 ml (1/2–1 tsp) neem oil + 2.5 ml (1/2 tsp) mild soap in 1 L (34 fl oz) warm water. Shake often and spray weekly. | Ongoing control; breaking the life cycle | Apply out of direct sun to avoid leaf burn. Some plants are sensitive; spot-test. |
| Horticultural-style oil (DIY light oil spray) | Mix 5 ml (1 tsp) light vegetable oil with 1 L (34 fl oz) water plus 2.5 ml (1/2 tsp) mild soap. Spray thoroughly; reapply every 5–7 days. | Smothering mites and eggs on tougher foliage | Do not use on drought-stressed plants or in heat above 29°C (85°F). Rinse after a few hours if leaves look stressed. |
| Isopropyl alcohol spot treatment | Dab 70% isopropyl alcohol on a cotton swab and wipe clusters, or dilute 1:1 with water and mist lightly on sturdy leaves. | Small outbreaks; tight crevices and leaf joints | Can scorch tender foliage. Avoid open blooms and always test a small area first. |
- Spray coverage matters more than strength. Wet the undersides until they glisten; that’s where most mites and eggs sit.
- Repeat on a rhythm. Reapply every 5–7 days (or sooner for rinses) for at least 2–3 cycles to catch newly hatched mites.
- Rinse when using soap or oils. A gentle rinse after 10–60 minutes (depending on plant tolerance) helps prevent residue and leaf stress.
- Keep conditions less mite-friendly. Raise humidity modestly (for example, from 30% to around 50%) and reduce heat spikes; dry, hot air speeds outbreaks.
- Don’t mix multiple “strong” treatments at once. Combining soap, alcohol, and oils in the same session increases the chance of phytotoxicity.
If you’re unsure which approach your plant can handle, start with a water rinse and a mild soap spray, then move to neem or a light oil only if the population keeps rebounding. The goal is steady pressure over time, not a single harsh application that damages leaves more than the mites do.
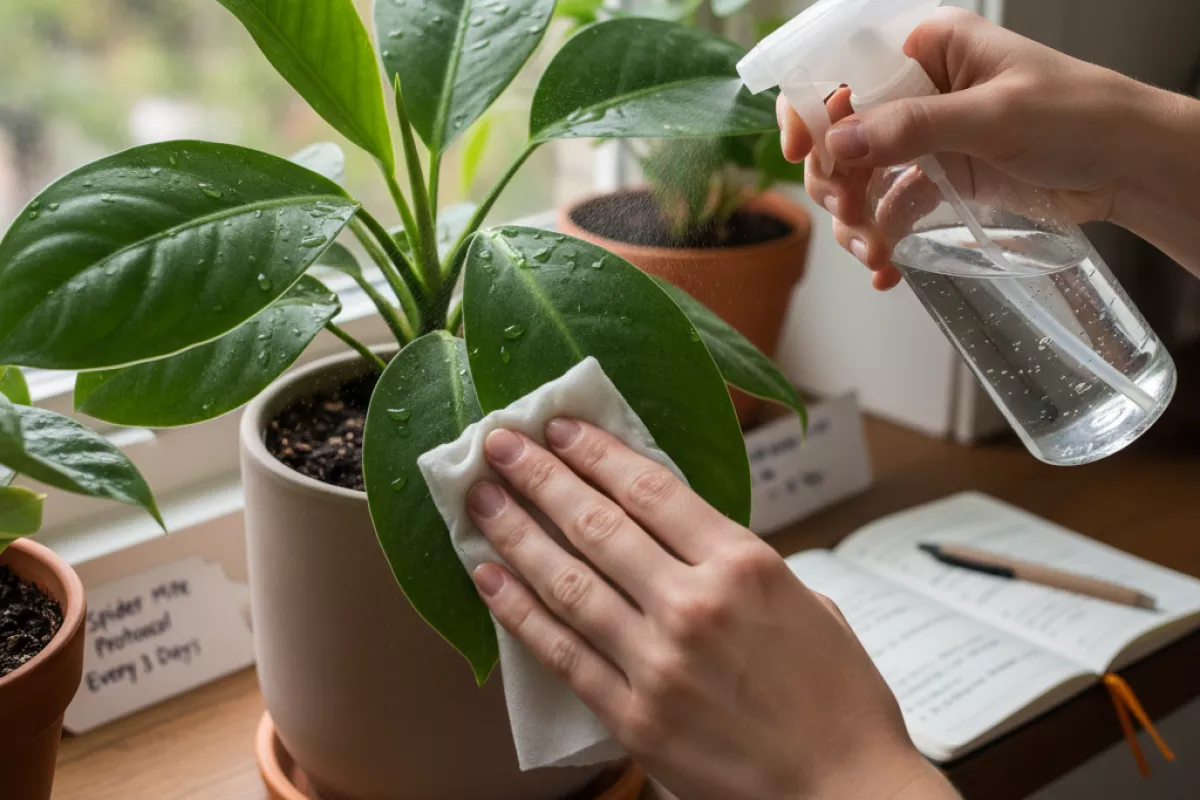
Plant-safe washing techniques
Rinsing and wiping can knock down spider mites fast because it physically removes adults, eggs, and webbing. It won’t solve a heavy infestation on its own, but it lowers the population enough that follow-up steps (like oils, soaps, or beneficial insects) work better.
Before you start, isolate the plant, protect the soil surface with a towel or plastic wrap, and test any spray on a few leaves first. Aim your effort at the undersides of leaves and along stems, where mites cluster.
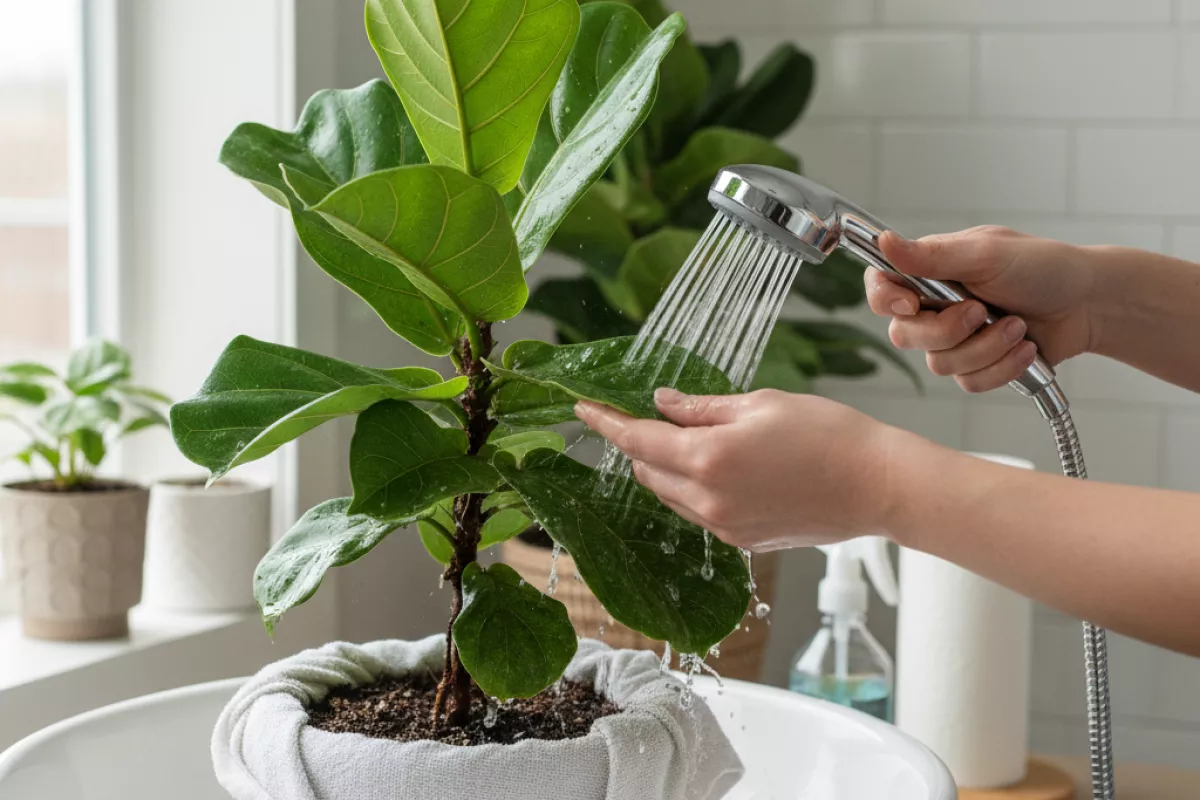
- Gentle shower rinse (best first step): Use lukewarm water around 20–25°C (68–77°F). Hold the pot at an angle and rinse from top to bottom, then flip leaves to spray the undersides. Repeat every 2–3 days for 1–2 weeks, since eggs can hatch after the first wash.
- Targeted leaf wipe (for sturdy leaves): Dampen a soft cloth or cotton pad with plain water, or a very mild soapy mix (about 2–5 ml castile soap per 1 L water (0.07–0.17 fl oz per 34 fl oz)). Support each leaf with your hand and wipe both sides, especially near the midrib and petiole. Rinse with clean water afterward to reduce residue.
- Spray-and-drain flush (for dense foliage): Use a spray bottle to saturate leaf undersides until water drips, then let the plant drain thoroughly. This is useful when a shower isn’t practical, but it takes longer and can miss hidden pockets if you rush.
- Soft brush detail work (for joints and crevices): Use a soft paintbrush or makeup brush dipped in water to dislodge mites in leaf axils and stem nodes. Follow with a rinse so you’re not just moving pests around.
- Webbing removal: If you see fine silk, remove it first with a damp cloth or a quick rinse. Webbing can shield mites from sprays, so clearing it improves any next treatment.
Be careful with pressure. A hard jet can tear leaves, snap petioles, or drive pests deeper into crevices. If you’re using a sink sprayer or hose, keep the stream gentle and stay a short distance away, roughly 15–30 cm (6–12 in), adjusting based on how delicate the plant is.
Drying matters. After washing, shake off excess water and ensure airflow so leaves dry within a few hours. Avoid leaving water pooled in crowns or tight rosettes, which can invite rot. If your plant is sensitive to wet foliage (some violets and fuzzy-leaf plants), stick to careful wiping rather than full rinses.
Natural predators that reduce mites
Beneficial insects and mites can bring an outbreak under control by feeding on spider mites at multiple life stages. They work best when you catch the problem early, avoid broad-spectrum pesticides (including many “all-in-one” sprays), and give the helpers a plant-friendly environment with a bit of humidity and shelter.
| Predator | What it targets | Best use case | Notes for success |
|---|---|---|---|
| Predatory mite (Phytoseiulus persimilis) | Spider mite eggs, nymphs, and adults | Fast knockdown when infestations are visible | Needs moderate humidity; avoid dusty leaves and soap/oil residues right after release. |
| Predatory mite (Neoseiulus californicus) | Spider mites (all stages), can persist on low prey | Prevention and low-to-moderate outbreaks | Tolerates warmer, drier conditions better than some other predatory mites. |
| Predatory mite (Amblyseius andersoni) | Spider mites; also helps with some other small pests | Early season and fluctuating temperatures | Good “maintenance” predator; works steadily rather than explosively. |
| Lady beetles (especially Stethorus spp.) | Spider mites (heavy feeder on active stages) | Outdoor gardens and greenhouses with established plants | Needs prey to stay; general ladybugs may fly off if food is scarce. |
| Green lacewing larvae | Mites, aphids, thrips, and other soft-bodied pests | Mixed-pest situations | Larvae are the hunters; adults may not eat mites. Provide flowering plants for adults if outdoors. |
| Minute pirate bugs (Orius spp.) | Mites and thrips (prefers mobile prey) | When thrips and mites overlap | More effective as part of a broader biological program than as a solo fix. |
To help these allies stick around, rinse dusty leaves, reduce plant stress (consistent watering and light), and keep a small “buffer” habitat nearby. Outdoors, a strip of pollen- and nectar-producing plants can support lacewings and pirate bugs; indoors, simply avoiding harsh sprays and keeping leaves clean often makes the biggest difference.
- Timing matters: release or encourage beneficials when you first see stippling or fine webbing, not after leaves are heavily bronzed.
- Don’t mix with harsh treatments: if you used insecticidal soap or horticultural oil, wait until residues are gone and leaves are dry before introducing predators.
- Check results the right way: inspect the undersides of leaves every 3–4 days and look for fewer moving mites and fewer new speckled leaves.
Application timing for best results

When you spray matters as much as what you spray. Spider mites feed and reproduce quickly in warm, dry conditions, so the goal is to hit them on a repeatable schedule and at times that won’t stress the plant or evaporate your treatment too fast.
- Spray early morning or late evening. Cooler temperatures and lower sun intensity help prevent leaf burn and slow evaporation. If your space regularly exceeds 29°C (85°F) in the afternoon, avoid midday applications.
- Start as soon as you see stippling or fine webbing. Waiting a week can mean multiple new generations. Early action usually reduces how many rounds you’ll need.
- Repeat on a tight interval at first. Most natural sprays don’t reliably kill eggs, so plan on reapplying every 3–4 days for 2 weeks. That cadence helps catch newly hatched mites before they lay more eggs.
- Adjust once pressure drops. After you stop seeing new damage, switch to every 7 days for 2–3 weeks as a “cleanup” phase, especially on plants that were heavily infested.
- Reapply after rinsing or rain. If you hose plants down or they get a solid rain, treat again once foliage is dry. A strong rinse can remove mites, but it also removes residues from soaps and oils.
- Time predator releases differently. If you’re using beneficial insects, avoid spraying soaps or oils for about 24–48 hours before and after release so you don’t harm them. Use plain water rinses during that window if needed.
- Target the underside, then check back. Mites cluster under leaves and along veins. Inspect 24–48 hours after treatment; if you still see active movement, shorten the interval and improve coverage rather than increasing concentration.
| Situation | Suggested schedule | What to watch for |
|---|---|---|
| Light infestation (a few leaves affected) | Every 4 days for 10–14 days, then weekly for 2 weeks | No new stippling; fewer mites on leaf undersides |
| Moderate infestation (multiple leaves, some webbing) | Every 3 days for 2 weeks, then every 7 days for 3 weeks | Webbing stops expanding; new growth looks clean |
| Heavy infestation (widespread webbing, leaf drop starting) | Every 3 days for 2 weeks plus physical rinses between, then weekly for 4 weeks | Active mites still visible after 48 hours means coverage is missing spots |
| Hot, dry spell (rapid flare-ups) | Maintain every 3–4 days until conditions ease; add weekly follow-ups | Damage accelerates quickly; check plants every 2 days |
If you’re unsure whether to treat again, use a simple rule: if you can still find live mites with a close look at the underside of several leaves, keep the short cycle going. Once you’ve gone 10–14 days without seeing active mites or fresh damage, you can step down to occasional monitoring and spot treatments.
How often to repeat treatments

Repeat applications based on the mite life cycle, not just what you can see. Most natural sprays don’t reliably kill eggs, so you’re aiming to catch newly hatched mites before they mature and lay more. That usually means treating in a short series, then switching to maintenance once leaf damage stops spreading.
| Situation | Repeat schedule (typical) | When to scale back or stop |
|---|---|---|
| Active outbreak (webbing, lots of speckling) | Every 3–4 days (72–96 hours) for 2 weeks (14 days) | No new stippling, webs gone, and inspections stay clean for 7–10 days |
| Moderate presence (mites seen, little webbing) | Every 5–7 days for 2–3 weeks (14–21 days) | You can’t find mites on 2 checks in a row, spaced 5–7 days apart |
| After a “reset” (hard rinse + leaf wipe) | Follow-up spray 2–3 days (48–72 hours) later, then weekly for 2 weeks (14 days) | Leaves stay clean after the first follow-up and new growth looks healthy |
| Preventive/maintenance (history of mites, dry conditions) | Every 10–14 days, or after major stress events (heat, drought, bringing plants indoors) | Continue through the risky period; pause if plants show sensitivity |
| Cooler conditions (below 18°C (65°F)) | Every 7–10 days; mites develop more slowly | Stop after 2 clean checks, 7–10 days apart |
| Warm, dry conditions (above 27°C (81°F)) | Every 3–5 days; mites reproduce faster | Extend the series to 3 weeks (21 days) if they keep reappearing |
Whatever product you’re using (soap spray, neem, horticultural oil), keep the interval consistent. If you stretch the timing too far, you often end up hitting adults while missing the next wave of hatchlings.
- Reapply after wash-off: If you get heavy rain outdoors or you rinse plants, treat again once foliage is dry (usually within 24 hours (1 day)).
- Check before you spray: Inspect the undersides of a few leaves with a bright light every 3–7 days. If you don’t see moving dots or fresh stippling, you can lengthen the gap.
- Don’t overdo oils in heat: In hot sun or when it’s above 29°C (85°F), oils can stress leaves. If needed, switch to plain water rinses between treatments and spray in the evening when it’s cooler.
- Use plant response as a limiter: If you see leaf spotting, droop, or burn after a spray, pause for 5–7 days and test on a small section first next time.
A practical rule: plan for at least two full weeks of repeat work, then keep monitoring for another 1–2 weeks (7–14 days). Spider mites are persistent, but consistent timing is what usually breaks the cycle.
Preventing mites without chemicals

Stop outbreaks before they start by making your plants a less comfortable place for spider mites. They thrive when foliage is dusty, air is dry, and plants are stressed, so small routine habits usually do more than any one “fix.”
- Quarantine new plants. Keep newcomers separate for 10–14 days and inspect the undersides of leaves with a bright light. A quick rinse in the sink or shower helps remove hitchhikers before they spread.
- Keep leaves clean. Wipe broad leaves with a damp cloth and rinse smaller-leaved plants with a gentle spray. Dust acts like a shelter and makes it easier for mites to build up unnoticed.
- Raise humidity where it makes sense. Many houseplants tolerate 50–60% relative humidity better than very dry air. Use a humidifier or a pebble tray (pot above the waterline) and avoid blasting plants with heating vents. Good airflow still matters—aim for humid, not stagnant.
- Water consistently to reduce plant stress. Drought-stressed plants are more vulnerable. Water when the top 2–3 cm (1–1.2 in) of soil is dry for many common houseplants, adjusting for species and pot size.
- Avoid excess nitrogen. Over-fertilizing can push tender new growth that mites prefer. If you feed, use a balanced fertilizer at a moderate rate and skip feeding when light is low (common in winter).
- Prune and thin crowded growth. Remove heavily infested leaves promptly and thin dense canopies so light and air reach inner foliage. Bag prunings and discard them rather than composting indoors.
- Use “rinse days” as maintenance. Once a week, spray leaves (especially undersides) with plain water. This simple step can knock back early populations without any soap or oils.
- Inspect on a schedule. Check the underside of a few leaves per plant weekly, especially during hot, dry periods. Look for stippling (tiny pale dots), fine webbing, and moving specks.
- Keep plants spaced and surfaces clean. Don’t let leaves touch between pots, and wipe nearby windowsills and shelves. Mites can crawl short distances and spread faster in tight clusters.
| Situation | Non-chemical prevention habit | How often | Why it helps |
|---|---|---|---|
| New plant comes home | Isolate + rinse foliage; inspect undersides | 10–14 days | Catches early infestations before they reach other plants |
| Dry indoor air (heating/AC) | Increase humidity to a comfortable range for the plant; keep away from vents | Daily adjustment as needed | Makes conditions less favorable for rapid mite reproduction |
| Dusty leaves | Wipe or rinse leaves gently | Every 1–2 weeks | Removes hiding spots and dislodges early colonies |
| Plants growing tightly together | Space pots; prune crowded growth | Monthly check | Reduces easy spread and improves airflow and visibility |
| History of recurring mites | Weekly “leaf check” + plain-water spray under leaves | Weekly | Finds problems early and knocks populations down before webbing appears |
If you’ve had spider mites before, consistency matters more than intensity. A quick weekly check plus clean leaves and steady watering usually prevents the cycle of “fine for weeks, then suddenly webbing everywhere.”