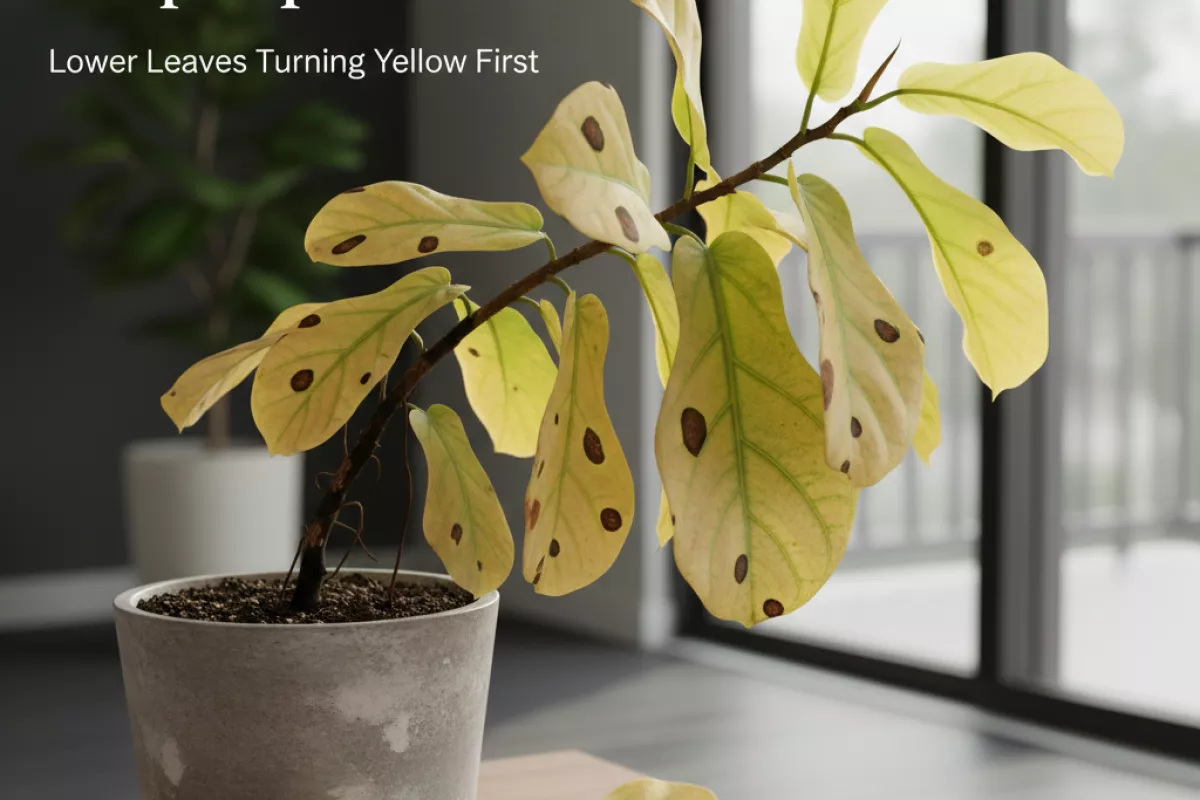
Lower Leaves Turning Yellow First – Real Reasons

 Explains why bottom leaves change before top growth: natural aging, nutrients shifting to new growth, and how watering habits and shade can trigger yellowing. It also clarifies when this is normal and what warning signs suggest deeper issues.
When the oldest, bottom leaves yellow first, it usually signals a specific stress rather than a mystery disease. It can be normal aging, but it often comes from watering issues, low nitrogen, weak light, crowded roots, or early pests. Check soil moisture, feeding, and light, inspect for insects, and consider repotting if roots are tight to fix it quickly and prevent it from returning.
Why bottom leaves react before top growth
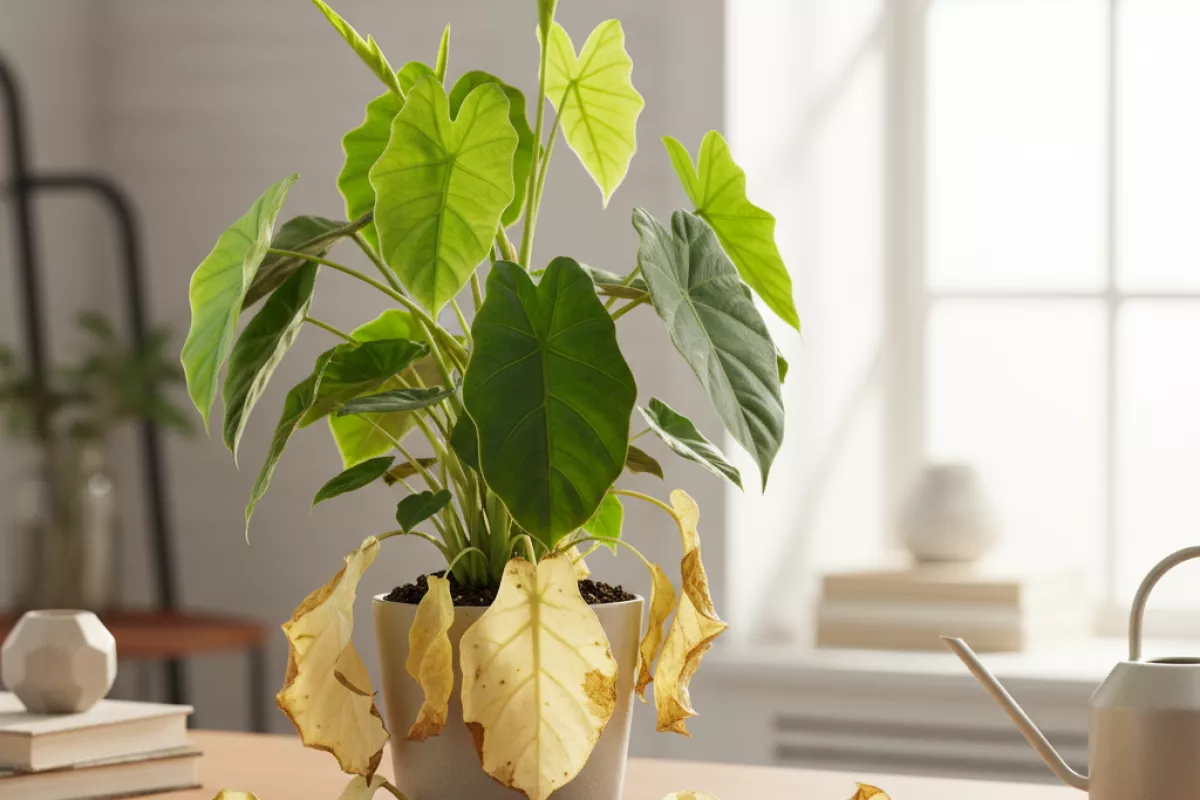
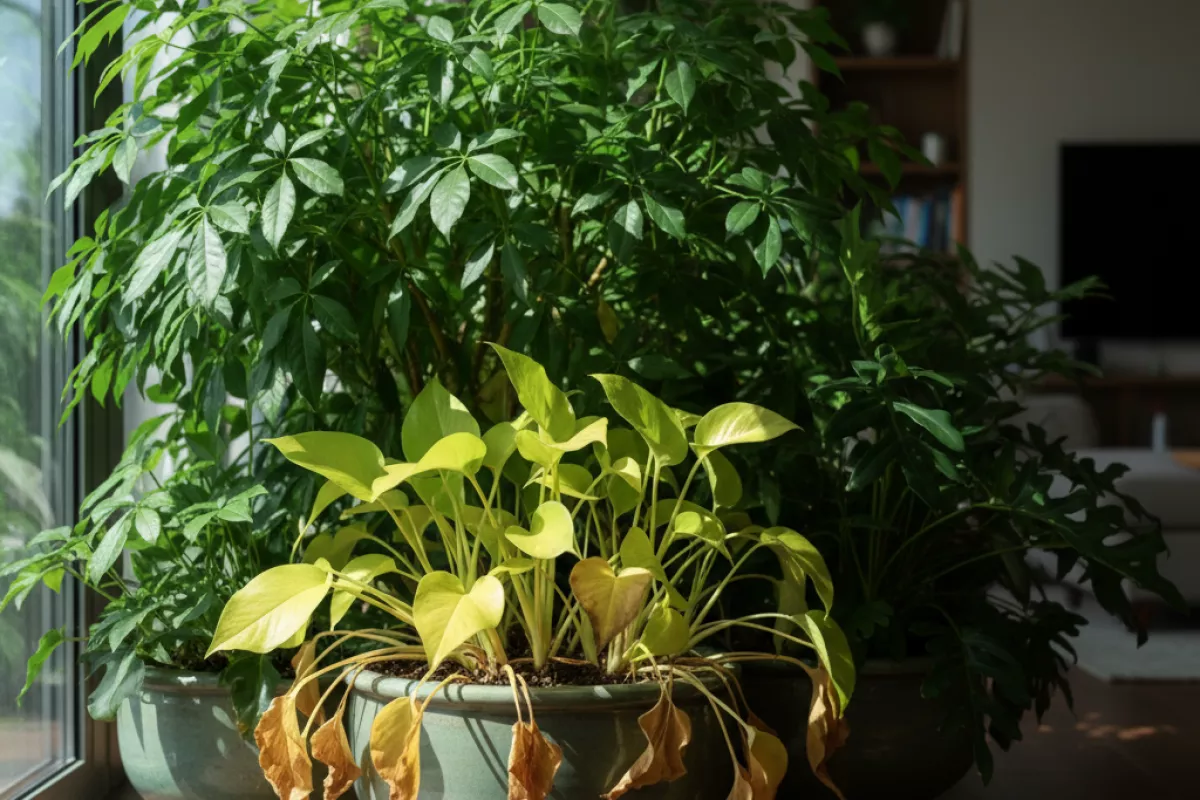
Lower foliage is usually the first place a plant “spends” when resources get tight. Older leaves sit at the bottom, and they’re less valuable to the plant than fresh tips and new buds. When something is off, the plant often reassigns water, sugars, and nutrients upward to protect the growing points, so the oldest leaves fade or yellow first.
- Plants prioritize new growth. The top and outer tips contain actively dividing cells. If the plant has to choose, it keeps the meristems (growth points) running and lets older leaves decline.
- Mobile nutrients get pulled out of older leaves. Elements like nitrogen, magnesium, and potassium can be moved around inside the plant. When supply in the root zone is low, the plant “mines” the bottom leaves to feed the canopy, which shows up as yellowing that starts low and works upward.
- Shade and low light hit the bottom first. Upper leaves capture most of the light, so the lower layer may not photosynthesize enough to pay for itself. In a dim corner or under a dense canopy, the plant may drop older leaves simply because they’re not producing enough energy.
- Water stress shows up where flow is weakest. Bottom leaves are often farthest from the newest, most efficient plumbing. If watering is inconsistent, roots are stressed, or the potting mix stays soggy, the plant may reduce support to older foliage first.
- Natural aging is built in. Many species cycle out their oldest leaves as part of normal growth. If the plant is otherwise vigorous and only a few lower leaves yellow over time, it can be routine turnover rather than a problem.
- Root-zone issues affect the “supply line.” Compacted soil, salt buildup from fertilizer, or a rootbound pot can limit uptake. The plant responds by sacrificing older leaves before it risks stalling new growth.
| What you see on lower leaves | What it often suggests | Quick check to confirm |
|---|---|---|
| Even, overall yellowing starting with the oldest leaves | Mobile nutrient shortage (commonly nitrogen) or normal leaf aging | Is new growth still green and steady? Are only the oldest 1–3 leaves affected? |
| Yellowing plus soft, limp leaves and persistently wet mix | Overwatering/low oxygen at roots | Feel soil 5 cm (2 in) down; if it’s wet for days, drainage or watering frequency may be the issue |
| Yellowing with crispy edges or dry, papery texture | Underwatering, low humidity, or salt buildup | Check how fast the pot dries; look for a white crust on soil or pot rim |
| Lower leaves yellow while upper leaves look fine but plant is very dense | Self-shading and light limitation | Observe light at the base of the plant during the day; thin or reposition if the bottom stays dim |
A useful rule: when the oldest leaves are the first to change, think “resource reallocation” (light, water, nutrition, or simple age). When the newest leaves are the first to yellow, that more often points to immobile nutrient problems or damage at the growing tip.
Natural aging of older foliage
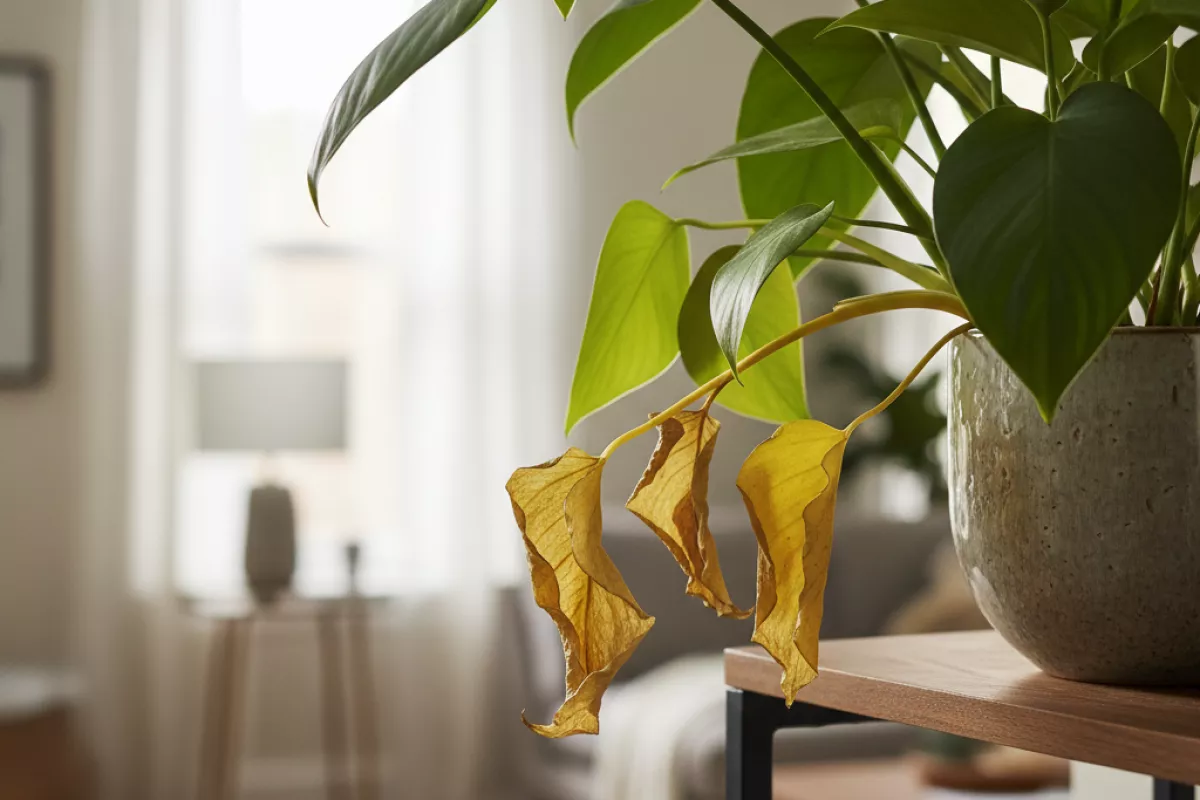
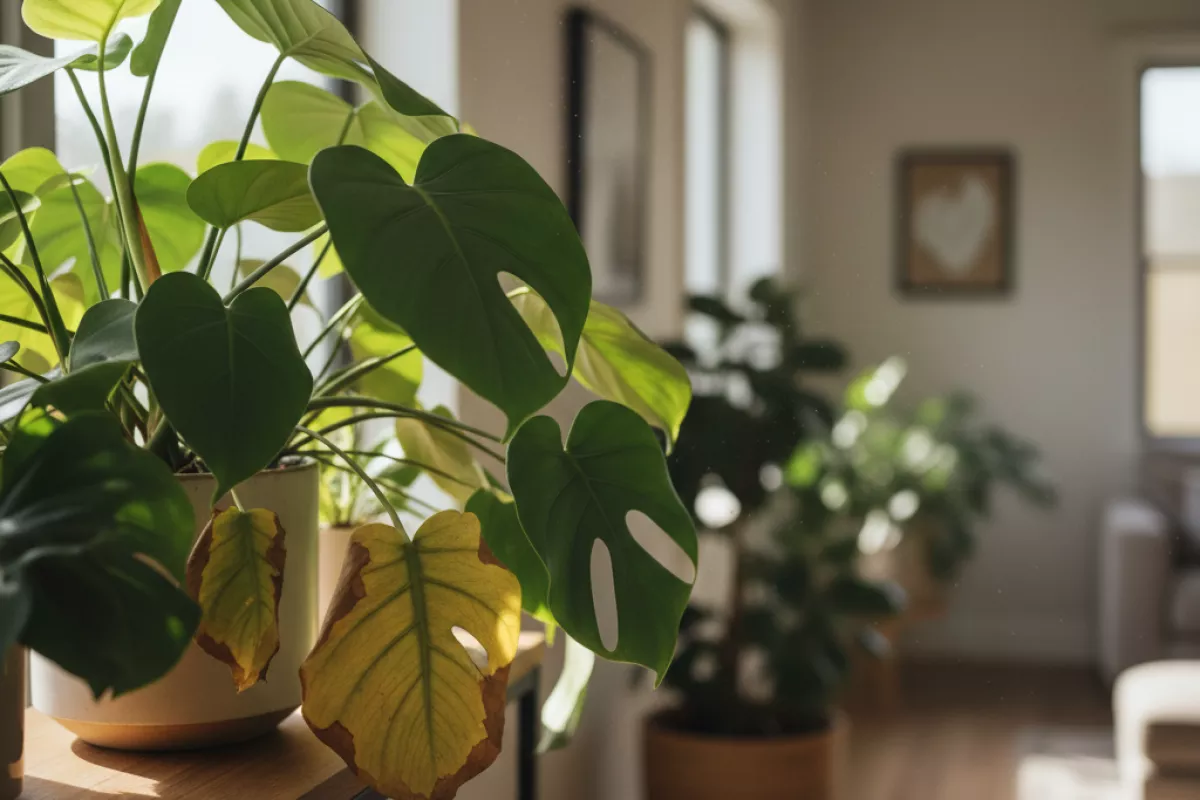
When the lowest leaves fade first, it’s often the plant doing routine housekeeping. Older leaves have already paid back their “investment” in energy, so the plant starts reclaiming mobile nutrients (especially nitrogen, magnesium, and potassium) and moving them to fresh growth. The result is a gradual yellowing that begins at the bottom and works upward over time.
This kind of age-related yellowing is usually slow and predictable. One or two lower leaves may pale, then turn fully yellow, dry, and drop. Meanwhile, the upper canopy stays green and continues producing new leaves. In many species, this is more noticeable during growth spurts, flowering, or fruiting—times when the plant prioritizes new tissue.
- Typical look: even yellowing on the oldest leaves first; the leaf may eventually brown at the edges as it finishes senescing.
- Where it starts: lowest or innermost leaves that get less light and are naturally “first in line” to be retired.
- Plant behavior: new growth remains firm and green; stems aren’t collapsing; overall vigor is mostly unchanged.
- Rate of change: days to weeks, not overnight—fast yellowing points more toward stress than normal turnover.
To sanity-check whether this is normal turnover or a problem, look for patterns. If yellowing is confined to a few older leaves and the plant is actively growing, it’s usually fine. If many lower leaves yellow at once, or the yellowing creeps into mid and upper leaves quickly, something else (watering issues, root trouble, nutrient shortage, or low light) may be stacking on top of the plant’s normal leaf replacement cycle.
What to do: let the leaf finish its job. Once it’s mostly yellow and comes off with a gentle tug, remove it to keep airflow good and reduce decay on the soil surface. Avoid “rescuing” old leaves with extra fertilizer unless you also see pale new growth or stalled growth; overfeeding can create its own issues. If the plant is in very low light, consider improving exposure so the lower canopy isn’t constantly sacrificed.
Nutrient redistribution inside plants
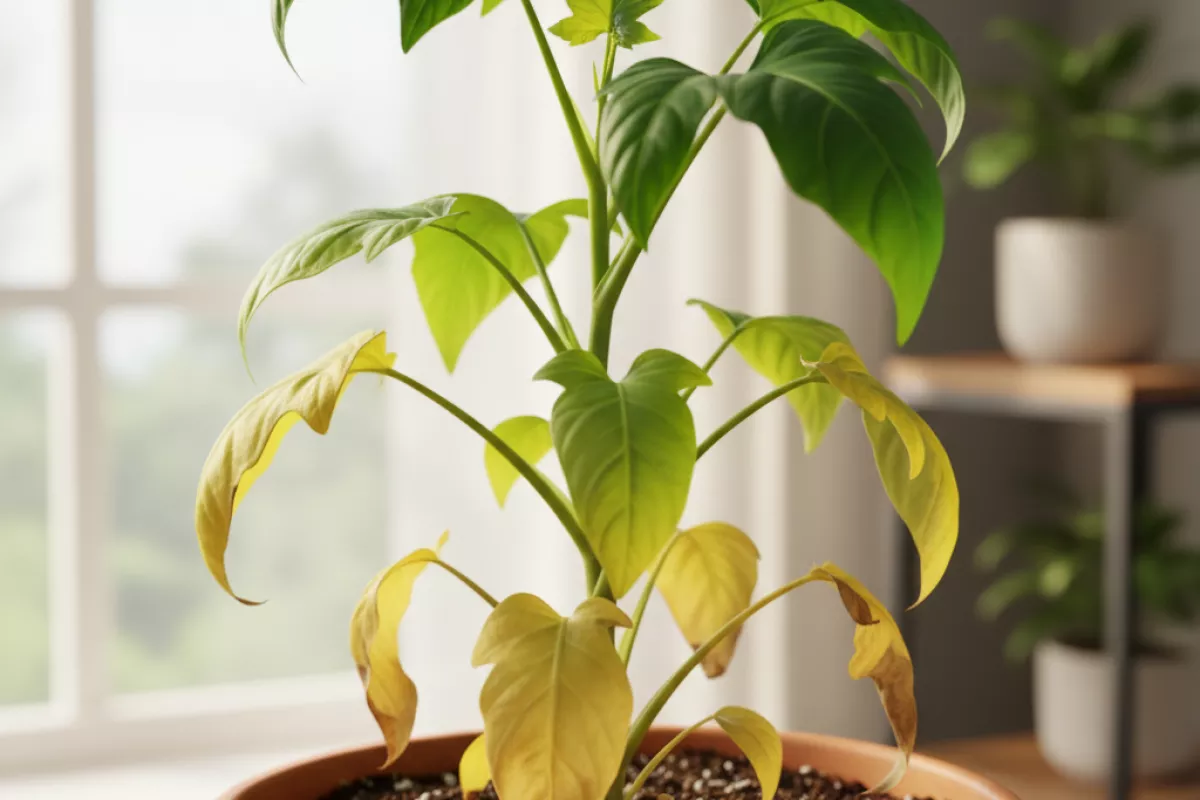
When a plant can’t take up enough of a key nutrient from the root zone, it often “moves” what it already has from older foliage to newer growth. That’s why the lowest, oldest leaves are usually the first to fade: they’re being treated like a nutrient savings account the plant can withdraw from to protect the growing tips, flowers, or fruit.
This internal shuffling mainly affects mobile nutrients (elements the plant can relocate through its vascular system). As those supplies are pulled out of older leaves, chlorophyll production drops and the leaf turns pale, then yellow, and eventually may brown at the edges or fall off. In many cases, this is a normal survival strategy, not an infection.
| Nutrient mobility | What yellows first | Typical pattern on the leaf | Common examples |
|---|---|---|---|
| Mobile (can be reallocated) | Older/lower leaves | General paling or yellowing that starts on mature leaves; sometimes progresses to edge scorch | Nitrogen (N), magnesium (Mg), potassium (K), phosphorus (P) |
| Immobile (hard to reallocate) | Newer/upper leaves | New growth looks pale, distorted, or develops interveinal chlorosis while older leaves stay greener | Iron (Fe), calcium (Ca), boron (B), manganese (Mn) |
| Condition-dependent (partly mobile) | Can vary with species and stress level | Mixed symptoms; may show on mid-aged leaves first or appear patchy | Sulfur (S), zinc (Zn), copper (Cu) |
| Not a nutrient issue | Often older leaves, but not consistently | Yellowing tied to light deprivation, natural aging, or root stress rather than a specific deficiency pattern | Shading, overwatering, compacted soil, temperature swings |
Lower leaves turning yellow first most often points to a shortage of a mobile nutrient, especially nitrogen or magnesium. A quick clue is the pattern: nitrogen deficiency usually looks like an even, whole-leaf fade, while magnesium commonly shows interveinal yellowing (veins stay greener, tissue between veins lightens) on older leaves.
- Why the plant does this: protecting new leaves and growing points keeps the plant alive and reproducing, even if it sacrifices older foliage.
- When it’s “normal”: a few bottom leaves yellowing as the plant gets larger, becomes shaded, or shifts energy to flowering/fruiting can be expected.
- When it’s a red flag: rapid yellowing moving upward, many leaves dropping at once, or yellowing paired with weak growth suggests the root zone isn’t supplying enough nutrients (or roots can’t access them).
If you suspect reallocation, focus on the cause rather than the yellow leaf itself: check whether the plant is underfed, the potting mix is depleted, or the pH is off enough to lock nutrients out. Also remember that cold, waterlogged, or oxygen-poor soil can mimic a deficiency because roots can’t absorb what’s present. The yellowed lower leaves rarely turn fully green again, but you can usually stop the problem from marching up the plant.
Watering patterns that affect lower leaves
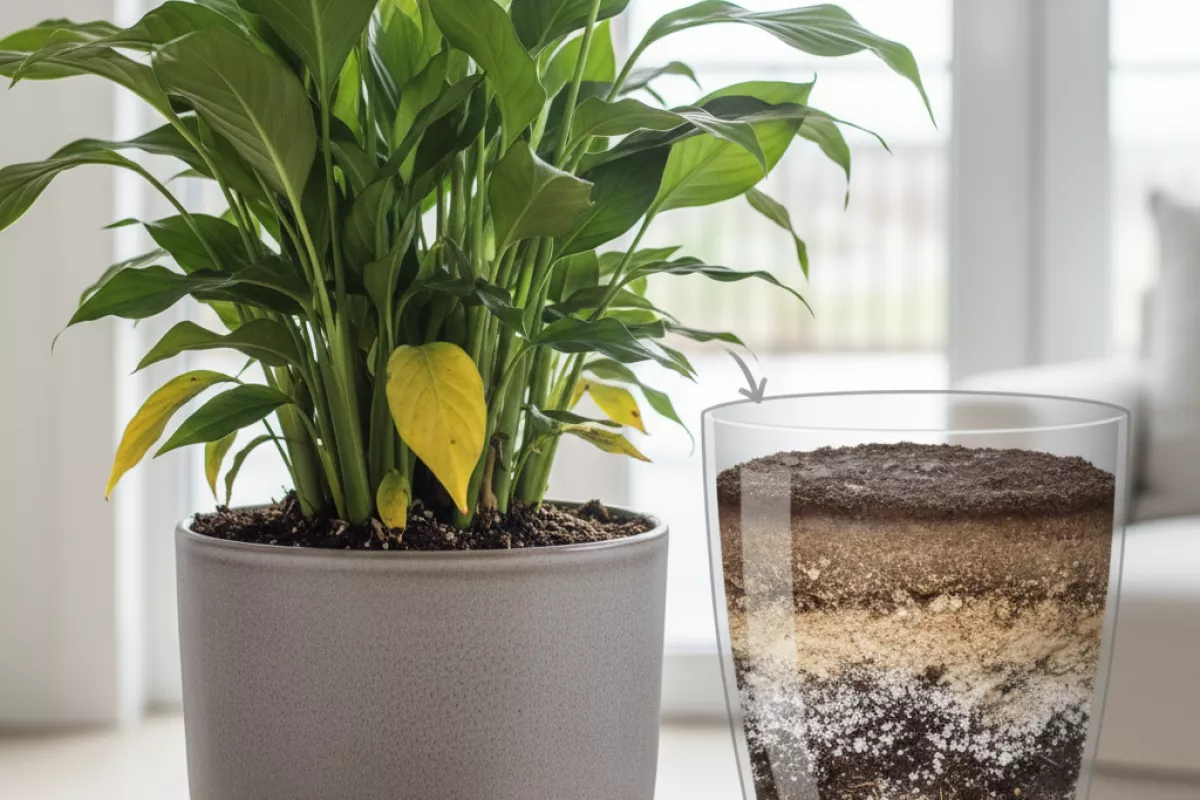
When the oldest leaves yellow first, the cause is often less about “not enough water” and more about how moisture moves through the pot. Lower foliage is the first to show stress when roots cycle between soggy and dry, when oxygen is limited, or when salts build up in the lower root zone.
| Pattern you might be doing | What happens in the pot | Why lower leaves yellow first | What to change |
|---|---|---|---|
| Frequent small “sips” (a little water often) | Top layer stays damp while deeper roots stay dry; salts concentrate where water evaporates | Older leaves are sacrificed as the plant can’t support full foliage on a shallow, uneven root supply | Water thoroughly until a little drains out, then wait until the top 2–5 cm (1–2 in) dries before watering again |
| Letting the pot go bone-dry, then flooding it | Fine roots die back during drought; sudden saturation can’t be used efficiently | Root loss reduces uptake; the plant sheds older leaves to balance water demand | Aim for a steadier cycle: rewater when the pot feels noticeably lighter and the top 2–5 cm (1–2 in) is dry, not when everything is dust-dry |
| Overwatering (watering again while the mix is still wet) | Low oxygen around roots; risk of rot increases | Lower leaves yellow as roots can’t take up water and nutrients consistently | Use a finger test or skewer: if it comes out cool and damp from 5–8 cm (2–3 in) down, wait; ensure the pot has drainage holes |
| Water collecting in a saucer or cachepot | Bottom of the root ball stays saturated even if the top looks fine | The lowest roots struggle first, so the oldest/lower leaves show chlorosis and drop | Empty the saucer after 10–15 minutes; elevate the pot slightly so it doesn’t sit in runoff |
| Hydrophobic (water-repellent) potting mix | Water runs down the sides and out, leaving the center dry | Roots in the core dehydrate; the plant sheds older leaves to reduce demand | Bottom-water for 20–30 minutes, or soak the pot until the mix re-wets; then resume normal deep watering |
| Hard water or heavy fertilizing without flushing | Mineral salts accumulate, especially lower in the pot | Older leaves yellow as nutrient uptake is blocked or roots are irritated | Flush with 3–4× the pot’s volume of water (e.g., 3 L for a 1 L pot; 0.8 gal for a 0.25 gal pot) occasionally, and reduce fertilizer strength |
- Check depth, not just the surface. A dry crust can hide a wet core, and a damp top can hide a dry center. Testing 5–8 cm (2–3 in) down gives a more honest read.
- Match watering to light and temperature. In lower light or cooler rooms, the mix dries slower; in brighter light or warmer rooms, it dries faster. Keeping the same schedule year-round is a common reason the bottom leaves fade.
- Watch the pattern of yellowing. If lower leaves yellow with limp stems and a musty smell, think excess moisture and low oxygen. If they yellow with crispy edges and very light pots, think drought swings.
Light blockage and shading issues
When the top of a plant captures most of the sun, the bottom leaves become “energy losers.” Older foliage down low gets less light, can’t photosynthesize enough to pay for its own upkeep, and the plant reclaims nitrogen and other mobile nutrients from those leaves first. The result is a slow fade from healthy green to pale yellow, starting at the base and moving upward.
This is especially common in dense canopies, crowded pots, and plants trained to grow tall without enough side-light. It can also show up after a growth spurt: the upper leaves expand quickly, and the lower layer suddenly sits in shade for most of the day.
- Pattern to look for: yellowing is mostly on the shaded side or the interior/bottom of the plant, while the top remains green and vigorous.
- Timing clue: it progresses gradually over days to weeks, not overnight, and the oldest leaves are affected first.
- Leaf behavior: shaded leaves may droop, thin out, or drop after turning yellow; new growth often looks normal.
- Environment hint: the problem worsens after nearby plants fill in, a trellis gets crowded, or a plant is moved farther from a window.
Before changing fertilizer, check the light map around the plant. A simple test is to look at it at different times of day: if the lower half rarely receives direct rays or bright ambient light, the yellowing is likely a shading response rather than a deficiency. Indoors, rotating the pot a quarter turn every 7 days can help distribute exposure more evenly.
| What you observe | What it usually means | What to do next |
|---|---|---|
| Lower leaves yellow mainly on the side facing away from the window or lamp | Uneven exposure; one-sided shading | Rotate the plant regularly; move it 15–30 cm (6–12 in) closer to the light if heat stress isn’t a risk |
| Interior/bottom leaves yellow while the top stays dark green and growing | Canopy is too dense; self-shading | Thin or prune selectively to open “light channels”; remove a few blocking leaves rather than stripping the plant |
| Yellowing starts after plants were grouped closer together | Crowding reduced light and airflow | Increase spacing by 10–20 cm (4–8 in); reposition so shorter plants aren’t under taller ones |
| Lower leaves fade after a rapid vertical growth phase | New top growth is outcompeting older leaves for light | Provide side lighting or reflect light back (light-colored wall/reflective surface); consider staking/training to spread the canopy |
If you decide to prune, remove only leaves that are mostly yellow and no longer contributing. Taking too many healthy leaves at once can slow growth because you’re reducing the plant’s total photosynthetic area. When light is the limiting factor, improving exposure and canopy structure usually stops the upward march of yellowing, even if the already-faded lower leaves don’t turn green again.
When lower leaf yellowing is normal
Sometimes the oldest leaves fading is simply the plant reallocating resources. Lower foliage is first in line to be retired because it’s shaded, less productive, and costs the plant energy to maintain. If the rest of the plant looks vigorous, a bit of yellowing near the base can be part of a normal growth cycle rather than a problem to “fix.”
- Natural aging (senescence): As new growth expands at the top, the plant pulls nitrogen and other mobile nutrients out of older leaves. Those bottom leaves turn pale, then yellow, and eventually dry and drop. This is especially common in fast growers and during active growth spurts.
- Seasonal leaf drop in deciduous or semi-deciduous plants: Some species routinely shed older leaves when day length changes or temperatures shift. You’ll often see a gradual, even yellowing on the lowest tier while stems and newer leaves stay firm.
- Normal shading and self-pruning: When a canopy thickens, lower leaves may receive too little light to pay their “energy rent.” If yellowing is limited to leaves that are consistently shaded and the upper canopy remains healthy, it’s often just the plant prioritizing better-lit foliage.
- Post-transplant adjustment: After repotting or planting out, roots may pause while they re-establish. A few older leaves can yellow and drop as the plant balances water uptake with leaf area. This should stabilize within about 1–3 weeks.
- Fruit/flower load redirecting nutrients: In fruiting or heavily blooming plants, older leaves sometimes yellow first because resources are diverted to flowers and developing fruit. If new leaves stay green and growth continues, mild lower-leaf loss can be normal.
A quick reality check: normal lower-leaf decline is usually slow and limited—a few leaves at a time, starting with the oldest. New growth stays green, stems stay sturdy, and there’s no rapid spread upward.
It’s more likely a true issue if yellowing races up the plant, affects new leaves, comes with spotting or mushy tissue, or multiple leaves drop in a short window. In those cases, treat it as a symptom and look for watering, nutrient, root, or pest causes.
Warning signs of deeper problems
When older foliage yellows first, it’s often a normal aging pattern or a simple care mismatch. But a few clues suggest the plant is dealing with something more serious than “needs fertilizer” or “missed a watering.” The key is whether the yellowing is progressive, patterned, and paired with other symptoms like wilting, spotting, or stem changes.
- Yellowing climbs upward quickly (new leaves start fading within days). A fast spread usually points to root trouble, severe nutrient lockout from pH issues, or an active disease rather than natural leaf turnover.
- Lower leaves yellow and drop while the soil stays wet. Persistently damp mix plus leaf loss is a classic setup for root rot; healthy roots need air as much as water.
- Wilting that doesn’t match the soil moisture (plant droops even though the pot feels heavy). This mismatch often means roots can’t take up water—damage, rot, or a root-bound mass that sheds water around the edges.
- Soft, darkened, or collapsing stems at the base. A mushy crown or stem tissue suggests rot or a serious infection; it’s not a typical “older leaves aging out” scenario.
- Distinct spotting, halos, or “target” lesions on yellow leaves. Random chlorosis is one thing; patterned spots can indicate fungal or bacterial leaf disease, especially if it spreads leaf-to-leaf.
- Yellowing with crisp brown edges on multiple leaves. This can signal salt buildup from overfertilizing or hard water, or chronic underwatering; check for a white crust on soil or pot rims.
- Interveinal chlorosis on older leaves (veins stay greener while tissue between turns yellow). Often tied to magnesium deficiency or nutrient lockout; if it persists after feeding, pH or root health may be the real issue.
- Leaves yellow plus stunted new growth. When the plant can’t push normal-sized new leaves, look beyond routine care—root restriction, low light, cold stress, or pests can be involved.
- Fine webbing, sticky residue, or tiny moving specks on undersides of leaves. Spider mites, thrips, and aphids can trigger yellowing that starts low and spreads; check with a bright light and a close look.
- Bad odor from the potting mix (sour or swampy smell). Healthy soil smells earthy; foul odor usually means anaerobic conditions and decaying roots.
| What you notice | What it often points to | What to check next |
|---|---|---|
| Lower leaves yellow, soil stays wet for 7–10 days | Overwatering, poor drainage, early root rot | Pot has drainage holes, mix texture, smell; inspect roots if symptoms progress |
| Yellowing spreads upward fast (within 3–7 days) | Root failure, severe stress, disease pressure | Root color/firmness, stem base, recent temperature changes (e.g., below 10°C/50°F) |
| Interveinal yellowing on older leaves | Magnesium shortage or nutrient lockout | Fertilizer routine, water hardness, soil pH trend; look for improvement after a balanced feed |
| Yellow leaves with spots/halos that expand | Fungal/bacterial leaf disease | Remove worst leaves, improve airflow, avoid wetting foliage; isolate if it’s spreading |
| Wilting while soil is moist | Roots not absorbing water (rot, compaction, root-bound) | Check for circling roots, compacted mix; consider repotting if roots fill the pot |
| Sticky leaves or fine webbing | Sap-sucking pests (aphids, mites, thrips) | Inspect undersides with a light; rinse foliage; treat consistently for 2–3 weeks |
If two or more of these signs show up together—especially wet soil plus wilting, stem softening, or a rapid climb of yellowing—treat it as a root or disease problem first. Fixing watering, drainage, and root conditions usually stops the lower-leaf fade faster than adding more fertilizer.