Indoor Plants Turning Yellow – Main Hidden Causes

 Explains why indoor plants yellow differently than outdoor ones, covering uneven home lighting, dry air stress, pot size and root crowding, tap-water minerals, and fertilizer mistakes. Shows how to pinpoint the exact cause and the correction steps to keep leaf color stable.
- Why indoor plants yellow differently than outdoor ones
- Lighting imbalances inside homes
- Air dryness and humidity stress
- Pot size and root crowding signals
- Water quality and mineral buildup
- Fertilizer mistakes that affect foliage
- How to pinpoint the exact indoor cause
- Correction steps for stable leaf color
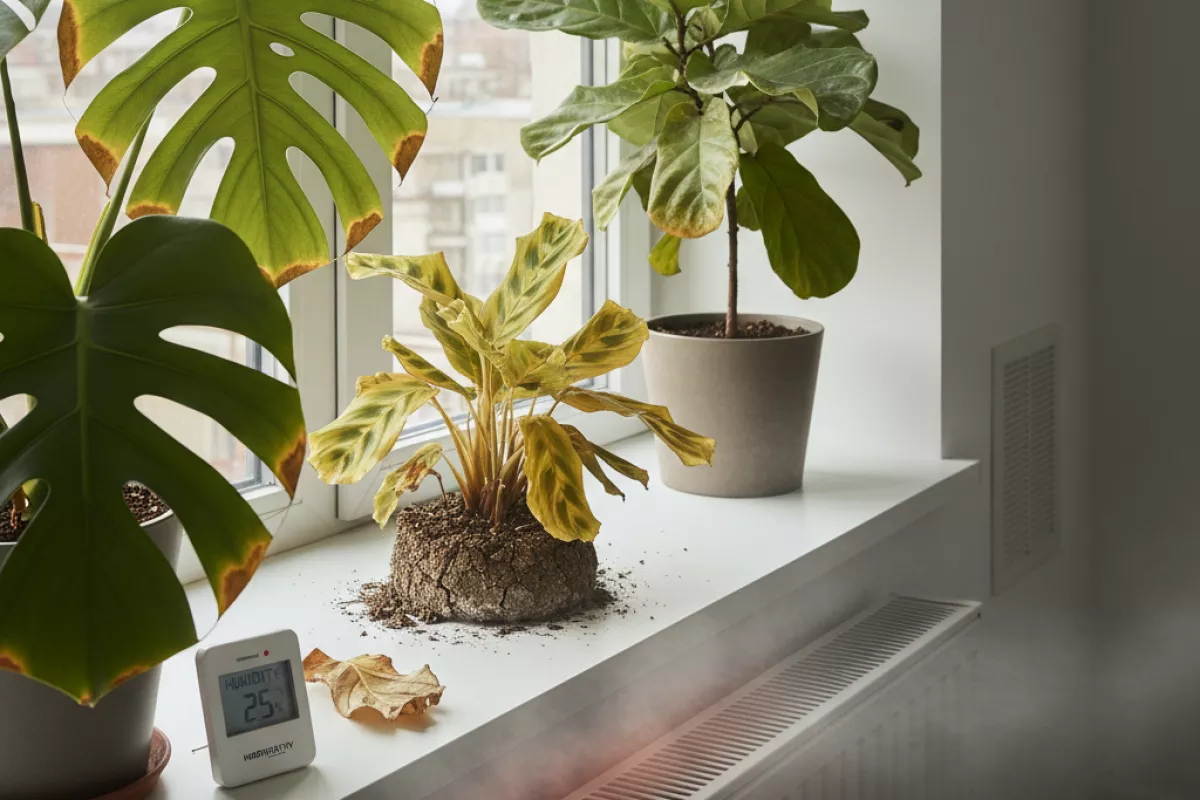
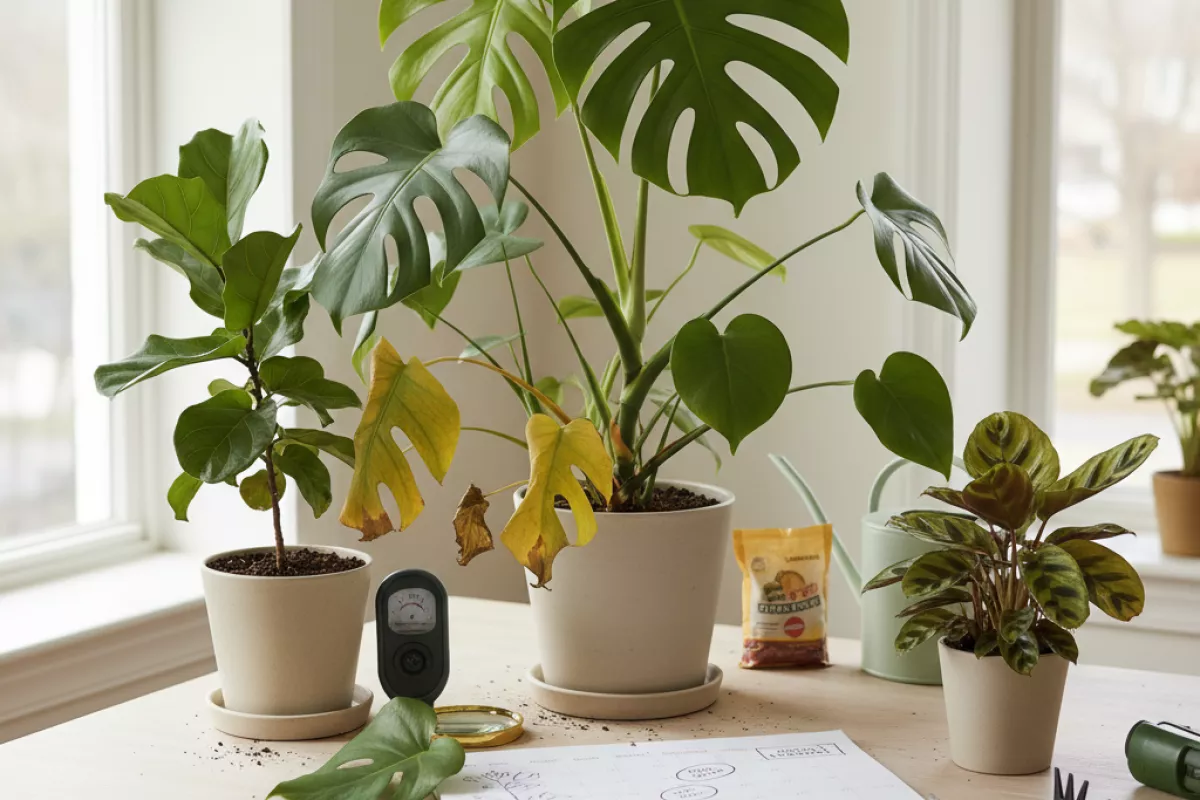
When houseplants start yellowing indoors, the cause is often subtle rather than one obvious mistake. Seasonal light changes, inconsistent watering, poor drainage, compacted soil, and nutrient imbalance can all lead leaves to fade even when the plant looks healthy. Use this guide to identify the likely trigger, adjust care in small steps, and correct the problem before more foliage is lost.
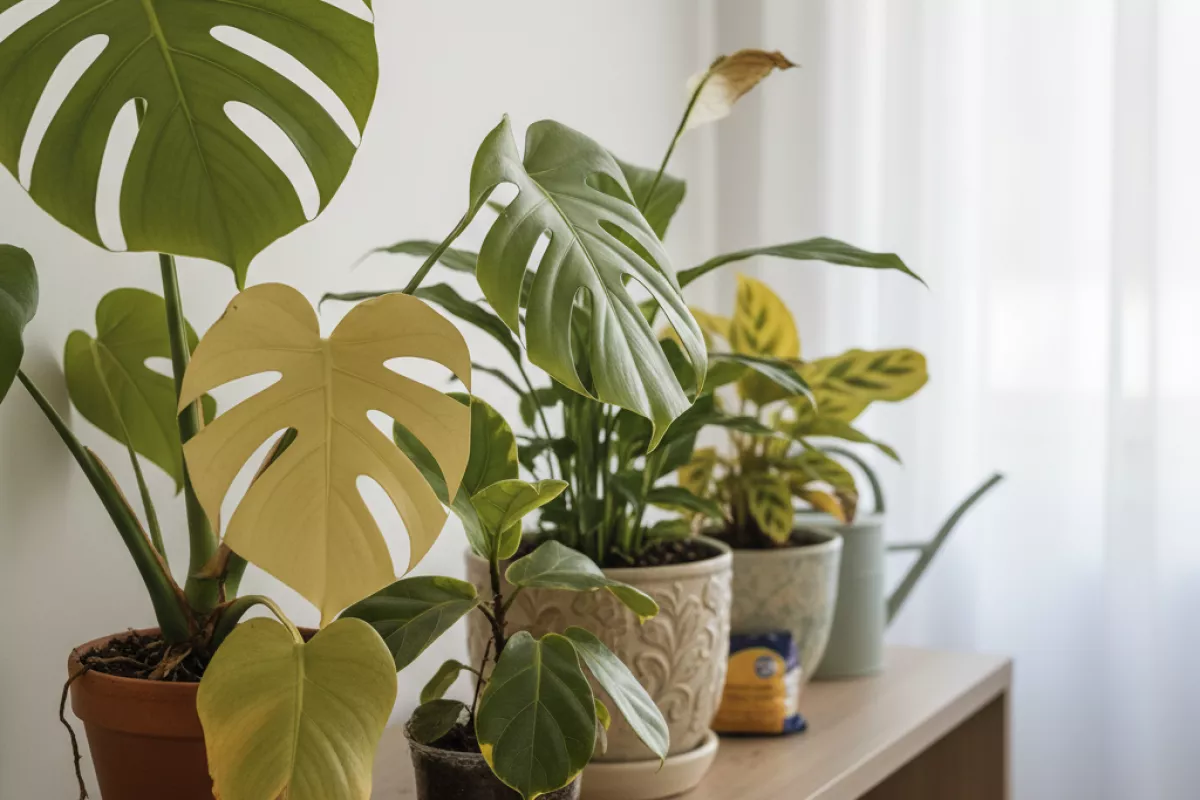
Why indoor plants yellow differently than outdoor ones
Yellow leaves indoors often come from a mismatch between what the plant expects and what a home actually provides. Outside, light, airflow, temperature swings, and soil biology tend to balance each other out. Indoors, conditions are steadier but also more limited, so small care issues (or hidden environmental stress) show up faster as chlorosis, pale growth, or older leaves fading first.
| Factor | Outdoors (typical) | Indoors (typical) | How yellowing tends to show up |
|---|---|---|---|
| Light intensity and spectrum | High, full spectrum; day length changes naturally | Lower intensity; window direction and glass filter light | New growth turns pale; leaves yellow without much browning, especially in winter |
| Air movement | Regular breezes dry soil and leaves | Still air; corners and shelves trap humidity or stale air | Soil stays wet longer, leading to yellowing from stressed roots |
| Watering and drainage | Rainfall is variable; ground drains deeply | Pot limits root space; saucers can hold runoff | Lower leaves yellow first; plant looks “tired” even when soil feels damp |
| Temperature patterns | Gradual daily swings; seasonal cues are clear | Heaters/AC create hot-cold blasts and dry air pockets | Patchy yellowing near vents; sudden leaf drop after a cold window night |
| Humidity and transpiration | Often higher around plants; evaporation from soil and landscape | Frequently dry, especially with heating | Leaf edges may crisp while the rest yellows; growth slows and pales |
| Nutrient cycling | Active soil life and larger soil volume buffer mistakes | Potting mix exhausts; salts build up from fertilizer and tap water | Interveinal yellowing (veins stay greener) or overall fading despite “feeding” |
| Root environment | Roots can expand and self-regulate moisture | Roots circle, compact mix, and low oxygen are common | Persistent yellowing that doesn’t improve with more water or more fertilizer |
Another difference is that indoor plants live in a narrower margin for error. A pot that stays wet an extra 2–3 days can matter more inside because evaporation is slower and airflow is weaker. Likewise, “bright” indoor light can still be far dimmer than shade outdoors, so the plant may not use water and nutrients at the pace you expect.
- Indoor yellowing is often cumulative. Low light plus cool soil plus a heavy potting mix can combine into root stress, even if each factor alone seems minor.
- Outdoor yellowing is more often event-driven. A heat wave, heavy rain, or a cold snap can cause a quick color change, then recovery once conditions normalize.
- Houseplants also lack natural “reset” mechanisms. Rain flushes salts outdoors; indoors you may need to water thoroughly until excess drains, then empty the saucer.
If you’re troubleshooting yellow leaves, it helps to think like the plant: indoors it’s usually reacting to limited light, slower drying, and restricted roots rather than a single dramatic problem. Matching watering and feeding to the plant’s slower indoor metabolism is often the turning point.
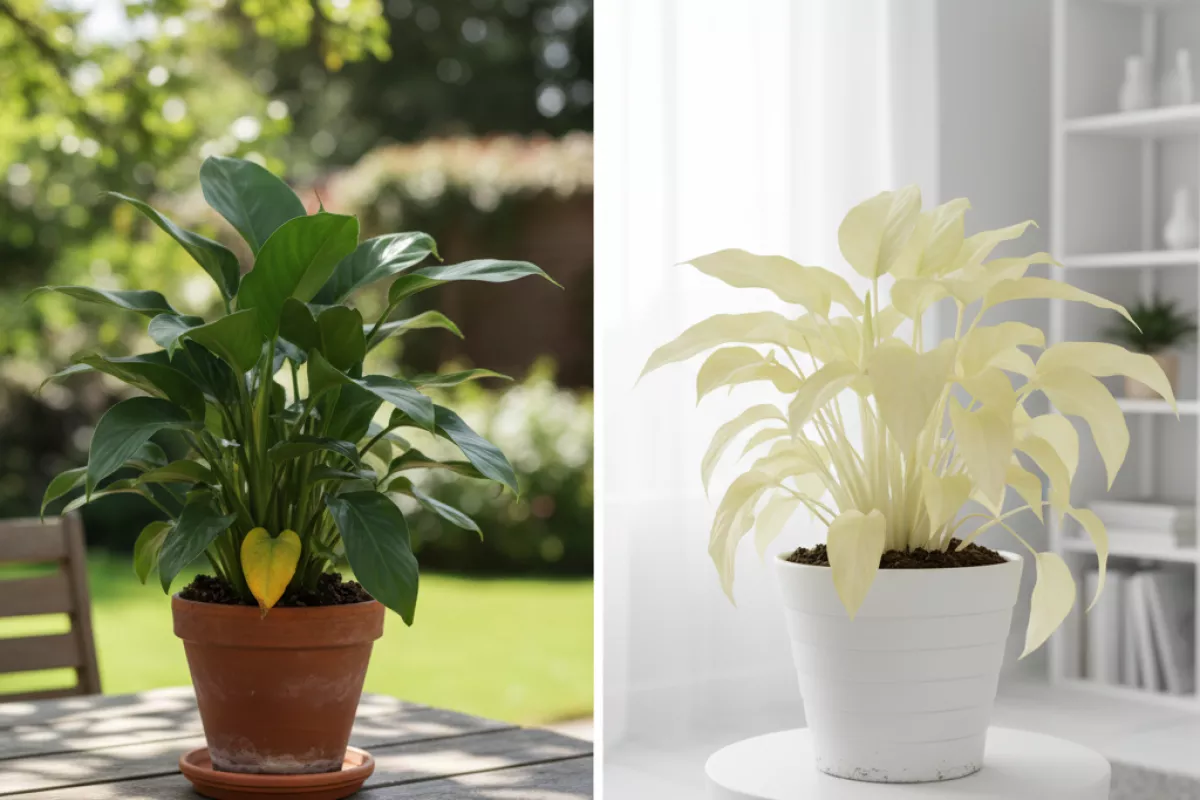
Lighting imbalances inside homes
Leaves often yellow when the plant is getting the wrong kind of light for too long: either not enough to fuel photosynthesis, or so much direct sun that tissues scorch and chlorophyll breaks down. Indoors, the tricky part is that “bright” to humans can still be dim to plants, and light levels change a lot with window direction, season, and even clean vs. dusty glass.
- Too little light (slow fade to pale yellow): New growth comes in smaller, stems stretch toward the window, and older leaves yellow and drop as the plant reallocates resources. This is common 1–2 m (3–6 ft) back from a window, especially in winter.
- Too much direct sun (patchy yellowing or bleached spots): You’ll see washed-out areas, crisp edges, or “sunburn” patches on the side facing the glass. This often happens with south- or west-facing windows, or when a plant is moved suddenly from shade to sun.
- Uneven exposure (one-sided yellowing): Plants leaning or yellowing more on one side usually aren’t “sick”—they’re responding to a single light source. Rotating the pot about a quarter turn every 7–14 days can even things out.
- Day length shifts (seasonal yellowing): In shorter days, growth slows and some species shed older leaves. If watering habits don’t adjust, low light plus wet soil can accelerate yellow leaves.
- Artificial light that’s too weak or too far away: A ceiling bulb rarely helps much; intensity drops quickly with distance. If you use a grow light, keep it close enough to be effective without heating foliage—often around 20–40 cm (8–16 in), depending on the fixture.
| What you see on the plant | Likely light-related cause | Practical fix |
|---|---|---|
| Overall pale color, slow growth, long gaps between leaves | Insufficient intensity | Move closer to a brighter window, or add a grow light for 10–14 hours daily; reassess watering since soil dries slower in dim conditions |
| Bleached/yellow patches, crispy brown edges on sun-facing side | Excess direct sun or sudden exposure | Shift back 30–60 cm (12–24 in), use a sheer curtain, and acclimate gradually over 7–14 days |
| Yellowing mostly on one side; plant leaning | Light coming from one direction | Rotate the pot 90° weekly; keep the plant centered to the window rather than tucked to one side |
| Yellow leaves after moving rooms or after seasonal change | Light level drop plus unchanged watering | Match watering to the new light level; let the top 2–5 cm (1–2 in) of mix dry (for many common houseplants) before watering again |
If you’re unsure whether light is the driver, try a simple test: place the plant in brighter, indirect light for 10–14 days and adjust watering slightly downward. If new leaves emerge greener while older yellow leaves don’t recover (they usually won’t), you’ve likely found the culprit and can focus on preventing the next round of yellowing.
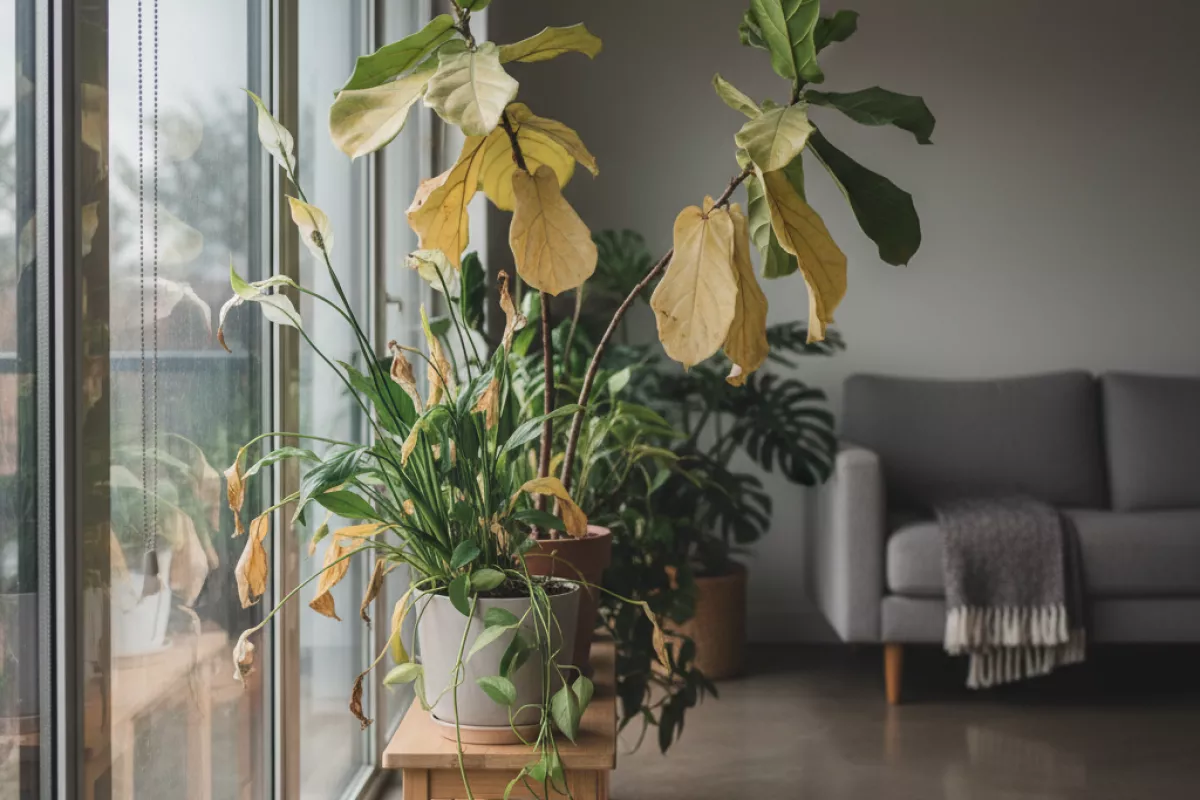
Air dryness and humidity stress
When indoor air is too dry, plants lose water faster than their roots can replace it. The result often shows up as yellowing that starts at the tips or edges, sometimes paired with crispy brown margins. This is common in winter heating season, near radiators, or in the direct path of HVAC vents where moisture is constantly stripped from the leaves.
Low moisture in the air can also make a plant “drink” more through its leaves, even if the potting mix is damp. That mismatch can trigger leaf drop, pale new growth, and a tired, washed-out look. Some plants cope by sacrificing older leaves first, so you may see lower foliage turning yellow while the top still looks acceptable.
- Typical visual clues: yellowing with dry, papery tips; curling edges; leaf drop after a heating cycle; buds that abort before opening.
- Where it happens most: above/next to heaters, on sunny windowsills with forced-air heat, on top of appliances, or in drafty entryways.
- Plants that react quickly: calatheas, ferns, fittonia, maranta, many orchids, and thin-leaved tropicals.
- Plants that usually tolerate it better: snake plant, ZZ plant, many succulents (though they can still yellow if watering is adjusted poorly).
| Situation | Why yellowing happens | What to do (practical fix) |
|---|---|---|
| Heater or vent within 1 m (3 ft) | Constant airflow increases transpiration and dries leaf tissue | Move the plant farther away, redirect the vent, or add a simple draft barrier; rotate weekly so one side doesn’t take all the stress |
| Winter indoor humidity below about 40% | Leaves lose moisture faster than roots can supply it, leading to pale/yellow foliage | Run a humidifier and aim for roughly 40–60% (most homes/most tropicals); group plants together to create a small humid microclimate |
| Bright sun + dry air | High light raises leaf temperature, increasing water loss and causing edge yellowing | Use a sheer curtain, pull the plant back 30–60 cm (12–24 in), and keep moisture consistent (not soggy) |
| “Misting” only | Brief surface wetting doesn’t raise room humidity for long; salts can spot leaves | Prefer a humidifier or pebble tray; if you mist, do it for leaf cleaning and do it in the morning so foliage dries by evening |
A quick self-check: if the potting mix is reasonably moist but leaves still yellow and crisp at the edges, the air is often the missing piece. Also watch for a pattern: damage that’s worse on the side facing a vent or radiator points to dry airflow rather than a nutrient issue.
One caution: raising humidity won’t fix yellow leaves caused by overwatering. If the soil stays wet for more than 7–10 days (or 1–1.5 weeks) in a typical home, improve drainage and adjust watering first, then fine-tune humidity so the plant can balance water loss and uptake.
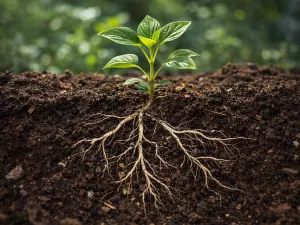
Pot size and root crowding signals
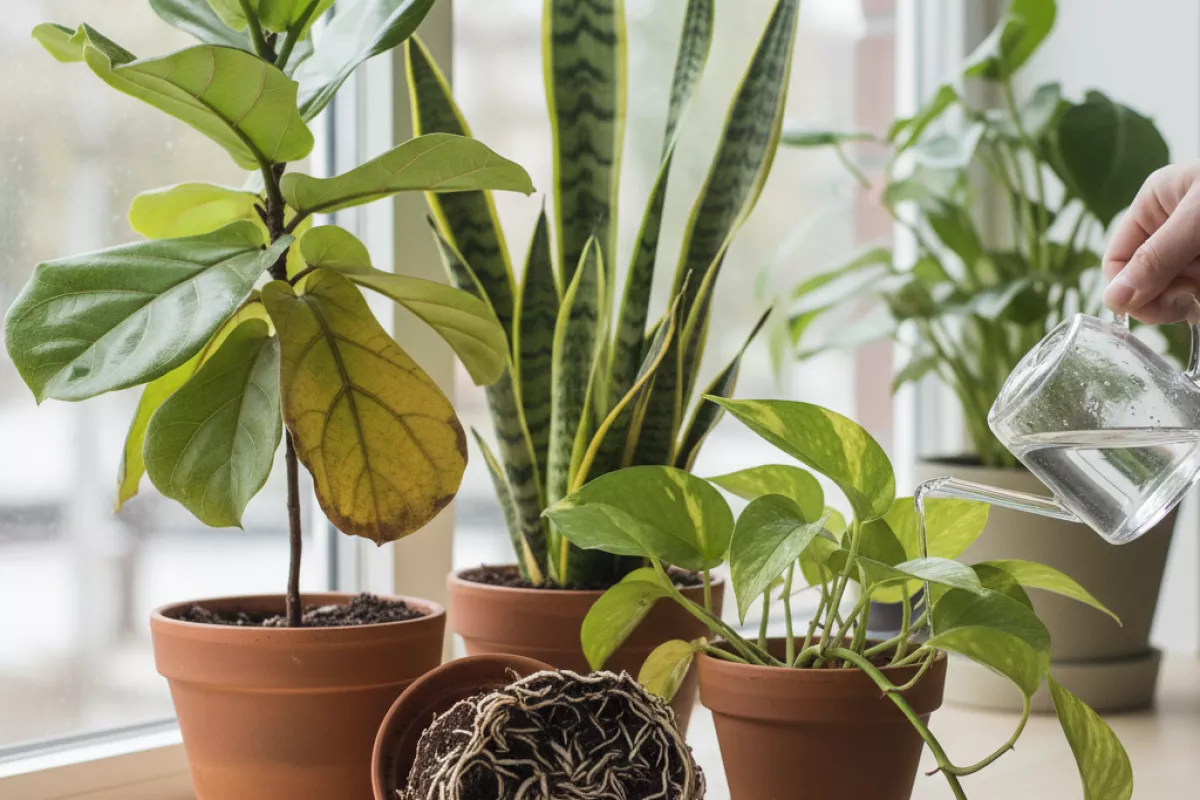
A container that’s too small can make leaves yellow in a way that looks like “mystery nutrient issues.” When roots run out of room, they circle, compact, and struggle to take up water and minerals evenly. The result is often pale new growth, older leaves fading first, or random yellow patches that don’t improve even when you fertilize.
Root congestion can also create a watering trap: the plant dries out quickly because there’s more root than soil, yet the center stays damp because the mix can’t breathe. That swing between drought and soggy pockets stresses roots, reducing uptake and triggering chlorosis (yellowing).
- Water runs straight through and the pot feels light again within 1–2 days, even after a thorough soak.
- Roots circling or matting at the drainage holes, or a tight spiral visible when you slide the plant out.
- Stunted growth during active season, with smaller leaves and longer gaps between new leaves.
- Yellowing plus crispy edges despite “enough” watering, because the root mass can’t buffer moisture.
- Soil pulling away from the pot wall as the root ball becomes dense and hydrophobic.
- Plant top-heavy and tipping easily, since roots can’t anchor well in the limited volume.
| What you notice | What it usually means | Why yellowing happens | What to do next |
|---|---|---|---|
| Water drains fast; plant wilts quickly | Too many roots, not enough mix | Inconsistent moisture reduces nutrient uptake | Repot 2–5 cm (1–2 in) wider; refresh mix and water deeply |
| Roots circling the pot; dense “root pancake” at the bottom | Root-bound | Restricted root tips can’t absorb efficiently | Loosen/tease outer roots; trim only dead sections; move up one pot size |
| Yellow leaves even after feeding | Fertilizer isn’t the main limit | Salts can build up while uptake stays poor | Flush with clean water, then repot; resume light feeding after 2–4 weeks |
| Center stays wet while edges dry | Compacted, exhausted soil structure | Low oxygen harms roots; stressed roots signal leaf yellowing | Replace mix with a chunkier blend; ensure drainage holes are clear |
When you do size up, resist jumping to a much larger container. Moving up just one step (about 2–5 cm / 1–2 in wider) keeps the root zone evenly moist and oxygenated, which is what helps the plant green up again. If yellowing is severe, check for mushy or sour-smelling roots while repotting; rot can ride along with crowding and needs trimming back to firm tissue before replanting.
Water quality and mineral buildup
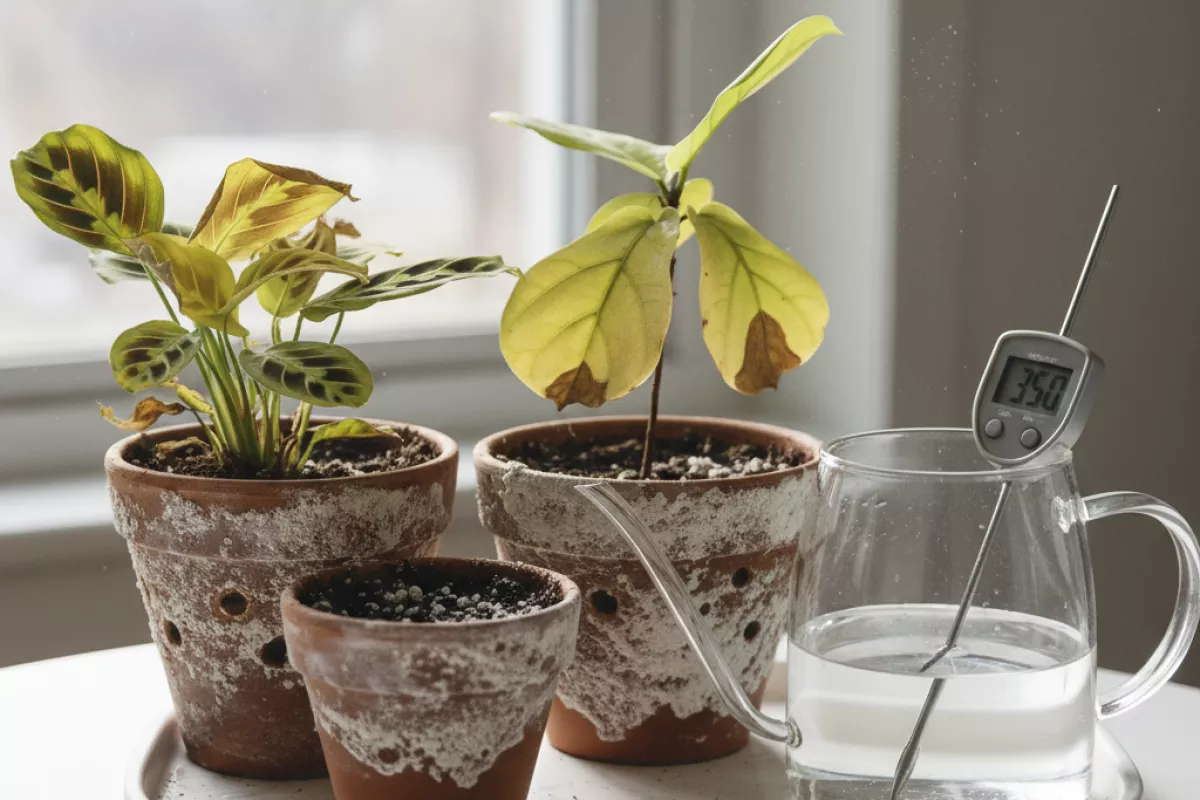
Yellowing can start when what’s in your tap water slowly changes the root zone. Dissolved salts, chlorine/chloramine, and “hard” minerals don’t always hurt immediately, but they can interfere with nutrient uptake over time. The result often looks like a nutrient deficiency even when you’ve fertilized correctly.
A common clue is a white crust on the soil surface, pot rim, or drainage holes. That residue is usually mineral salts. As they accumulate, they can raise the soil’s salt level, making it harder for roots to absorb water (plants can look thirsty while the pot is still moist), and they can also shift pH so certain nutrients become less available.
- Hard water buildup: High calcium and magnesium can leave deposits and gradually push the potting mix toward a higher pH, which may trigger pale new growth or interveinal yellowing in sensitive plants.
- Excess fluoride: Some houseplants react with tip burn and yellowing that starts at leaf edges, especially on older leaves.
- Chlorine/chloramine sensitivity: Usually mild, but in small pots or with frequent watering, it can add stress that shows up as general paling.
- Overfertilizing plus tap minerals: Fertilizer salts and mineral-rich water stack together, increasing the chance of yellow leaves and crispy margins.
If you suspect mineral salts, the fastest fix is a thorough flush. Water the pot until a steady stream runs out of the drainage holes, then keep going so the total runoff equals roughly 2–3 times the pot’s volume (for example, 1 L (34 fl oz) through a 0.5 L (17 fl oz) pot). Let it drain completely; don’t leave the container sitting in a saucer of runoff.
For ongoing prevention, pick one approach and stick with it rather than constantly switching:
- Use filtered or low-mineral water for sensitive plants, especially if your tap water leaves scale on kettles or faucets.
- Let water sit for 24 hours if your supply is chlorine-treated (this won’t reliably remove chloramine, but it can still help in some areas).
- Reduce fertilizer strength and fertilize less often if you can’t change the water source; many indoor plants do better with lighter feeding.
- Repot when the mix is “tired” (compacted or crusty). Fresh potting mix restores aeration and dilutes accumulated residues.
One more note: if yellowing improves after flushing but returns quickly, the issue may be a combination of mineral-heavy water and poor drainage. In that case, improving the potting mix structure and ensuring the container has drainage holes often makes the biggest difference.
Fertilizer mistakes that affect foliage
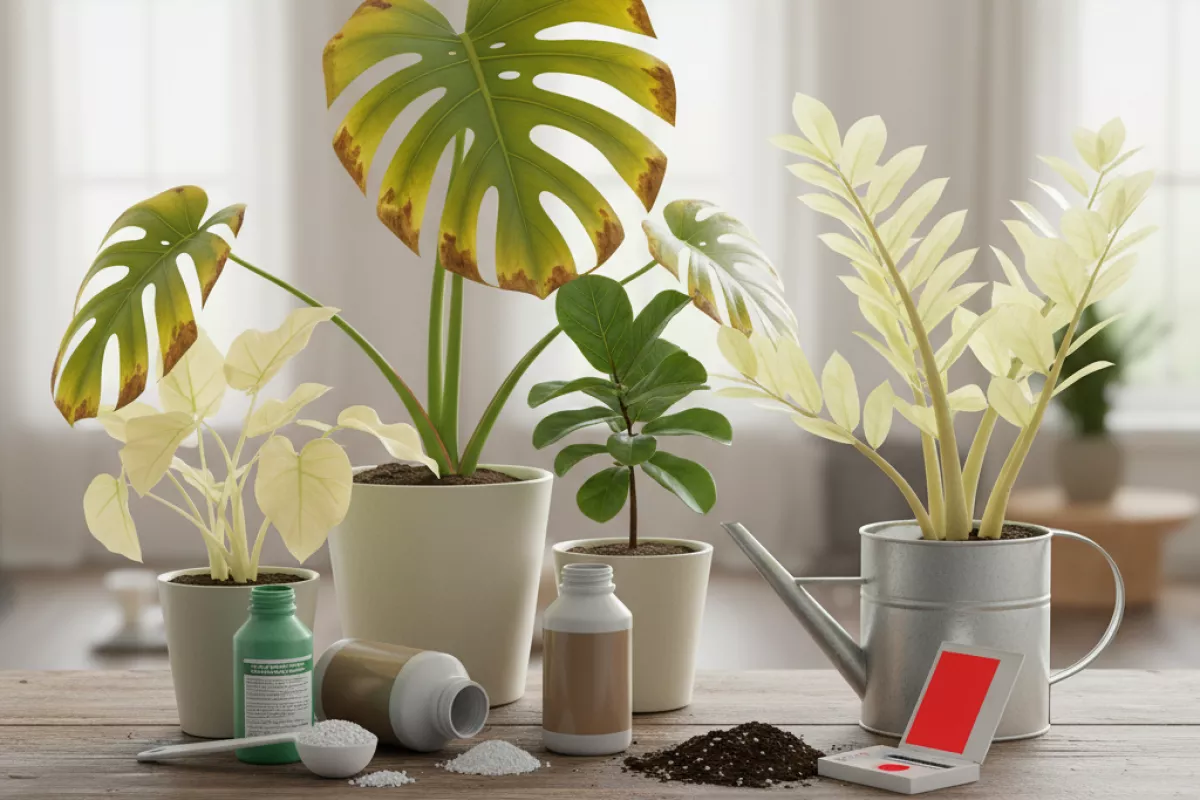
Yellowing after feeding is often a chemistry problem, not a mystery. Indoor potting mixes hold a small reservoir of nutrients, and the wrong product, dose, or timing can push roots into stress. When roots can’t take up water and minerals smoothly, leaves lose chlorophyll and the plant starts paling from the tips, margins, or between veins.
| What goes wrong | Typical yellowing pattern | Why it happens | What to do next |
|---|---|---|---|
| Overfertilizing (too strong or too frequent) | Yellowing with brown, crispy edges; sudden droop | Salt buildup pulls moisture out of roots and blocks uptake | Pause feeding 3–4 weeks; flush the pot with 3–4× the pot volume of water (e.g., 1 L (34 fl oz) pot gets 3–4 L (101–135 fl oz)); ensure good drainage |
| Underfertilizing over time | Overall pale color; older leaves yellow first | Mobile nutrients (especially nitrogen) are moved from old leaves to new growth | Feed lightly during active growth at 1/4–1/2 strength; repeat every 4–6 weeks if the plant is growing |
| Wrong N-P-K balance | Slow growth with generalized paling; weak new leaves | Too little nitrogen for foliage plants, or excess phosphorus interfering with micronutrients | Use a balanced or foliage-leaning formula; avoid “bloom booster” products for leafy houseplants unless flowering is the goal |
| Micronutrient lockout from pH drift | Yellowing between veins on newer leaves (interveinal chlorosis) | Iron/manganese become unavailable when pH is too high; some mixes drift upward over time | Check water source; consider a mild acidifying approach (or repot) rather than stacking more fertilizer; use a complete fertilizer with micros |
| Fertilizing a stressed plant (dry, cold, recently repotted) | Patchy yellowing or rapid leaf drop soon after feeding | Roots aren’t actively absorbing; salts concentrate and burn fine root tips | Water first, then feed; skip fertilizer if the room is below 18°C (65°F) or the plant isn’t putting out new growth |
- Mixing concentrates incorrectly is a common hidden cause. Measure, don’t guess, and if directions are in teaspoons, convert once and stick to it: 5 ml (1 tsp) is a small error margin in tiny watering cans.
- “More” isn’t faster indoors. Lower light means slower growth, so plants need fewer nutrients. If your plant sits 1–2 m (3–6 ft) from a window, treat it as low-light and reduce feeding.
- Salt crust on soil (white ring on the surface or pot rim) is a clue that the mix is accumulating minerals. Scrape off the top 1–2 cm (0.4–0.8 in) and replace with fresh mix, then water thoroughly.
- Don’t chase yellow with repeated doses. If leaves are yellowing, first confirm basics: drainage holes, watering rhythm, and root health. Feeding a plant with compromised roots usually makes foliage discoloration worse.
A practical rule: fertilize only when you see active growth and the plant is otherwise stable. If yellowing started within 3–7 days after a feed, suspect excess salts or feeding on a dry root ball; if it developed gradually over weeks, suspect depletion or pH-related lockout rather than a single “bad” watering.
How to pinpoint the exact indoor cause
Start by treating yellowing like a clue, not a diagnosis. The fastest way to narrow it down is to note where the yellow shows up (old leaves vs. new growth), how fast it spreads (days vs. weeks), and what changed recently (watering rhythm, location, pot, fertilizer, heating). Then run a few simple checks in a consistent order so you don’t “fix” the wrong thing and create a second problem.
-
Map the pattern on the plant. Pattern usually beats guesswork.
- Oldest leaves yellow first: often normal shedding, low light, or a watering issue that’s been going on for a while.
- Newest leaves yellow first: more often nutrient lockout, high pH/alkalinity, or root stress that prevents uptake.
- Yellow with green veins (interveinal chlorosis): commonly iron/magnesium uptake problems, frequently triggered by hard water or overwatering.
- Yellow plus crispy edges: dry air, salt buildup, or inconsistent watering (drying too far, then soaking).
- Random yellow patches: sun scorch (if it’s near a window) or pests feeding in spots.
-
Check the root zone before changing anything. Most indoor yellowing traces back to roots and moisture.
- Lift the pot: if it feels heavy days after watering, the mix may be staying wet too long.
- Do a finger or chopstick test: insert 5–7 cm (2–3 in). If it comes out cool and damp repeatedly, pause watering and improve airflow/light.
- Look for drainage: water should exit the pot within about 30–60 seconds. No drainage holes or a clogged saucer can keep roots oxygen-starved.
- Sniff test: a sour or swampy smell points to anaerobic soil and early rot.
-
Rule out light mismatch with a quick placement audit. Yellowing from light is usually slow and uniform, not sudden.
- If the plant is more than 1–2 m (3–6 ft) from a bright window, many species gradually pale and drop lower leaves.
- If yellowing appeared after moving closer to glass, check for sunburn: bleached/yellow areas that later turn tan and papery, especially on the window-facing side.
- Rotate the pot 90° weekly so one side doesn’t weaken and yellow first.
-
Look for “hidden” indoor stressors that don’t feel dramatic. These often cause stubborn yellow leaves even when watering seems fine.
- Cold drafts: repeated exposure below about 13°C (55°F) can trigger yellowing in tropical plants.
- Heat vents: warm, dry airflow can desiccate leaf tissue; keep foliage at least 30 cm (12 in) from vents.
- Low humidity: if indoor air sits around 30–40% (common in winter), sensitive plants may yellow at tips/edges.
- Nighttime window chill: leaves touching cold glass can discolor even if daytime temps feel fine.
-
Scan for pests with a “two-angle” inspection. Many infestations start under leaves and at nodes.
- Check undersides with a flashlight: look for stippling, fine webbing, sticky residue, or tiny moving dots.
- Wipe a leaf with a white tissue: rust-colored streaks can suggest spider mites; black specks can be thrips frass.
- Isolate the plant for 7–10 days if you suspect pests to prevent spread.
-
Review feeding and water quality (quiet causes of chlorosis). Yellow leaves can come from too little fertilizer, but also from nutrients being unavailable.
- If you haven’t fertilized in 2–3 months during active growth, mild deficiency is possible.
- If you fertilize often and still see yellowing, suspect salt buildup or pH-related lockout (common with hard tap water).
- Flush the pot occasionally: run 3–4 times the pot volume of water through the soil (e.g., 1 L pot uses 3–4 L (0.8–1.1 gal)) and let it drain fully.
-
Change one variable at a time and watch the new growth. Old yellow leaves rarely turn green again; the goal is healthy new leaves.
- Pick the most likely culprit, adjust it, and wait 10–14 days before making a second big change.
- Take a quick photo every 3–4 days to catch trends your eyes miss.
- If symptoms accelerate after a change, revert and reassess the root zone and light first.
| What you observe | Most likely indoor cause(s) | Fast check to confirm | First adjustment to try |
|---|---|---|---|
| Lower leaves yellow slowly; plant looks “stretched” | Light too low; normal aging of older leaves | Is it > 1–2 m (3–6 ft) from a bright window? | Move closer to brighter light; rotate weekly |
| Yellowing + soft stems; soil stays wet for days | Overwatering; poor drainage; compacted mix | Chopstick test at 5–7 cm (2–3 in) stays damp | Let mix dry more; improve drainage; consider repotting if severe |
| Yellow with crispy edges or tips | Dry air; salt buildup; inconsistent watering | White crust on soil/pot; edges brown first | Flush soil; water more evenly; keep away from vents |
| New leaves pale/yellow; veins stay greener | Iron/magnesium uptake issue; hard water; pH lockout | Occurs despite regular feeding; tap water leaves scale | Use softer water if possible; reduce fertilizer; flush, then feed lightly |
| Yellow patches on the window-facing side | Sun scorch after a move to stronger light | Damage is localized where sun hits; tissue later turns tan | Pull back 30–60 cm (12–24 in) or add a sheer curtain |
| Speckling, sticky residue, or fine webbing | Pests (mites, thrips, scale, aphids) | Flashlight check under leaves; wipe test on tissue | Isolate; rinse foliage; treat consistently for 2–4 weeks |
If you’re torn between two possibilities, prioritize the one that can damage roots (staying wet, no drainage, cold soggy soil) before tweaking fertilizer. Once roots are stable and the plant is in a reasonable light spot, most “mystery yellowing” becomes much easier to interpret.
Correction steps for stable leaf color
Get leaves back to a steady green by changing one variable at a time and watching new growth, not the already-yellow tissue. Older yellow leaves rarely turn fully green again; your goal is to stop the spread and make the next set of leaves come in healthy.
- Confirm the watering pattern (most common fix).
- If the top 2–3 cm (1–1.2 in) of soil stays wet for days, pause watering and improve airflow and light. Empty saucers so roots don’t sit in water.
- If the pot dries bone-dry quickly and leaves yellow with crisping, water thoroughly until excess drains, then wait until the top layer dries again.
- Use the “lift test”: after watering, learn the heavy weight; water again when the pot feels noticeably lighter.
- Check drainage and root health.
- Make sure there’s at least one open drainage hole and the plant isn’t in a cachepot holding runoff.
- If yellowing continues despite careful watering, slide the plant out and inspect roots. Healthy roots are firm and pale; mushy, dark, or smelly roots suggest rot.
- For rot, trim damaged roots, repot into fresh mix, and use a pot only 2–5 cm (0.8–2 in) wider than the root ball to avoid staying wet too long.
- Reset light to match the plant.
- Leggy growth plus pale/yellow leaves often means too little light; move closer to a bright window or add a grow light.
- Bleached patches or yellowing on the sun-facing side can mean sun scorch; pull back 30–60 cm (12–24 in) or filter with a sheer curtain.
- Change exposure gradually over 7–10 days to avoid shock.
- Feed, but don’t “fix” with extra fertilizer.
- If the plant hasn’t been fertilized in 6–8 weeks during active growth, use a balanced houseplant fertilizer at 1/4–1/2 strength.
- If you see brown tips, crusty soil, or sudden yellowing after feeding, flush salts: run 3–4 times the pot volume of water through the soil (e.g., 3 L for a 1 L pot; 0.8 gal for a 0.25 gal pot), letting it drain fully.
- Resume feeding only after the plant stabilizes and new leaves look normal.
- Rule out temperature and draft stress.
- Keep most tropical houseplants in the 18–27°C (65–81°F) range and away from cold windows, heaters, and AC vents.
- Sudden drops below 13°C (55°F) can trigger yellowing even if watering is correct.
- Adjust humidity if leaves yellow with edge damage.
- For humidity-loving plants, aim for 40–60% indoor humidity. Grouping plants or using a humidifier is more reliable than misting.
- Keep leaves from touching cold glass; localized chilling can mimic nutrient issues.
- Inspect for pests and treat early.
- Check undersides of leaves and stems for mites (fine webbing), thrips (silvery streaks), or scale (brown bumps).
- Rinse foliage, isolate the plant, and repeat treatment weekly for 3–4 weeks; eggs hatch in cycles.
- Prune and monitor the right way.
- Remove fully yellow leaves with clean scissors to reduce stress and make changes easier to track.
- Track progress by photographing the newest leaves every 7 days; improvement shows up there first.
| What you observe | Likely hidden cause | What to do next |
|---|---|---|
| Lower leaves yellow first; soil stays wet | Overwatering or poor drainage | Let the mix dry, empty saucers, verify drainage holes; consider repotting into a chunkier mix |
| Yellow leaves plus limp stems; soil very dry | Underwatering or hydrophobic soil | Soak thoroughly until runoff; if water beads, bottom-water 20–30 min (20–30 min) then drain |
| Pale new growth; long gaps between leaves | Insufficient light | Move to brighter indirect light or add a grow light; adjust over 7–10 days |
| Yellowing after fertilizing; white crust on soil | Salt buildup or overfeeding | Flush with 3–4× pot volume of water (e.g., 3 L per 1 L; 0.8 gal per 0.25 gal), then pause feeding |
| Yellow patches on sun-facing side | Sun scorch | Increase distance from glass by 30–60 cm (12–24 in) or filter light with a sheer curtain |
| Yellowing with speckling or sticky residue | Pests (mites, thrips, scale) | Isolate, rinse leaves, treat weekly for 3–4 weeks; recheck undersides and nodes |
If you’re unsure which factor is responsible, start with water and drainage, then light, then feeding. Those three account for most indoor plants turning yellow, and they’re also the easiest to correct without stressing the plant further.